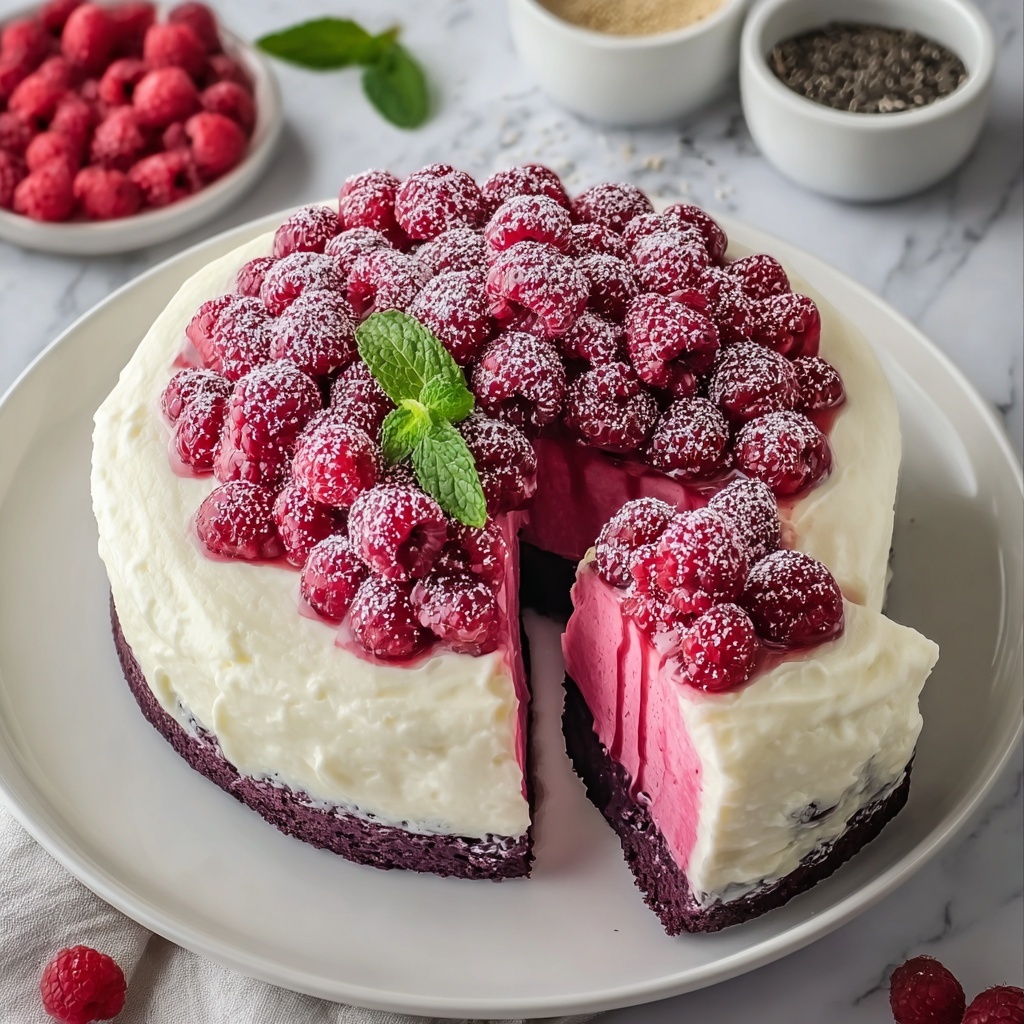
Nothing feels quite as indulgent and special as a cake that brings together the silky richness of white chocolate with the bright, tart sweetness of fresh raspberries. This White Chocolate Raspberry Dream Cake Recipe is exactly that magical treat, designed to delight your senses with every bite. Imagine layers of moist, tender cake infused with melted white chocolate, sandwiched between luscious whipped cream and a vibrant raspberry filling—it’s a beautiful harmony of creamy, fruity, and melt-in-your-mouth goodness. If you’re looking for a show-stopping dessert to share or savor all to yourself, this recipe will quickly become your new go-to favorite.
Ingredients You’ll Need
The magic of this White Chocolate Raspberry Dream Cake Recipe comes from simple, quality ingredients that each play a vital role in creating incredible flavors and perfect textures. From the soft, tender crumb of the cake to the luscious cream and fresh raspberry punch, here’s what you’ll need:
- All-purpose flour: Provides the essential structure for a soft yet sturdy cake base.
- Baking powder and baking soda: Help the cake rise perfectly for a light texture.
- Salt: Enhances all the sweet flavors, balancing out the richness.
- Unsalted butter: Adds moisture and richness without overpowering sweetness.
- Granulated sugar: Sweetens and supports the tender crumb.
- Large eggs: Bind ingredients while adding air and moisture to the batter.
- Vanilla extract: Provides a warm, inviting aroma and depth of flavor.
- Whole milk: Keeps the cake moist and tender.
- Sour cream: Adds tanginess and moistness, making the crumb soft and rich.
- White chocolate: Melted and folded in for an irresistible creamy flavor.
- Fresh raspberries: Bring a natural burst of color and tartness to the filling.
- Raspberry jam: Sweetens and thickens the fruit filling for easy spreading.
- Heavy whipping cream: Whipped into fluffy cream that coats the cake layers beautifully.
- Powdered sugar: Sweetens the whipped cream for a smooth finish.
How to Make White Chocolate Raspberry Dream Cake Recipe
Step 1: Preparing Your Oven and Pans
Start by preheating your oven to 350°F (175°C). This ensures the oven is perfectly hot when your batter is ready. Grease and flour two 9-inch round cake pans so your cake layers come out clean and intact, ready for stacking later.
Step 2: Combining Dry Ingredients
In a medium bowl, whisk together the flour, baking powder, baking soda, and salt. This even distribution of leavening agents means your cake will rise consistently and the salt will help to lift all the other flavors.
Step 3: Creaming Butter and Sugar
Use an electric mixer to beat the unsalted butter and granulated sugar together until the mixture is light and fluffy, about 3-4 minutes. This important step adds air to your batter, which helps the cake have that soft, tender crumb everyone loves.
Step 4: Adding Eggs and Vanilla
Beat in the eggs one at a time, making sure each is fully incorporated before adding the next. Then mix in the vanilla extract, which infuses the cake with delicate warmth and sweetness.
Step 5: Mixing Wet and Dry Ingredients
In a separate bowl, stir together the milk and sour cream until smooth. Alternately add the dry ingredients and the milk-sour cream blend to your butter mixture, starting and ending with the dry mix. This method keeps your cake tender and prevents over-mixing.
Step 6: Folding in Melted White Chocolate
Gently fold the melted white chocolate into the batter using a spatula. This creates little pockets of pure creamy goodness throughout your cake once baked—such a delightful surprise in every bite.
Step 7: Baking the Cakes
Divide the batter evenly into the prepared pans and smooth the tops. Bake for 25-30 minutes until a toothpick comes out clean. Let cakes cool in pans for 10 minutes before turning them out onto a wire rack to cool completely.
Step 8: Preparing the Raspberry Filling and Whipped Cream
Mash fresh raspberries until broken down and stir in raspberry jam. This sweet, tangy filling pockets between your cake layers. Then beat heavy cream, powdered sugar, and vanilla on high until stiff peaks form—this whipped cream will lend a light, airy texture to your presentation.
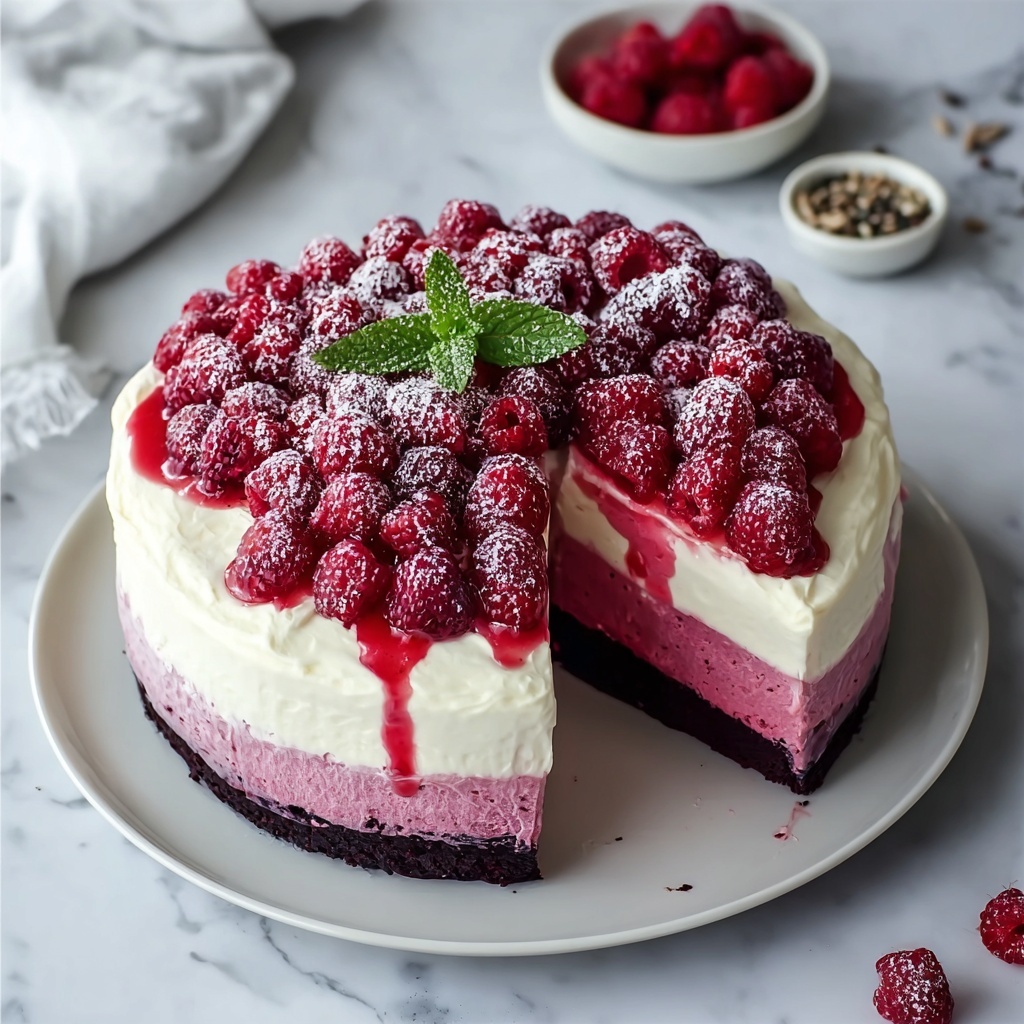
Step 9: Assembling Your White Chocolate Raspberry Dream Cake Recipe
Place one cooled cake layer on a platter and spread the raspberry filling evenly on top. Add a generous layer of whipped cream, then gently place the second cake layer on top. Cover the entire cake with the remaining whipped cream and garnish as you like with fresh raspberries.
How to Serve White Chocolate Raspberry Dream Cake Recipe
Garnishes
Fresh or even freeze-dried raspberries scattered on top bring a fresh, tart brightness that perfectly contrasts with the creamy frosting. You can add some white chocolate shavings or curls for a pretty and tasty finish that screams elegance.
Side Dishes
This cake pairs beautifully with a light cup of tea or a mild coffee, allowing the sweetness of the cake to shine without overwhelming the palate. Fresh fruit salad or a scoop of raspberry sorbet can also complement the fruity accent of the cake without stealing the spotlight.
Creative Ways to Present
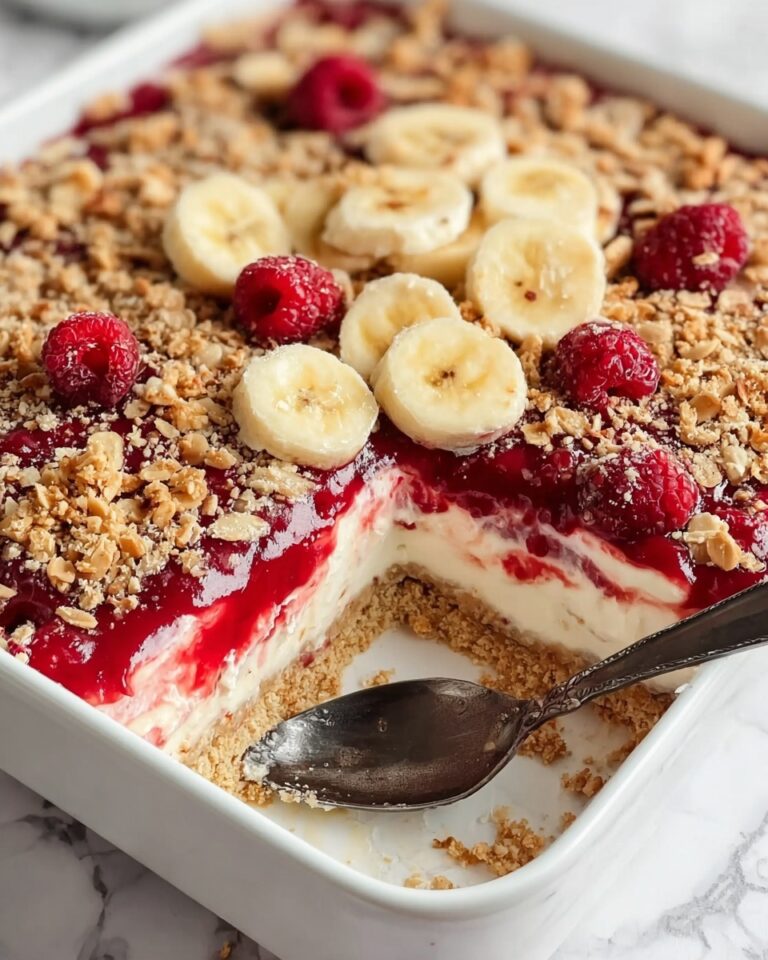
Try layering the cake inside a clear trifle dish for a stunning visual of alternating colors and textures, or serve slices with raspberry coulis drizzled artistically over the plate for an upscale touch. Individual mini cakes made in cupcake tins can also be perfect for parties or gatherings.
Make Ahead and Storage
Storing Leftovers
Wrap leftover cake tightly with plastic wrap or store in an airtight container in the refrigerator. It will stay fresh and moist for up to 3 days, making it easy to enjoy your White Chocolate Raspberry Dream Cake Recipe whenever the craving hits again.
Freezing
You can freeze this cake layered or as individual slices. Wrap it well in plastic wrap followed by foil and freeze for up to a month. Thaw overnight in the refrigerator to maintain its moist texture and fresh flavor before serving.
Reheating
This cake is best enjoyed chilled or at room temperature, but if you prefer, let it sit at room temperature for about 30 minutes before serving so all the flavors come alive. Avoid microwaving as it may melt the whipped cream and affect texture.
FAQs
Can I use frozen raspberries instead of fresh?
Fresh raspberries give the best texture and flavor in this White Chocolate Raspberry Dream Cake Recipe, but frozen raspberries can work in a pinch. Just be sure to thaw and drain excess juice to avoid a soggy cake.
Is it possible to make this cake dairy-free?
You can try substituting dairy ingredients with plant-based options like coconut cream instead of heavy cream and a non-dairy butter alternative. Keep in mind the white chocolate may contain milk, so choose a dairy-free white chocolate if needed.
What can I use instead of raspberry jam?
If you don’t have raspberry jam, strawberry or blackberry jam are great substitutes and will maintain the fruity sweetness that pairs so well with white chocolate.
Can this cake be made gluten-free?
Yes! Use a one-to-one gluten-free flour blend to replace all-purpose flour. Just be careful with the other ingredients and ensure they’re gluten-free to keep the cake safe for those with gluten sensitivities.
How long does the whipped cream topping keep its texture?
Whipped cream is best fresh but can generally hold its shape for up to 24 hours when refrigerated. For longer storage, stabilizing the whipped cream with a bit of gelatin or cream of tartar can help maintain its texture.
Final Thoughts
There is something truly special about the combination of white chocolate and raspberries, and this White Chocolate Raspberry Dream Cake Recipe brings that magic right to your kitchen in an approachable, absolutely delicious way. It’s a perfect dessert for celebrations or any time you want to treat yourself or loved ones to a dreamy slice of happiness. Don’t wait to create moments of sweet joy with this fantastic cake—once you try it, you’ll keep coming back for more.
Print
White Chocolate Raspberry Dream Cake Recipe
- Prep Time: 20 minutes
- Cook Time: 30 minutes
- Total Time: 50 minutes plus chilling time
- Yield: 12 servings
- Category: Dessert
- Method: Baking
- Cuisine: American
- Diet: Vegetarian
Description
This White Chocolate Raspberry Dream Cake is a luscious treat combining moist white chocolate-infused cake layers with a fresh raspberry filling and a cloud of whipped cream. Perfectly balanced with the sweetness of white chocolate and the tartness of raspberries, this dessert is elegant and refreshing, ideal for special occasions or indulgent afternoon tea.
Ingredients
Cake
- 2 1/2 cups all-purpose flour
- 2 teaspoons baking powder
- 1/2 teaspoon baking soda
- 1/2 teaspoon salt
- 1 cup unsalted butter
- 1 1/2 cups granulated sugar
- 4 large eggs
- 1 teaspoon vanilla extract
- 1 cup whole milk
- 1/2 cup sour cream
- 6 ounces white chocolate, melted
Filling
- 1 1/2 cups fresh raspberries
- 1/2 cup raspberry jam
Whipped Cream Topping
- 2 cups heavy whipping cream
- 2 tablespoons powdered sugar
- 1 teaspoon vanilla extract
Instructions
- Preheat Oven: Preheat your oven to 350°F (175°C) to ensure it’s at the correct temperature for baking the cake layers evenly.
- Prepare Pans: Grease and flour two 9-inch round cake pans to prevent sticking and help the cakes release easily after baking.
- Mix Dry Ingredients: In a medium bowl, whisk together the all-purpose flour, baking powder, baking soda, and salt until well combined, creating an even distribution of leavening agents.
- Cream Butter and Sugar: In a large mixing bowl, use an electric mixer on medium speed to cream the unsalted butter and granulated sugar until light and fluffy, about 3-4 minutes, which incorporates air into the batter for softness.
- Add Eggs: Add the eggs one at a time, beating well after each addition to ensure full incorporation and a smooth batter.
- Incorporate Vanilla: Mix in the vanilla extract until fully blended to add flavor depth.
- Combine Wet Ingredients: In a separate bowl, combine whole milk and sour cream until smooth, which adds moisture and tang to the cake.
- Alternate Mixing Dry and Wet: Gradually add the dry ingredients into the butter mixture, alternating with the milk and sour cream mixture, beginning and ending with the dry ingredients to maintain batter structure.
- Mix Batter: Beat the batter on low speed until just combined, being careful not to overmix which can toughen the cake.
- Fold in White Chocolate: Gently fold in the melted white chocolate with a spatula to evenly distribute without deflating the batter.
- Divide Batter: Pour the batter evenly into the prepared cake pans for uniform baking.
- Smooth Tops: Smooth the tops with a spatula to ensure even layers and appearance.
- Bake: Bake for 25-30 minutes, or until a toothpick inserted into the center comes out clean, indicating the cakes are cooked through.
- Cool in Pans: Remove cakes from the oven and allow them to cool in the pans for 10 minutes, helping them firm up for easy removal.
- Transfer to Wire Rack: Turn the cakes out onto a wire rack to cool completely, preventing sogginess from residual heat.
- Prepare Raspberry Filling: While cakes cool, mash fresh raspberries in a bowl until broken down, then stir in raspberry jam until combined to make a flavorful filling.
- Make Whipped Cream: Beat heavy whipping cream, powdered sugar, and vanilla extract on high speed with an electric mixer until stiff peaks form, creating a light and fluffy topping.
- Assemble Cake – Layer 1: Place one cake layer on a serving platter.
- Spread Raspberry Filling: Evenly spread the raspberry filling over the first cake layer, adding a tart contrast.
- Add Whipped Cream: Spread a generous layer of whipped cream over the raspberry filling for creamy richness.
- Add Second Layer: Place the second cake layer on top, pressing gently to secure the layers together.
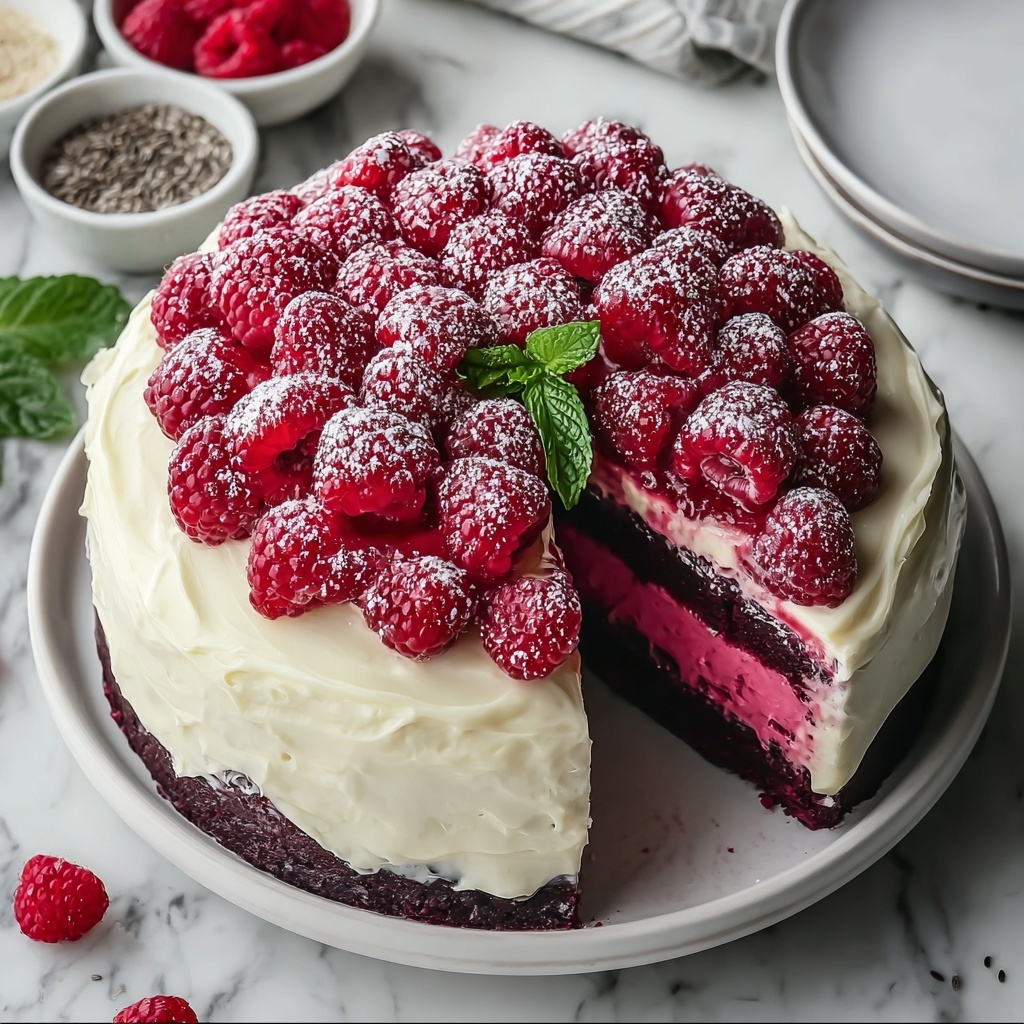
- Frost Cake: Spread the remaining whipped cream evenly over the top and sides of the cake for a smooth finish.
- Garnish: Decorate the top with fresh raspberries arranged in a decorative pattern for visual appeal and extra flavor.
- Chill: Refrigerate the cake for at least 1 hour before serving to allow flavors to meld and the whipped cream to set.
- Serve: Slice and enjoy your White Chocolate Raspberry Dream Cake, a perfect dessert for celebrations or indulgent moments.
Notes
- Use room temperature ingredients for better mixing and a smoother batter.
- Be careful not to overmix the batter once dry ingredients are added to avoid a dense cake.
- If fresh raspberries are not available, frozen raspberries can be used; thaw and drain excess liquid before using.
- The cake is best served chilled but can be stored covered in the refrigerator for up to 2 days.
- For an extra touch, dust the top with powdered sugar before serving.


