“`html
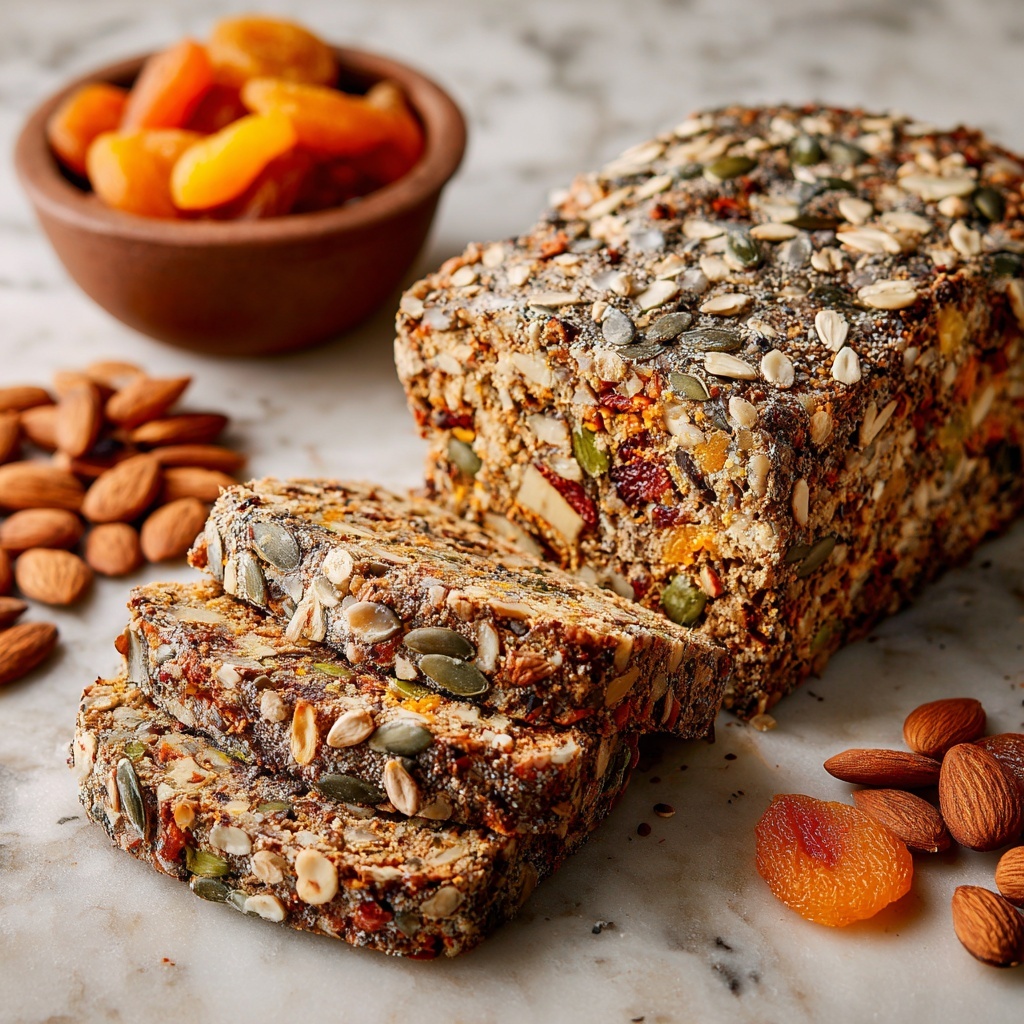
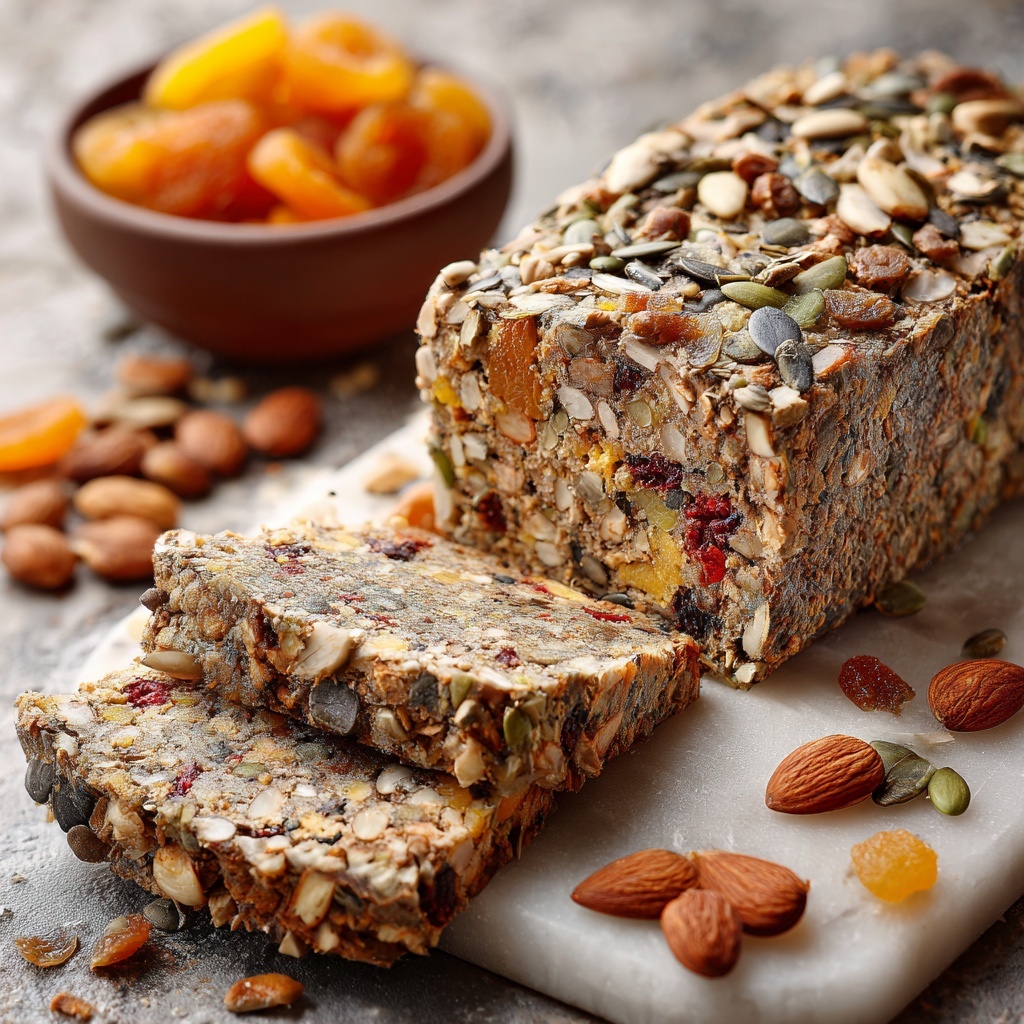
If you’re on the hunt for a truly nourishing and flavor-packed loaf that’s bursting with wholesome goodness, you’ve got to try the Gluten-Free Seed & Nut Adventure Bread Recipe. This vibrant bread is a delightful celebration of crunchy seeds, chopped nuts, and naturally sweet dried fruits, all woven together with a whisper of cinnamon and bright orange zest. Perfectly gluten-free and hearty, it strikes the ideal balance between rustic texture and a subtly sweet, earthy flavor that makes every bite an adventure. Whether you’re looking for a breakfast boost, a snack to savor, or an impressive homemade gift, this bread is full of personality and soul.
Ingredients You’ll Need
This recipe calls for simple yet nutrient-rich ingredients that work in harmony to create a bread that’s as beautiful as it is delicious. Each component adds its own unique texture, flavor, or nutritional benefit, making this loaf a standout on any table.
- 1½ cups sunflower seeds: Adds a crunchy, nutty texture and a good dose of healthy fats.
- 2/3 cup pumpkin seeds: Brings a fresh, slightly sweet earthiness and vibrant color.
- 1 cup almonds, roughly chopped: Contributes a rich, buttery crunch and extra protein.
- ½ cup psyllium seed husk: Acts as a natural binder, giving the bread structure and moisture retention.
- 4 tbsp chia seeds: Adds subtle crunch and a boost of omega-3 fatty acids.
- 1 cup flax seeds: Infuses a nutty flavor while helping to keep the loaf moist.
- 4 cups rolled oats (certified gluten-free): The backbone of the recipe, providing chewiness and fiber.
- 8 dried apricots, finely chopped: Injects a touch of natural sweetness and chew.
- 8 dried apple rings, finely chopped: Contributes gentle fruity notes and moisture.
- 1 tsp ground cinnamon (optional twist): Layers in warmth and subtle spice for extra depth.
- Zest of 1 orange (optional twist): Brightens the mix with fresh citrus aroma.
- 3 tsp salt: Balances all the flavors and enhances taste.
- 4 tbsp maple syrup: Adds natural, gentle sweetness that complements the dried fruit.
- 6 tbsp neutral oil (avocado or coconut work well): Keeps the crumb tender and moist.
- 4 cups water: Hydrates the dry ingredients, activating the psyllium and chia for structure.
How to Make Gluten-Free Seed & Nut Adventure Bread Recipe
Step 1: Combine All the Dry Ingredients
Start by gathering all your dry ingredients into one large bowl. This includes the seeds, nuts, chopped dried apricots and apple rings, cinnamon, orange zest, rolled oats, psyllium husk, chia seeds, flax seeds, and salt. Mixing everything dry right at the beginning ensures all those unique flavors and textures get perfectly distributed, setting the foundation for a wonderfully balanced bread.
Step 2: Whisk Together the Wet Ingredients
In a separate bowl, whisk the maple syrup, neutral oil, and water until well combined. These wet ingredients bring moisture, subtle sweetness, and tender richness to the bread. Pour this liquid mixture slowly over the dry components and stir vigorously until every seed and nut is saturated and the dough comes together.
Step 3: Transfer and Press into Loaf Pans
Prepare two loaf pans by greasing them or lining with parchment paper to avoid sticking. Transfer your dense, sticky mixture into each pan, pressing down firmly to pack it tightly. Smoothing out the top at this stage ensures a nice uniform crust after baking, and pressing helps everything bind together beautifully.
Step 4: Let It Rest
Cover your pans and let them rest at room temperature for at least six hours or ideally overnight, up to nine hours. This resting period allows the psyllium and chia seeds to fully absorb moisture, swelling and creating a sturdy, yet moist crumb. It’s truly the secret to getting that perfect chewy texture without any gluten.
Step 5: Preheat Your Oven
Before baking, set the oven to 350°F (175°C). Preheating ensures the bread starts cooking immediately, aiding in a nice crust development right from the start.
Step 6: Bake Until Perfectly Crisp
Bake the loaves in their pans for 50 minutes. Then carefully remove them from the pans and place directly onto the oven rack for an additional 30 to 40 minutes. This extra step crisps up the exterior while ensuring the inside bakes evenly, producing that inviting golden crust and firm center everyone loves.
Step 7: Cool Completely Before Enjoying
Allow your breads to cool fully on a wire rack before slicing. This resting time finalizes the texture and makes slicing easier. Once cooled, the bread keeps very well refrigerated or can be frozen for future enjoyment, so you can savor your Gluten-Free Seed & Nut Adventure Bread Recipe whenever the craving hits.
How to Serve Gluten-Free Seed & Nut Adventure Bread Recipe

Garnishes
A slice of this hearty bread shines with simple garnishes like a smear of creamy avocado, a pat of grass-fed butter, or a drizzle of honey. Adding a few fresh sprouts or microgreens can also bring a vibrant contrast in texture and color to each bite.
Side Dishes
This versatile bread pairs beautifully with robust soups and stews, crisp salads, or a vibrant spread of cheeses and fresh fruit. It’s also fantastic alongside a colorful bowl of hummus or a tangy yogurt dip for a satisfying snack or light lunch.
Creative Ways to Present
For an impressive brunch or dinner table, slice the loaf thickly and toast until golden, then top with smashed beans, tahini, or your favorite nut butter. You can also cube it for hearty croutons that add a delightful crunch and flavor boost to almost any salad or soup. The possibilities with this Gluten-Free Seed & Nut Adventure Bread Recipe truly inspire creativity!
Make Ahead and Storage
Storing Leftovers
To keep your bread fresh, wrap it tightly in plastic wrap or store in an airtight container in the refrigerator. It will stay good for up to a week, retaining its chewiness and flavor.
Freezing
This bread freezes wonderfully. Slice before freezing for easy portion control, then wrap individual slices or the whole loaf tightly in plastic wrap followed by foil or a freezer-safe bag. It will keep fresh for up to three months, ready to be pulled out and enjoyed.
Reheating
Toast slices straight from the fridge or freezer to revive their crispness and warmth. You can also warm whole loaves in the oven at 300°F for about 10-15 minutes, just until heated through and fragrant, bringing back that fresh-baked magic.
FAQs
Is this bread really gluten-free?
Absolutely! Every ingredient, including the oats, is carefully chosen to be certified gluten-free, making this bread safe for those with gluten sensitivities or celiac disease.
Can I substitute any of the nuts or seeds?
Definitely! Feel free to swap almonds for walnuts, or sunflower seeds for sesame seeds depending on your preference or what you have on hand. Just keep the ratios similar to maintain texture and structure.
Why is there no traditional flour or yeast in this recipe?
This bread relies on the binding power of psyllium husk and chia seeds, making it naturally gluten-free without yeast or flour. It’s more like a dense, hearty seed loaf, perfect for those avoiding typical gluten structures.
Can I add fresh herbs or spices for extra flavor?
Of course! Fresh rosemary, thyme, or even a pinch of smoked paprika can add lovely depth. Just be mindful of balancing flavors so the natural sweet notes from the dried fruit still shine.
How long does it take to make this bread from start to finish?
The active prep time is quite short, about 15 minutes to combine. However, allowing the dough to rest for around 6 to 9 hours and baking for roughly 80-90 minutes means it’s best started the day before for perfect results.
Final Thoughts
I can’t recommend the Gluten-Free Seed & Nut Adventure Bread Recipe enough! It’s a heartwarming loaf that brings together rustic charm and delicious nutrition in every bite. Whether you’re new to gluten-free baking or a seasoned pro, this bread offers a fun and rewarding project with truly satisfying results. Give it a try—your kitchen and taste buds will thank you for it!
“`
Print
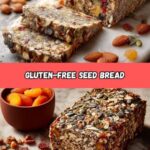
Gluten-Free Seed & Nut Adventure Bread Recipe
- Prep Time: 20 minutes
- Cook Time: 1 hour 20 minutes
- Total Time: 7 hours 40 minutes (including resting time)
- Yield: 2 loaves
- Category: Bread
- Method: Baking
- Cuisine: Gluten-Free
- Diet: Gluten Free
Description
This Gluten-Free Seed & Nut Adventure Bread is a wholesome, hearty loaf packed with a variety of seeds, nuts, and dried fruits. Perfect for those seeking a nutritious gluten-free bread option, it combines the natural sweetness of dried apricots and apples with the earthiness of sunflower, pumpkin, flax, and chia seeds. Enhanced with hints of cinnamon and orange zest, this no-yeast bread requires no kneading and relies on a simple soak-and-bake technique for easy preparation.
Ingredients
Dry Ingredients
- 1½ cups sunflower seeds
- 2/3 cup pumpkin seeds
- 1 cup almonds, roughly chopped
- ½ cup psyllium seed husk
- 4 tbsp chia seeds
- 1 cup flax seeds
- 4 cups rolled oats (certified gluten-free)
- 8 dried apricots, finely chopped
- 8 dried apple rings, finely chopped
- 1 tsp ground cinnamon (optional twist)
- Zest of 1 orange (optional twist)
- 3 tsp salt
Wet Ingredients
- 4 tbsp maple syrup
- 6 tbsp neutral oil (avocado or coconut work well)
- 4 cups water
Instructions
- Combine Dry Ingredients: In a large bowl, mix together all the seeds, nuts, oats, dried apricots, dried apple rings, cinnamon, orange zest, and salt until evenly distributed.
- Mix Wet Ingredients: In a separate bowl, whisk together the maple syrup, neutral oil, and water until combined. Pour this mixture into the bowl with the dry ingredients and stir thoroughly, ensuring all components are evenly soaked.
- Prepare Loaf Pans: Grease or line two loaf pans with parchment paper. Transfer the seed and nut batter into the pans, pressing firmly to compact the mixture and smoothing the tops evenly.
- Let Batter Rest: Cover the loaf pans and allow them to rest at room temperature for at least 6 hours or ideally overnight, up to 9 hours. This resting period allows the psyllium husk and chia seeds to absorb moisture and bind the loaf together.
- Preheat Oven: When ready to bake, preheat the oven to 350°F (175°C).
- First Bake: Place the loaf pans in the oven and bake for 50 minutes.
- Second Bake: Remove the loaves from the pans, place them directly on the oven rack, and bake for an additional 30 to 40 minutes. This step crisps the crust and ensures the bread is firm throughout.
- Cool Before Serving: Allow the loaves to cool completely before slicing. This prevents crumbling and improves texture. The bread stores well refrigerated or frozen for later use.
Notes
- Be sure to use certified gluten-free oats to maintain the gluten-free integrity of the bread.
- Letting the dough rest overnight helps the psyllium and chia seeds activate, giving the bread structure and moisture.
- Pressing the batter firmly into the loaf pans will help the bread hold together better after baking.
- Allow the bread to cool completely for best slicing results and texture.
- This bread is naturally free from yeast and gluten, making it suitable for gluten-sensitive individuals.
- Store the bread tightly wrapped in the refrigerator for up to one week or freeze for longer storage.


