
There is something truly magical about mastering a Classic Vanilla Ice Cream Recipe at home. This timeless dessert blends simplicity and elegance into a creamy concoction that delights every palate. Velvety smooth, perfectly sweet, and bursting with pure vanilla goodness, this recipe elevates the humble vanilla ice cream to an art form you can proudly serve at any occasion. Whether enjoyed on its own or as the perfect companion to other sweets, this homemade treat will quickly become a beloved fixture in your kitchen.
Ingredients You’ll Need
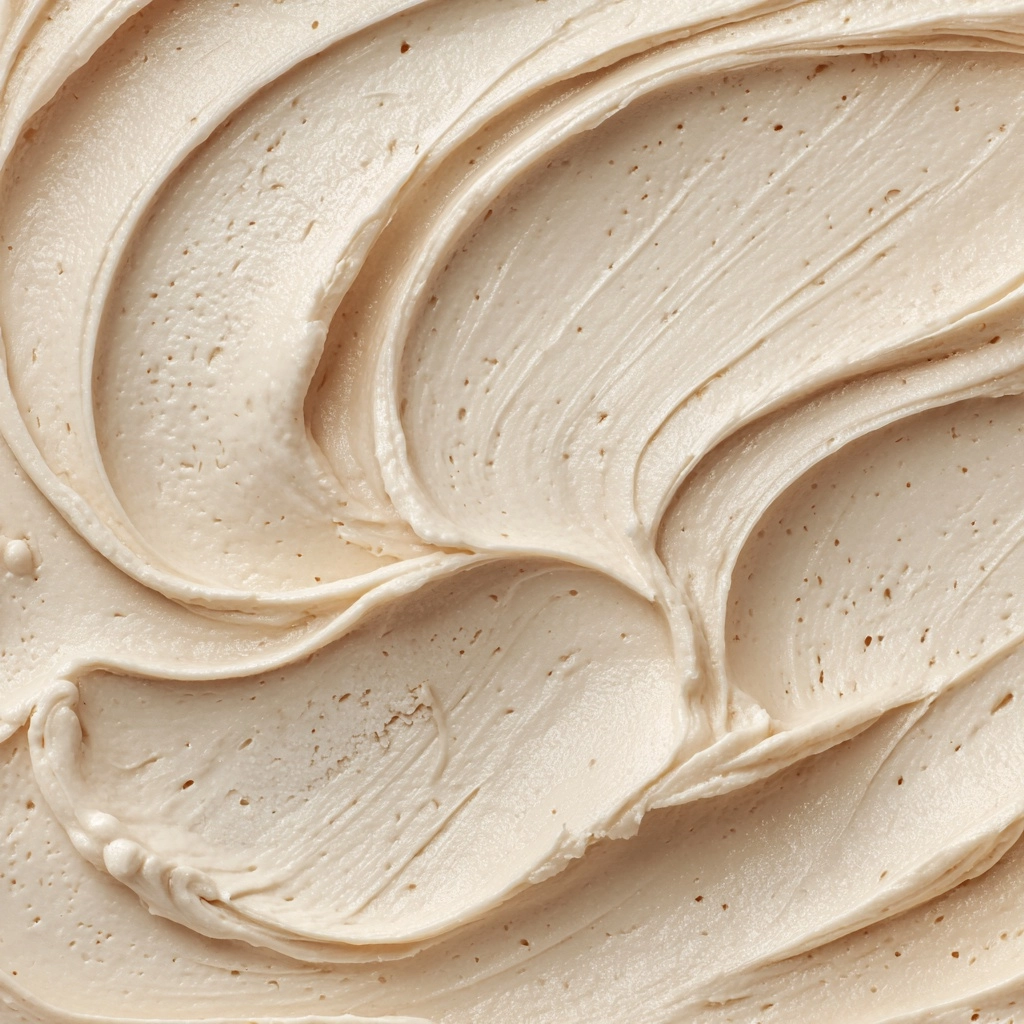
The beauty of this Classic Vanilla Ice Cream Recipe lies in its simplicity. Each ingredient plays an essential role, combining to create the ideal balance of creamy texture, rich flavor, and irresistible sweetness that defines classic vanilla ice cream.
- 2 cups heavy cream: The foundation of richness and smooth texture, heavy cream gives the ice cream its characteristic creaminess.
- 1 cup whole milk: This adds softness and lightness, balancing the heaviness of the cream while keeping the mixture luscious.
- 3/4 cup granulated sugar: Sweetness is key, and this amount perfectly enhances the vanilla flavors without overpowering them.
- 1 tablespoon pure vanilla extract: The star of the show, this extract infuses the mixture with authentic and aromatic vanilla essence.
- Pinch of salt: Salt intensifies the flavors and balances the sweetness, bringing everything together harmoniously.
How to Make Classic Vanilla Ice Cream Recipe
Step 1: Whisk the Base
Start by combining the heavy cream, whole milk, granulated sugar, pure vanilla extract, and a pinch of salt in a medium mixing bowl. Whisk the ingredients together thoroughly until the sugar has completely dissolved. This ensures the sweetness melds smoothly throughout the mixture.
Step 2: Chill the Mixture
Cover the bowl and refrigerate the mixture for at least one to two hours. This chilling phase is vital because a cold base churns better in the ice cream maker, resulting in that coveted creamy texture.
Step 3: Churn the Ice Cream
Once your mixture is thoroughly chilled, pour it into your ice cream maker and churn according to the manufacturer’s instructions. Typically, this process takes about 20 to 25 minutes, transforming the liquid base into a soft-serve consistency that is bursting with flavor and creaminess.
Step 4: Freeze to Firm Up
Transfer the churned ice cream into an airtight container and place it in the freezer for at least two hours or until it firms up to your desired scoopable texture. This final freeze lets the flavors deepen and the texture solidify without losing its silky quality.
How to Serve Classic Vanilla Ice Cream Recipe
Garnishes
While the Classic Vanilla Ice Cream Recipe stands beautifully on its own, a few simple garnishes can elevate the experience. Try topping it with freshly shaved dark chocolate, a sprinkle of toasted almonds, or a drizzle of caramel sauce for an extra indulgent touch.
Side Dishes
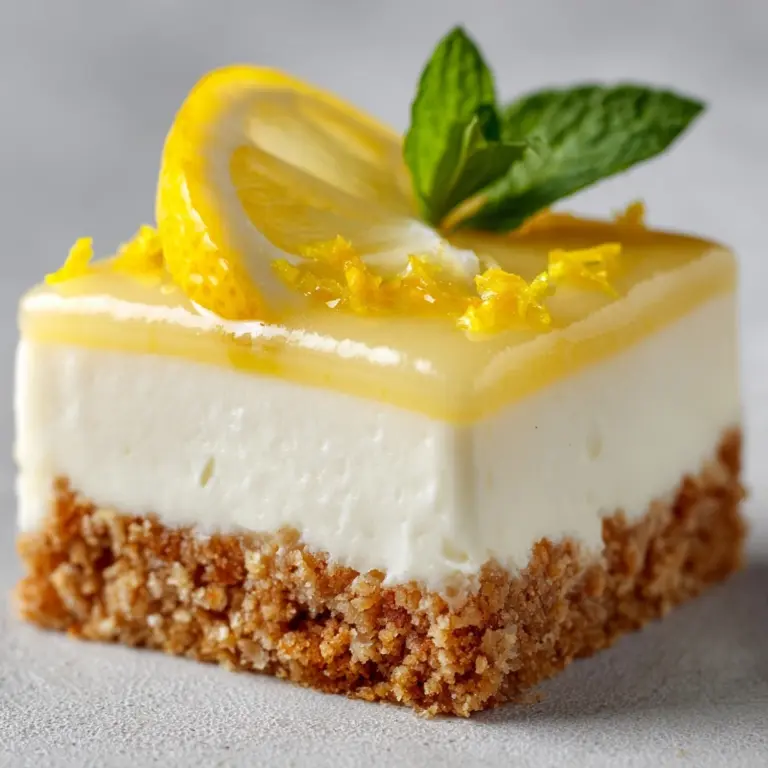
This ice cream pairs wonderfully with many desserts. Serve alongside a warm apple pie, a slice of rich chocolate cake, or fresh seasonal berries to create a delightful contrast between hot and cold, sweet and tart.
Creative Ways to Present
For a playful twist, serve scoops of this classic vanilla ice cream in crisp waffle cones or colorful bowls. You can also sandwich it between delicate cookies or create a layered parfait with fruit compote for a stunning dessert presentation that will wow your guests.
Make Ahead and Storage
Storing Leftovers
If you have leftovers, store your homemade ice cream in an airtight container in the freezer to maintain its freshness. Proper sealing prevents ice crystals from forming and keeps the creamy texture intact for days.
Freezing
This Classic Vanilla Ice Cream Recipe freezes beautifully. Allow it to chill thoroughly before scooping, and always keep it covered tightly to avoid absorbing any freezer odors or developing freezer burn.
Reheating
Ice cream is best enjoyed straight from the freezer, but if it becomes too hard, let it sit at room temperature for a few minutes to soften slightly before serving. Avoid microwaving, as this can cause uneven melting and ruin the texture.
FAQs
Can I use vanilla bean instead of vanilla extract?
Absolutely! Using vanilla bean or vanilla bean paste will give your Classic Vanilla Ice Cream Recipe an even richer, more intense vanilla flavor, along with those appealing specks of vanilla throughout the ice cream.
Do I need an ice cream maker for this recipe?
An ice cream maker is highly recommended to achieve the perfect texture in this recipe. However, if you don’t have one, you can try stirring the mixture every 30 minutes while freezing to mimic the churning process, though it might be less smooth.
Is this recipe gluten-free?
Yes, all ingredients in the Classic Vanilla Ice Cream Recipe are naturally gluten-free, making it a great dessert option for those avoiding gluten.
How long can I store homemade ice cream?
Stored properly in an airtight container in the freezer, your homemade ice cream will keep its quality for up to two weeks, allowing you to enjoy your classic vanilla treat at your leisure.
Can I add mix-ins to this vanilla ice cream?
Definitely! This Classic Vanilla Ice Cream Recipe is a fantastic base for mix-ins like chocolate chips, cookie crumbles, or fresh fruit swirls. Add them during the last few minutes of churning for even distribution.
Final Thoughts
There’s nothing quite like savoring a scoop of homemade vanilla ice cream made from scratch with this Classic Vanilla Ice Cream Recipe. It’s simple, satisfying, and endlessly versatile—perfect for sharing good times with family and friends. I encourage you to dive into this recipe and experience the rewarding joy of creating your own classic dessert masterpiece.
Print
Classic Vanilla Ice Cream Recipe
- Prep Time: 10 minutes (plus 1-2 hours chilling)
- Cook Time: 0 minutes
- Total Time: 10 minutes (plus 2–4 hours chilling/freezing)
- Yield: 1 quart (8 servings)
- Category: Dessert
- Method: Churning
- Cuisine: American
- Diet: Gluten Free, Vegetarian
Description
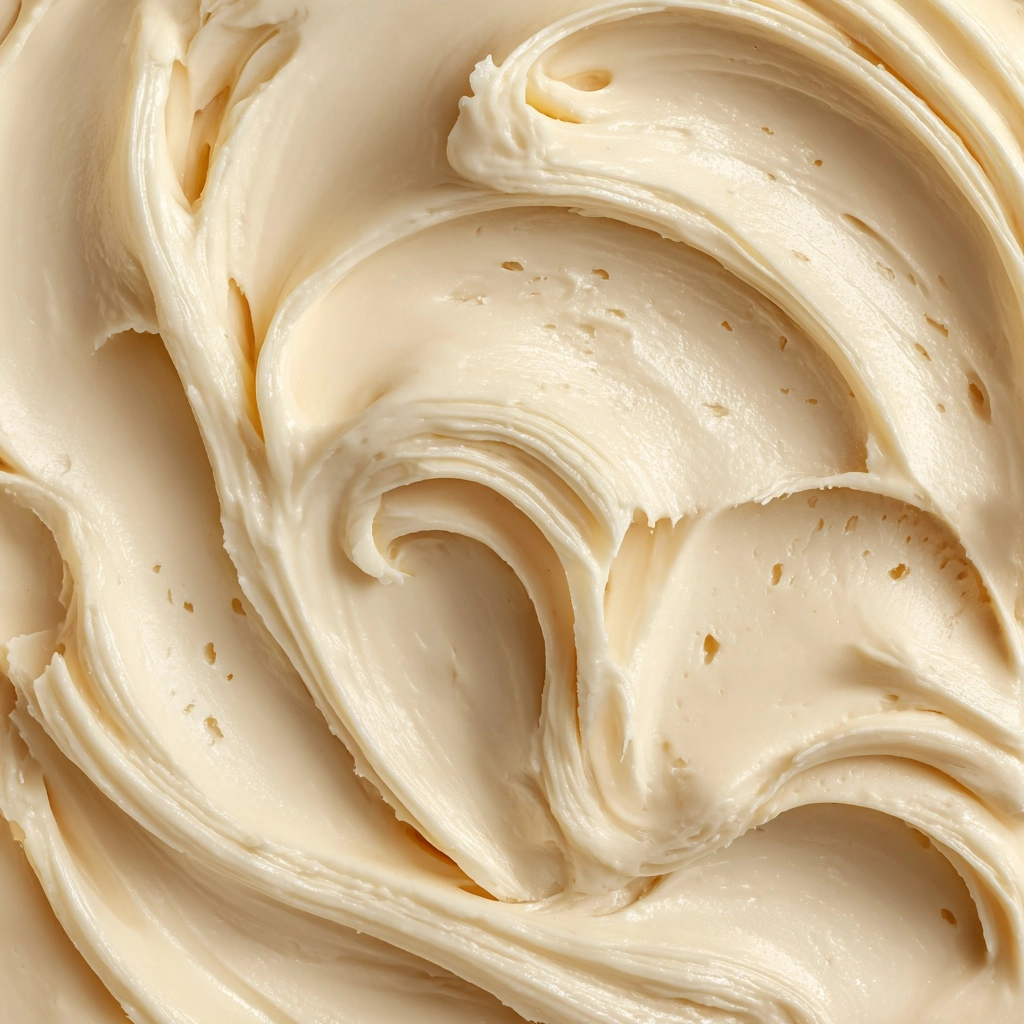
Classic Vanilla Ice Cream is a creamy, homemade dessert featuring rich vanilla flavor with a smooth, soft-serve texture. Made with heavy cream, whole milk, and pure vanilla extract, this easy recipe is perfect for summer or any time you crave a cold, sweet treat. Churned to perfection and frozen to firmness, this ice cream serves as a versatile base for mix-ins or toppings.
Ingredients
Ice Cream Base
- 2 cups heavy cream
- 1 cup whole milk
- 3/4 cup granulated sugar
- 1 tablespoon pure vanilla extract
- Pinch of salt
Instructions
- Mix Ingredients: In a medium mixing bowl, whisk together the heavy cream, whole milk, sugar, vanilla extract, and a pinch of salt until the sugar is fully dissolved.
- Chill Mixture: Cover the bowl and refrigerate the mixture for at least 1–2 hours, or until thoroughly chilled to ensure better texture during churning.
- Churn Ice Cream: Pour the chilled mixture into your ice cream maker and churn according to the manufacturer’s instructions, typically about 20–25 minutes, until it reaches a soft-serve consistency.
- Freeze to Firmness: Transfer the churned ice cream to an airtight container and freeze for at least 2 hours or until firm enough to scoop.
- Serve: Scoop the ice cream into bowls or cones and enjoy your homemade classic vanilla ice cream.
Notes
- For an extra-rich flavor, add an extra splash of vanilla or use vanilla bean paste.
- This recipe is a great base for mix-ins like chocolate chips, crushed cookies, or fruit swirls.

