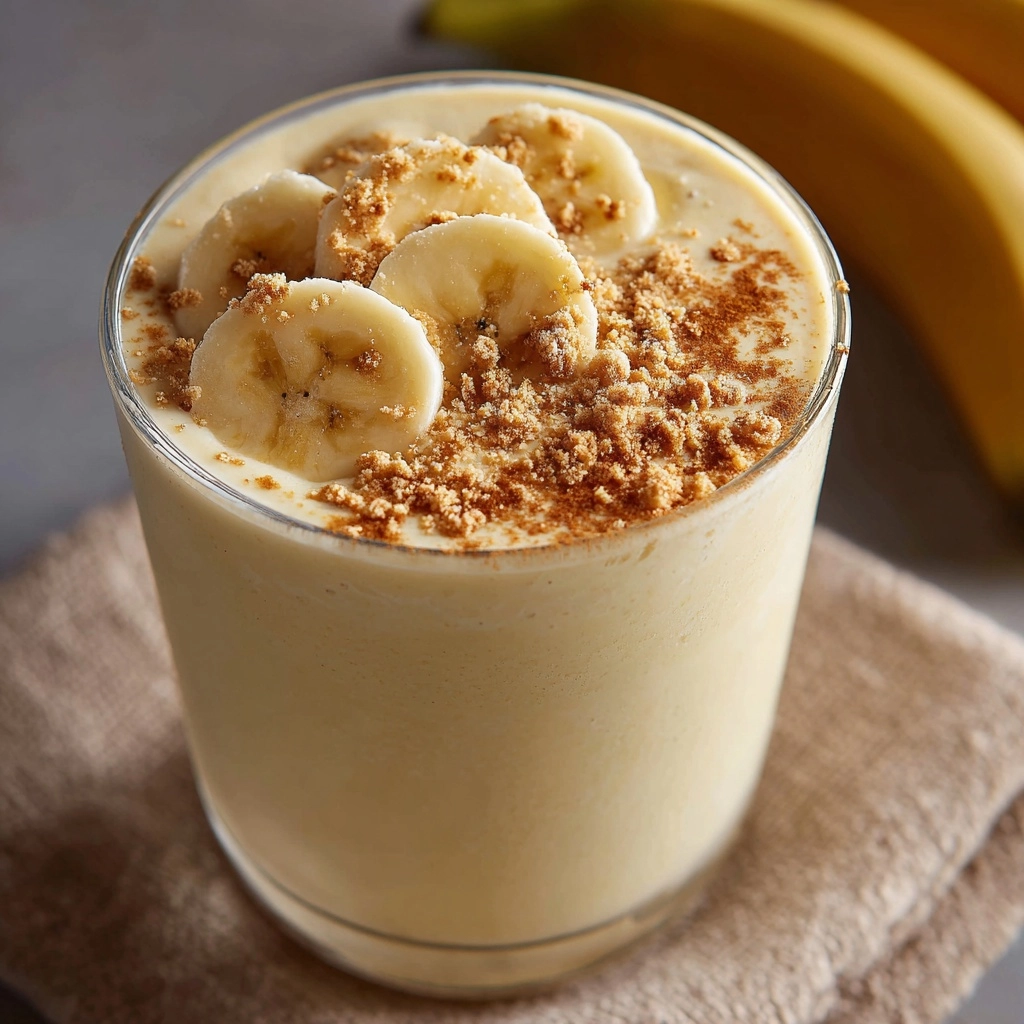
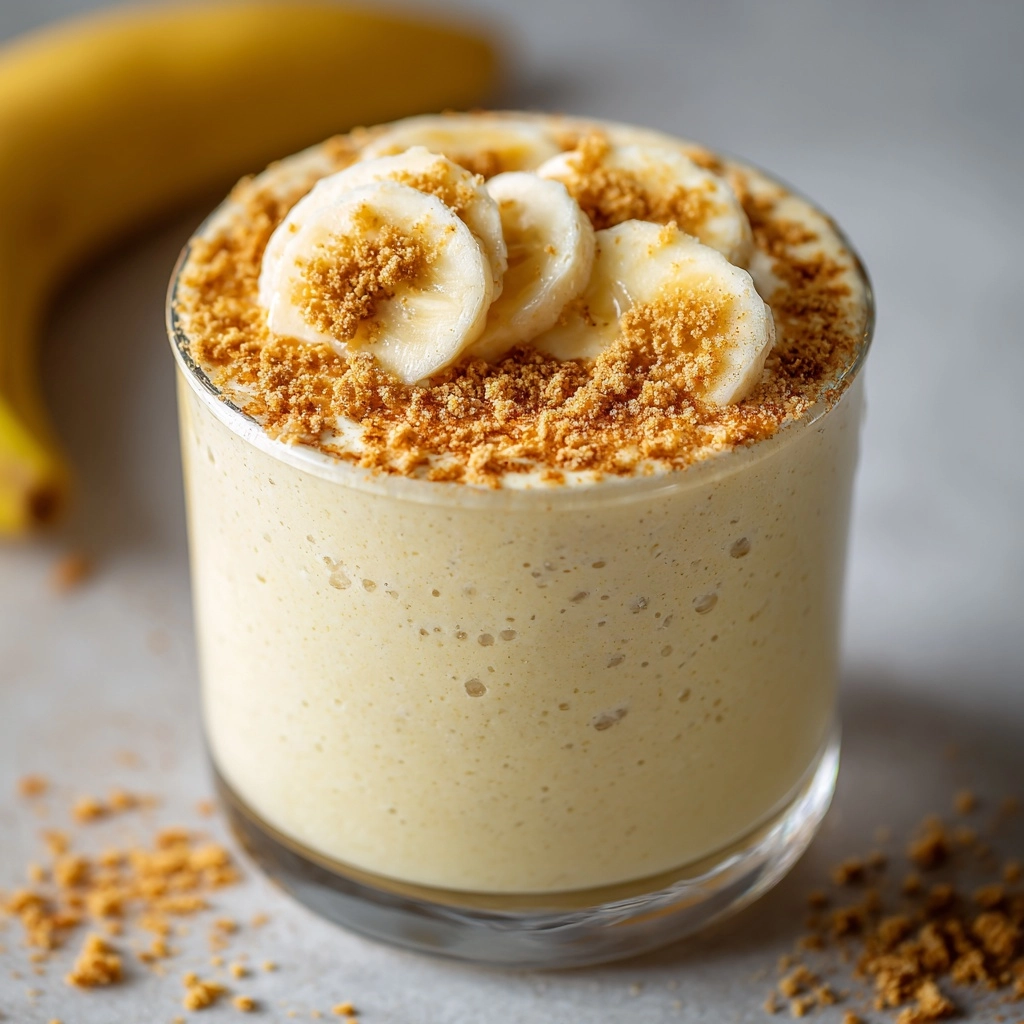
Nothing beats the creamy, naturally sweet delight of a fresh homemade shake on a warm afternoon, and this Easy Banana Milkshake Recipe is just that kind of joy in a glass. Packed with ripe bananas, smooth milk, and a hint of vanilla, this recipe delivers a luscious treat that is both comforting and refreshing. Whether you’re craving a quick breakfast boost, an afternoon pick-me-up, or a simple dessert, this banana milkshake hits all the right notes with minimal fuss and maximum flavor. Get ready to blend up a deliciously satisfying drink that feels like a sweet hug every time.
Ingredients You’ll Need
Gathering the right ingredients is truly half the fun when it comes to this Easy Banana Milkshake Recipe. Each item is simple yet essential to achieve that velvety texture, balanced sweetness, and mouthwatering flavor that makes this shake so irresistible.
- 2 ripe bananas: The star of the show, providing natural sweetness and creamy consistency.
- 2 cups cold milk (dairy or non-dairy): Adds smoothness and a rich base to blend all the flavors.
- 1/2 cup vanilla ice cream or frozen yogurt: Brings a luscious creaminess and a subtle vanilla essence.
- 1 to 2 tablespoons honey or maple syrup (optional): For anyone with a sweet tooth who wants an extra touch of natural sweetness.
- 1/2 teaspoon vanilla extract: Enhances the flavor profile with a warm, comforting aroma.
- Pinch of ground cinnamon (optional): Adds a gentle hint of spice that complements the banana beautifully.
How to Make Easy Banana Milkshake Recipe
Step 1: Prepare Your Bananas
Start by peeling your ripe bananas and breaking them into chunks. Using ripe bananas is key because they have the perfect balance of sweetness and softness, which blends effortlessly into the milkshake’s creamy base.
Step 2: Combine Ingredients in Blender
Add the banana pieces to your blender, pour in the cold milk, and scoop in the vanilla ice cream or frozen yogurt. If you want to dial up the sweetness, drizzle in your choice of honey or maple syrup. Don’t forget the vanilla extract and a pinch of cinnamon if you’re feeling adventurous with flavor.
Step 3: Blend Until Smooth
Blend everything on high speed for about 30 to 60 seconds. Watch as the ingredients transform into a velvety smooth milkshake with a rich, dreamy texture. This step is crucial to getting that perfect consistency where no lumps remain.
Step 4: Taste and Adjust
Give your milkshake a quick taste test. If you want it sweeter or with a little more vanilla, now’s the moment to add a bit more honey or vanilla extract, then blend briefly to mix.
Step 5: Serve Immediately
Pour your perfectly blended Easy Banana Milkshake Recipe into tall glasses. This shake is best enjoyed fresh and cold, so serve it right away for the ultimate experience.
How to Serve Easy Banana Milkshake Recipe

Garnishes
A little garnish can elevate your banana milkshake from simple to Instagram-worthy. Try topping it with a sprinkle of ground cinnamon or a few banana slices on the rim of the glass. Whipped cream or a drizzle of honey can add extra indulgence too.
Side Dishes
Pair your Easy Banana Milkshake Recipe with light, tasty bites like almond biscotti, crispy granola clusters, or even a handful of fresh berries. These sides provide wonderful texture contrasts and keep the overall snack feeling balanced and satisfying.
Creative Ways to Present
Serve your milkshake in a mason jar with a colorful straw for a casual vibe, or use a chilled glass with a sugared rim for a touch of elegance. You can also layer the shake with a bit of peanut butter or cocoa powder swirled inside the glass to add visual layers and extra taste excitement.
Make Ahead and Storage
Storing Leftovers
If you happen to have any leftover banana milkshake, store it in an airtight container in the fridge for up to 24 hours. Give it a good stir before drinking, as natural separation may occur, but keep in mind it tastes best freshly made.
Freezing
For longer storage, you can freeze the milkshake in ice cube trays or freezer-safe containers. When ready to enjoy again, thaw slightly and blend to refresh that creamy texture. This way you can enjoy your Easy Banana Milkshake Recipe anytime you like with minimal effort.
Reheating
Since this is a cold milkshake, reheating is not typically recommended. Instead, simply blend frozen leftovers or enjoy them as a frozen treat for a perfectly chilled experience.
FAQs
Can I use plant-based milk for this recipe?
Absolutely! Almond, oat, soy, or coconut milk all work wonderfully and create a deliciously creamy texture while keeping the shake dairy-free.
What if I don’t have ice cream or frozen yogurt?
You can still make a tasty banana shake by using just milk and bananas, but the ice cream adds that special creamy richness. For a healthier twist, frozen banana chunks can substitute the ice cream to add thickness.
Is it okay to add protein powder?
Definitely! Adding a scoop of your favorite protein powder can turn this shake into a nutritious meal option or post-workout boost without compromising taste.
Can I make this milkshake thicker?
Yes, using frozen banana slices or adding more ice cream will thicken your shake perfectly. You can also toss in some ice cubes and blend until smooth for a colder, thicker treat.
How long does this milkshake stay fresh?
This Easy Banana Milkshake Recipe tastes best immediately but can be kept in the fridge for up to a day. Stir well before drinking if separated.
Final Thoughts
This Easy Banana Milkshake Recipe is one of those simple, feel-good treats that everyone should know how to make. It’s quick, versatile, and endlessly satisfying, perfect for when you want a sweet pick-me-up without any hassle. Grab your blender and your ripest bananas, and treat yourself to this delicious, creamy delight that always feels like a comforting hug in a glass.
Print
Easy Banana Milkshake Recipe
- Prep Time: 5 minutes
- Cook Time: 0 minutes
- Total Time: 5 minutes
- Yield: 2 servings
- Category: Beverage
- Method: Blending
- Cuisine: American
- Diet: Vegetarian, Gluten Free
Description
This Easy Banana Milkshake recipe combines ripe bananas, cold milk, and creamy vanilla ice cream to create a smooth and delicious beverage perfect for any time of day. Sweetened naturally with honey or maple syrup and enhanced with vanilla extract and a hint of cinnamon, this milkshake is simple to make and wonderfully satisfying. Whether you’re looking for a quick breakfast or a refreshing snack, this easy-to-blend treat delivers both flavor and nutrition in every glass.
Ingredients
Ingredients
- 2 ripe bananas
- 2 cups cold milk (dairy or non-dairy)
- 1/2 cup vanilla ice cream or frozen yogurt
- 1 to 2 tablespoons honey or maple syrup (optional)
- 1/2 teaspoon vanilla extract
- Pinch of ground cinnamon (optional)
Instructions
- Prepare the bananas: Peel the bananas and place them into your blender to form the base for the milkshake.
- Add liquids and flavorings: Pour in the cold milk and add the vanilla ice cream. Drizzle in the honey or maple syrup if you prefer a sweeter shake. Add the vanilla extract and a pinch of ground cinnamon for extra aroma and flavor.
- Blend until smooth: Blend all the ingredients on high speed for 30 to 60 seconds until the mixture is creamy and well combined without any lumps.
- Taste and adjust: Sample the milkshake and add more sweetener if needed, then blend briefly again to incorporate any additions.
- Serve immediately: Pour the milkshake into glasses and enjoy it fresh for the best texture and flavor.
Notes
- For a thicker milkshake, use frozen banana slices instead of fresh bananas.
- Enhance the nutrition by adding a tablespoon of peanut butter or a scoop of protein powder to the blender.
