
I am beyond excited to share this Baked Italian Sub Sandwiches Recipe with you. It’s the perfect blend of hearty Italian meats, gooey melted provolone, and vibrant veggies, all baked right inside a crispy Italian roll. This sandwich hits all the right notes — savory, cheesy, and colorful — bringing a warmth and satisfaction that feels like a big, comforting hug. Whether you’re making lunch for friends or a cozy family dinner, this recipe will quickly become your go-to for an easy, flavorful meal that’s both impressive and downright delicious.
Ingredients You’ll Need
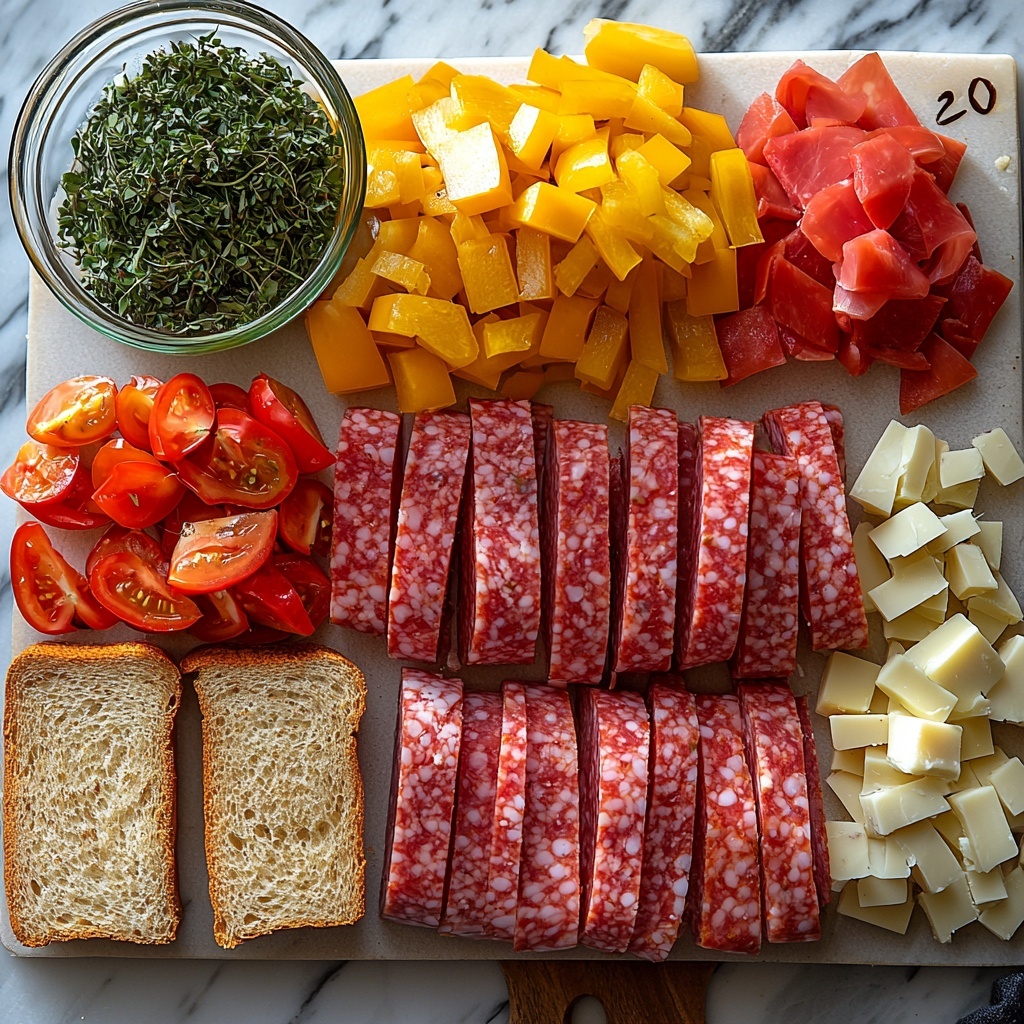
Gathering these simple yet essential ingredients is the first step to creating a sandwich bursting with flavor and texture. Each item plays a key role, from the variety of Italian meats that bring depth and boldness, to the fresh bell peppers and onions adding crunch and color.
- Italian sub rolls: Choose fresh rolls about 6 inches long to hold all the layers perfectly without getting soggy.
- Salami: Thinly sliced for a spicy and savory punch that’s unmistakably Italian.
- Honey or smoked ham: Adds a slightly sweet and smoky contrast that balances the other meats beautifully.
- Pepperoni: The classic pizza topping turned sandwich star for extra flavor and a little zing.
- Provolone cheese: Slices melt to creamy perfection, binding all the ingredients together in a golden blanket.
- Olive oil: A drizzle enhances richness and helps with browning, plus it adds a subtle fruity note.
- Dried oregano: A sprinkle of this herb brings that iconic Italian fragrance and a touch of earthiness.
- Sliced bell peppers: Mixed colors add sweetness, crunch, and a pop of vibrant hue.
- Sliced onions: Layered in for mild pungency and depth that complements the meats and cheese.
How to Make Baked Italian Sub Sandwiches Recipe
Step 1: Preheat the Oven
Start by preheating your oven to 375°F (190°C). This heat level is perfect for creating that ideal melty cheese texture and toasting the rolls slightly crispy without drying out the fillings.
Step 2: Prepare the Rolls
Slice your Italian sub rolls lengthwise, creating a cozy pocket ready to hold all the wonderful fillings. Place the rolls on a parchment-lined baking sheet for easy cleanup and even baking.
Step 3: Layer the Italian Meats and Cheese
Now, layer your sandwich starting with the thinly sliced salami, ham, and pepperoni. Be generous and arrange the meats evenly. Next, pile on the provolone slices — this cheese will melt beautifully and marry the flavors together.
Step 4: Add the Veggies
Scatter the sliced bell peppers and onions over the cheese layer. These veggies not only bring crunch but also create a colorful contrast that makes the sandwich so inviting.
Step 5: Drizzle and Sprinkle
Drizzle olive oil over the assembled sandwiches and sprinkle the dried oregano on top. This simple step releases the herbs’ fragrance and adds a savory note that elevates the entire flavor profile.
Step 6: Bake Until Golden Perfection
Bake the sandwiches for 15-20 minutes. Keep an eye on them as the cheese bubbles and turns golden brown — that’s your cue that they’re ready to come out and be devoured.
How to Serve Baked Italian Sub Sandwiches Recipe
Garnishes
Serving your baked Italian subs with a few fresh garnishes takes the presentation and taste up a notch. Consider topping with fresh basil leaves or a light drizzle of balsamic glaze to complement the oregano and cheese richness beautifully.
Side Dishes
Pair these sandwiches with a crisp green salad or a bowl of zesty marinara sauce for dipping. Roasted vegetables or a simple pasta salad also make fantastic side dishes that harmonize with the Italian flavors.
Creative Ways to Present
For a fun twist, slice the baked subs into smaller, slider-sized portions to serve at gatherings or parties. Another idea is to wrap leftovers tightly with parchment paper and tie with rustic twine for an inviting picnic or lunchbox treat.
Make Ahead and Storage
Storing Leftovers
Leftover baked Italian sub sandwiches can be wrapped tightly in foil or stored in an airtight container in the refrigerator for up to 2 days. Keeping them wrapped prevents the bread from drying out and preserves all those wonderful flavors.
Freezing
If you want to save them longer, you can freeze the sandwiches individually. Wrap each one tightly in plastic wrap, then in foil, and place them in a freezer bag. They’ll keep well for up to 1 month and defrost nicely when you’re ready to enjoy them again.
Reheating
To reheat, unwrap your sandwich and place it on a baking sheet in a preheated oven at 350°F (175°C) for 10-15 minutes. This method brings back the cheesy meltiness and warms the meats without sogging the bread.
FAQs
Can I use different types of cheese?
Absolutely! While provolone is classic for this recipe, mozzarella, fontina, or even a sharp cheddar can work nicely depending on your preference.
Is it possible to make this sandwich vegetarian?
Yes! Simply omit the meats and load up on grilled vegetables, olives, and extra cheese or use plant-based deli slices to keep the hearty texture.
Can I prepare these sandwiches ahead of time before baking?
Definitely. You can assemble the subs a few hours in advance and keep them wrapped in the fridge. Just add the olive oil and oregano right before baking for best freshness.
What can I substitute for Italian sub rolls?
Any sturdy sandwich roll or baguette will do, but try to pick something with a nice crust to hold all the fillings after baking.
How spicy are these sandwiches?
The combination of salami and pepperoni brings a mild spiciness, but you can adjust the heat by choosing milder or spicier meats or adding hot peppers if you prefer more kick.
Final Thoughts
There’s nothing quite like the comfort and joy of a warm, cheesy Baked Italian Sub Sandwiches Recipe fresh from the oven. It’s a fantastic way to enjoy classic Italian flavors in a super convenient, fuss-free meal that feels special every time. I can’t wait for you to try it and watch it become a beloved staple in your kitchen too!
Print
Baked Italian Sub Sandwiches Recipe
- Prep Time: 10 minutes
- Cook Time: 20 minutes
- Total Time: 30 minutes
- Yield: 4 sandwiches
- Category: Sandwiches
- Method: Baking
- Cuisine: Italian
Description
These Baked Italian Sub Sandwiches are a hearty and flavorful meal featuring layers of salami, ham, pepperoni, and melted provolone cheese, enhanced with fresh bell peppers and onions. Baked to perfection, the subs have a crispy, golden top with melty, gooey cheese and a savory blend of Italian meats, making them a satisfying option for lunch or dinner.
Ingredients
Meat and Cheese
- 4 oz salami, thinly sliced
- 4 oz honey or smoked ham, thinly sliced
- 4 oz pepperoni, thinly sliced
- 8 oz provolone cheese, sliced
Bread and Vegetables
- 4 Italian sub rolls (about 6 inches each)
- 1 cup sliced bell peppers (mixed colors)
- 1/2 cup sliced onions
Seasoning and Oil
- 2 tbsp olive oil
- 1 tsp dried oregano
Instructions
- Preheat Oven: Preheat your oven to 375°F (190°C) to ensure it reaches the right temperature for baking the sandwiches evenly.
- Prepare Rolls: Slice the Italian sub rolls lengthwise without cutting all the way through, and place them on a parchment-lined baking sheet for easy cleanup.
- Layer Meats and Cheese: On the bottom half of each roll, layer the thinly sliced salami, honey or smoked ham, and pepperoni. Then top generously with slices of provolone cheese to cover the meats.
- Add Vegetables: Spread the sliced bell peppers and onions evenly over the cheese to add freshness and flavor.
- Season and Oil: Drizzle each assembled sandwich with olive oil and sprinkle dried oregano over the top for a Mediterranean touch.
- Bake: Place the baking sheet in the preheated oven and bake for 15-20 minutes, or until the cheese is bubbly and golden brown, and the bread is slightly toasted.
Notes
- For extra heat, add sliced banana peppers or a dash of red pepper flakes.
- Use any sturdy sub rolls that hold up well to baking to prevent sogginess.
- Feel free to substitute provolone with mozzarella or another melting cheese if preferred.
- To make the sandwich easier to handle, wrap in foil after baking and let rest for 2-3 minutes before serving.


