
“`html
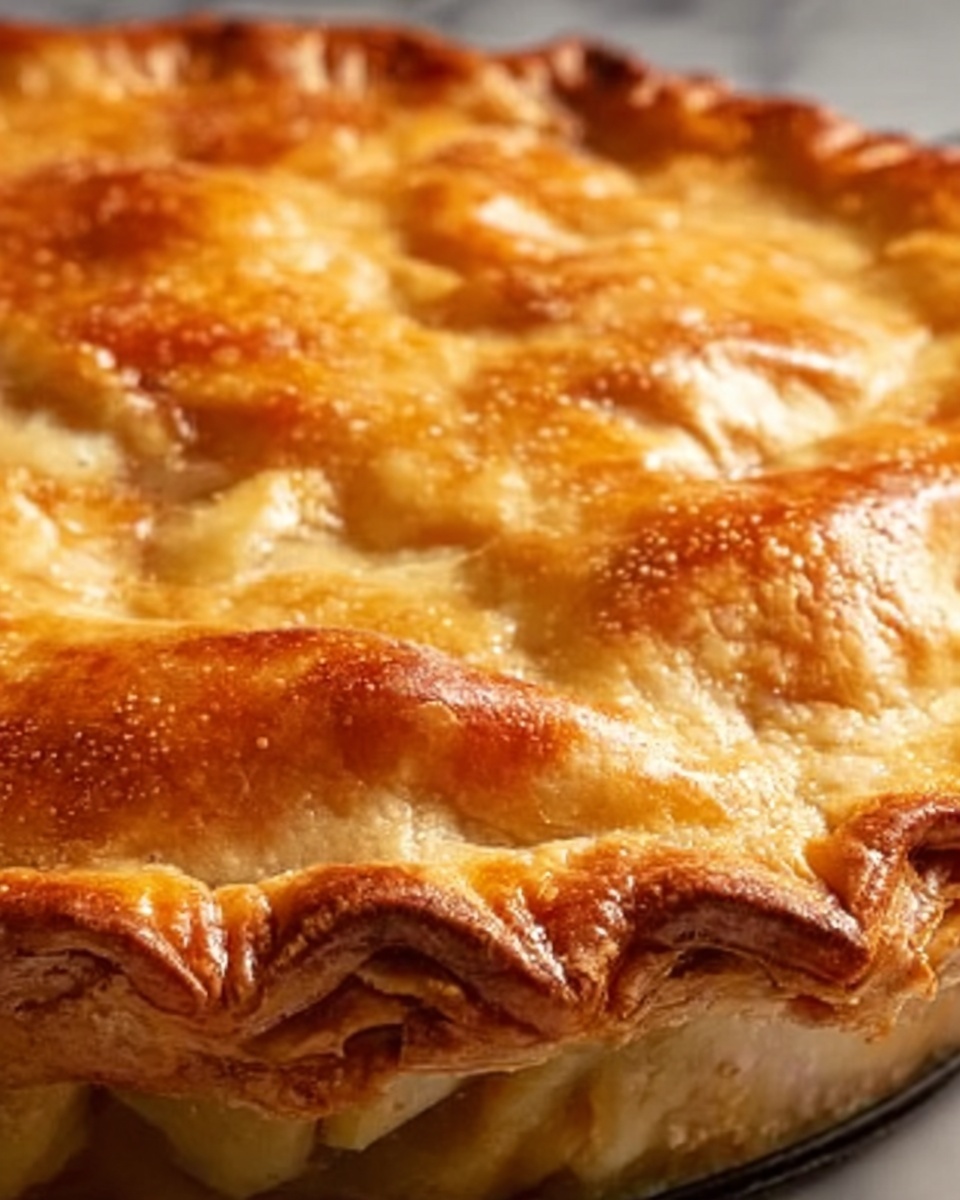
If there’s one dessert that never fails to evoke cozy memories and warm smiles, it’s this Classic Homemade Apple Pie Recipe. With its buttery, flaky crust hugging a generous filling of tender, cinnamon-spiced apples, this pie is comfort on a plate. Whether you’re baking for a special occasion or simply craving a timeless treat, this recipe captures the essence of traditional apple pie in every delightful bite.
Ingredients You’ll Need
Creating this Classic Homemade Apple Pie Recipe is a joy, and it starts with straightforward, quality ingredients. Each component plays its part, from the flaky crust to the perfectly spiced fruit filling, ensuring your pie turns out deliciously balanced and bursting with flavor.
- All-purpose flour: The foundation for the tender, flaky crust and also used in the filling to thicken the juices.
- Granulated sugar: Adds sweetness to both the crust and the apple filling, balancing the tartness of the apples.
- Salt: A pinch in the dough enhances all the flavors, making the crust more flavorful.
- Unsalted butter: Cold and cubed for the crust to create that irresistible flakiness; also dotted on the filling for richness.
- Ice water: Added gradually to bring the dough together without melting the butter, preserving texture.
- Apples (Granny Smith or Honeycrisp): Crisp and tart varieties bring vibrant flavor and texture to the filling.
- Brown sugar: Adds a subtle caramel note and moisture to the filling.
- Ground cinnamon: Warming spice that perfectly complements the apples.
- Ground nutmeg: Just a pinch adds depth and complexity.
- Lemon juice: Brightens the filling and prevents apples from browning.
- Milk: Used to brush the crust for a lovely golden finish.
- Coarse sugar (optional): Sprinkled on top for a sparkling, crunchy crust.
How to Make Classic Homemade Apple Pie Recipe
Step 1: Prepare the Pie Crust
This is where the magic begins. Combine the flour, sugar, and salt in a large bowl, then add the chilled, cubed butter. Use a pastry cutter or your fingers to work it in until the mixture resembles coarse crumbs. Adding ice-cold water a tablespoon at a time helps the dough come together without melting the butter, preserving that flaky texture you’ll love.
Step 2: Chill the Dough
Divide the dough into two equal discs, wrap them tightly, and chill in the refrigerator for at least an hour. This rest period is essential; it firms up the butter, makes rolling easier, and helps the crust keep its shape during baking.
Step 3: Prepare the Apple Filling
While the dough chills, toss your peeled and sliced apples with granulated sugar, brown sugar, flour, cinnamon, nutmeg, and a splash of lemon juice. This combination draws out the natural apple juices, creating a filling that’s gorgeously spiced and perfectly thickened. Set it aside to mingle and meld the flavors.
Step 4: Assemble the Pie
Preheat your oven to 425°F (220°C). Roll out one disc of dough on a lightly floured surface and line your pie dish, trimming any excess. Fill the crust evenly with the apple mixture and dot with small butter pieces for extra richness. Roll out the second dough disc and place it over the apples, trimming and crimping the edges to seal your masterpiece. Don’t forget to cut vents in the top crust so steam can escape and your pie bakes evenly.
Step 5: Bake to Golden Perfection
Brush the top crust with milk and sprinkle coarse sugar if you like a sparkling finish. Bake for 45 to 50 minutes until the crust is a gorgeous golden brown and the filling bubbles enticingly. Keep an eye on the crust edges and cover with foil if they start browning too quickly. Once baked, allow the pie to cool for two hours so the filling can set beautifully.
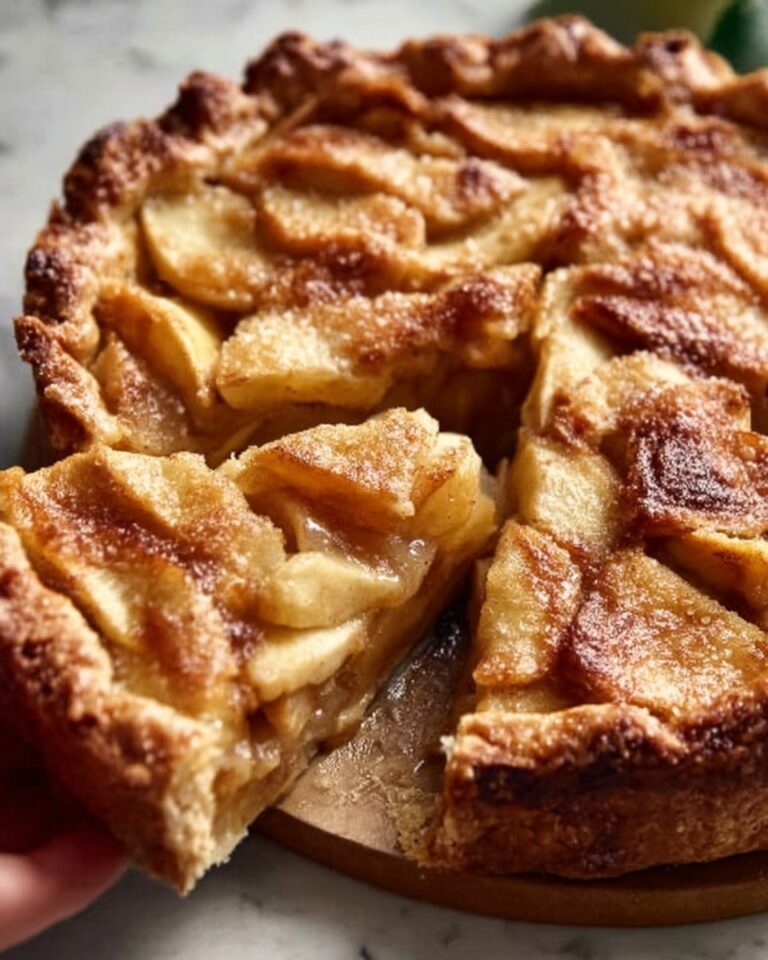
How to Serve Classic Homemade Apple Pie Recipe
Garnishes
A dollop of whipped cream or a scoop of creamy vanilla ice cream elevates this pie from delicious to divine. For an added touch of elegance, try a sprinkle of chopped toasted nuts or a drizzle of caramel sauce—they complement the warm spices and buttery crust wonderfully.
Side Dishes
This apple pie shines as a perfect finish to cozy dinners. Pair it with a hot cup of coffee or spiced tea to balance the sweetness. For festive meals, a simple green salad with a tangy vinaigrette provides a refreshing contrast to this luscious dessert.
Creative Ways to Present
Serve slices with a light dusting of powdered sugar or cinnamon for a rustic touch. For gatherings, consider mini versions in ramekins or tartlets using the Classic Homemade Apple Pie Recipe filling. You can also top with a lattice crust for a charming homemade look that impresses every time.
Make Ahead and Storage
Storing Leftovers
Once your pie has cooled completely, cover it loosely with foil or plastic wrap and store it in the refrigerator. It will keep delicious for up to 4 days, making it a convenient yet indulgent leftover treat.
Freezing
You can freeze the unbaked pie after assembly or freeze baked slices wrapped tightly in plastic and foil to prevent freezer burn. Frozen pie keeps well for up to 3 months—just thaw overnight in the fridge before reheating.
Reheating
Reheat slices in a low oven at 325°F (165°C) for about 15-20 minutes or until warmed through. If you’re short on time, use the microwave on medium power, but reheating slowly in the oven preserves the crust’s crispiness and the filling’s luscious texture.
FAQs
Can I use other types of apples in this Classic Homemade Apple Pie Recipe?
Absolutely! While Granny Smith and Honeycrisp are preferred for their balance of tartness and firmness, you can mix in varieties like Fuji or Gala. Just be mindful some apples are sweeter or softer, which might affect the baking time and sweetness.
How do I prevent the crust from getting soggy?
Chilling the dough well and using a thickening agent like flour in the filling are key. Also, dotting the filling with butter adds richness while helping create a barrier against sogginess. Baking the pie on a lower rack can help the bottom crust crisp up nicely, too.
Can I make this pie gluten-free?
You can, by substituting the all-purpose flour with a gluten-free baking blend designed for pastries. Be sure to look for blends with xanthan gum to mimic the structure gluten provides for the crust’s flakiness.
Why do I need to let the pie cool before slicing?
Cooling allows the filling to thicken and set so that when you cut into the pie, the slices hold together nicely and the flavors have fully developed. Slicing too soon can lead to a runny filling and messy slices.
Is it better to use brown sugar or white sugar in the filling?
Both sugars play an important role. Granulated sugar provides sweetness, while brown sugar adds moisture and a subtle caramel flavor. Using a combination, as in this recipe, gives a richer, more balanced flavor dynamic.
Final Thoughts
There’s something undeniably special about baking this Classic Homemade Apple Pie Recipe and sharing it with those you love. From the buttery crust to the warmly spiced apple filling, every step is a little act of love that results in pure happiness. I hope you enjoy making and savoring this timeless dessert as much as I do!
“`
Print
Classic Homemade Apple Pie Recipe
- Prep Time: 1 hour 20 minutes
- Cook Time: 50 minutes
- Total Time: 2 hours 10 minutes
- Yield: 8 servings
- Category: Dessert
- Method: Baking
- Cuisine: American
Description
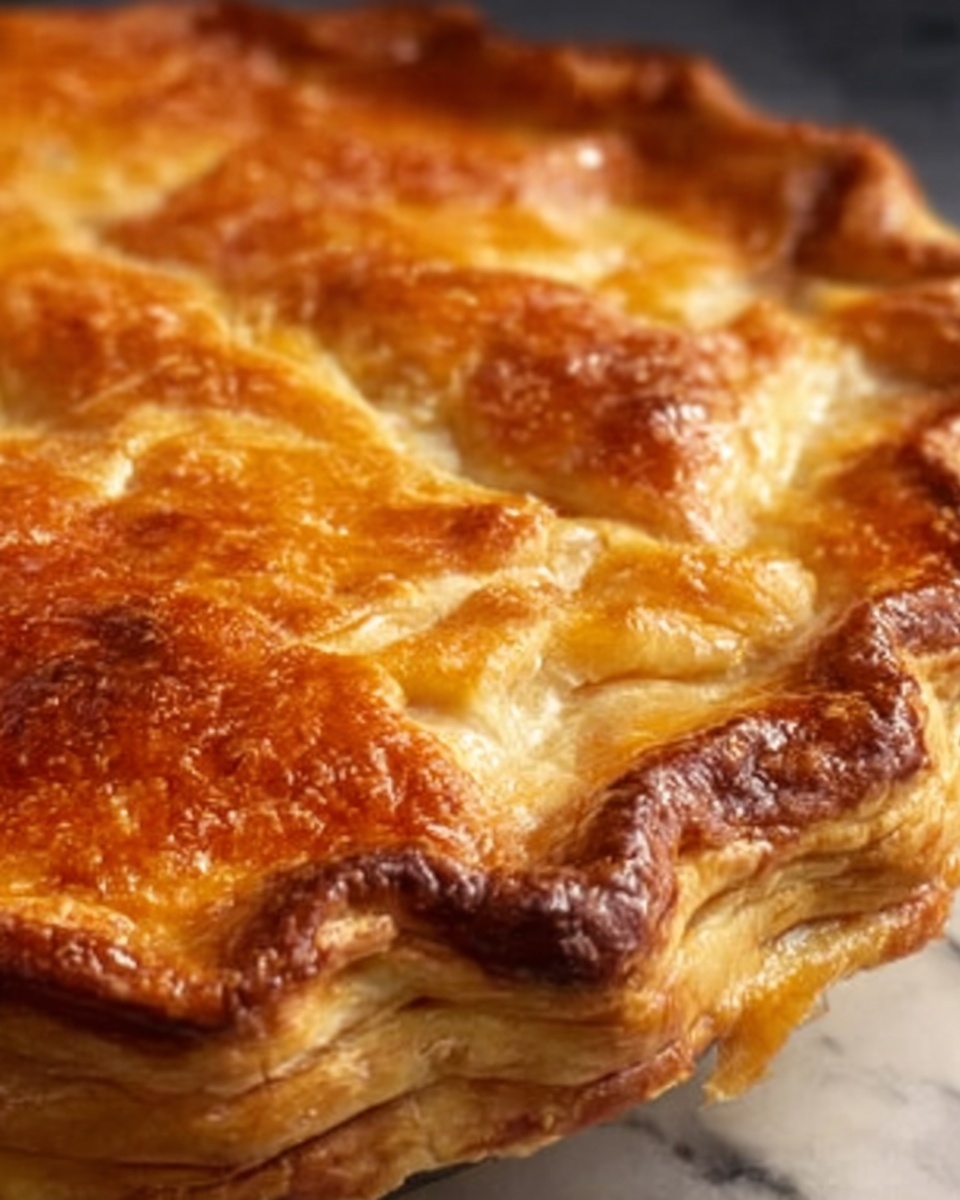
A classic homemade apple pie featuring a flaky buttery crust and a spiced apple filling, baked to golden perfection. Perfect for fall or any time you crave a comforting dessert that combines sweet, tart apples with warm cinnamon and nutmeg.
Ingredients
Pie Crust
- 2 1/2 cups all-purpose flour
- 1 tablespoon granulated sugar
- 1 teaspoon salt
- 1 cup unsalted butter, chilled and cubed
- 6–8 tablespoons ice water
Apple Filling
- 6–7 medium apples (such as Granny Smith or Honeycrisp), peeled, cored, and sliced
- 3/4 cup granulated sugar
- 1/4 cup packed brown sugar
- 2 tablespoons all-purpose flour
- 1 teaspoon ground cinnamon
- 1/4 teaspoon ground nutmeg
- 1 tablespoon lemon juice
- 1 tablespoon unsalted butter, cut into small pieces
Topping
- 1 tablespoon milk (for brushing the crust)
- 1 tablespoon coarse sugar (optional, for sprinkling on top)
Instructions
- Prepare the Pie Crust: In a large bowl, combine the flour, sugar, and salt. Add the chilled, cubed butter and use a pastry cutter or your fingers to mix until the mixture resembles coarse crumbs with pea-sized pieces of butter.
- Add Ice Water: Gradually pour in ice water, one tablespoon at a time, stirring gently until the dough just starts to come together without being wet or sticky.
- Chill the Dough: Divide the dough in half, shape each half into a disc, wrap tightly in plastic wrap, and refrigerate for at least 1 hour to firm up the butter and make rolling easier.
- Prepare the Apple Filling: In a large bowl, combine the peeled, cored, and sliced apples with granulated sugar, brown sugar, flour, cinnamon, nutmeg, and lemon juice. Toss thoroughly to coat all apple slices evenly. Set aside to let the flavors meld.
- Preheat Oven: Set your oven to 425°F (220°C) to prepare for baking the pie.
- Roll Out Bottom Crust: On a lightly floured surface, roll out one dough disc into a circle slightly larger than a 9-inch pie dish. Transfer it to the dish and trim any excess dough hanging over the edges.
- Assemble Filling: Pour the apple filling into the prepared pie crust, spreading it evenly. Dot the filling with small pieces of the 1 tablespoon unsalted butter for added richness.
- Roll Out Top Crust: Roll out the second dough disc and place it over the apples. Trim excess dough and crimp the edges together to seal the pie.
- Vent and Brush: Cut several small slits in the top crust to allow steam to escape during baking. Brush the crust with milk to help it brown nicely and sprinkle coarse sugar on top if desired for an added crunch and sweet finish.
- Bake the Pie: Bake in the preheated oven at 425°F (220°C) for 45-50 minutes, or until the crust turns golden brown and the filling is bubbling through the vents.
- Protect Crust Edges: If the crust edges brown too quickly, cover them with aluminum foil or a pie shield to prevent burning while the pie finishes baking.
- Cool Before Serving: Remove the pie from the oven and let it cool for at least 2 hours. This rest time allows the filling to set, making slicing clean and serving easier.
Notes
- Choosing tart apples like Granny Smith provides a nice balance to the sweetness of the filling.
- Chilling the dough is essential for a flaky crust as it prevents the butter from melting too quickly during rolling and baking.
- Covering the crust edges partway through baking prevents over-browning and burnt crust.
- Allow cooling before slicing so the filling thickens and slices hold their shape well.
- You can add a pinch of ground cloves or ginger to the filling for extra warm spice notes if desired.


