
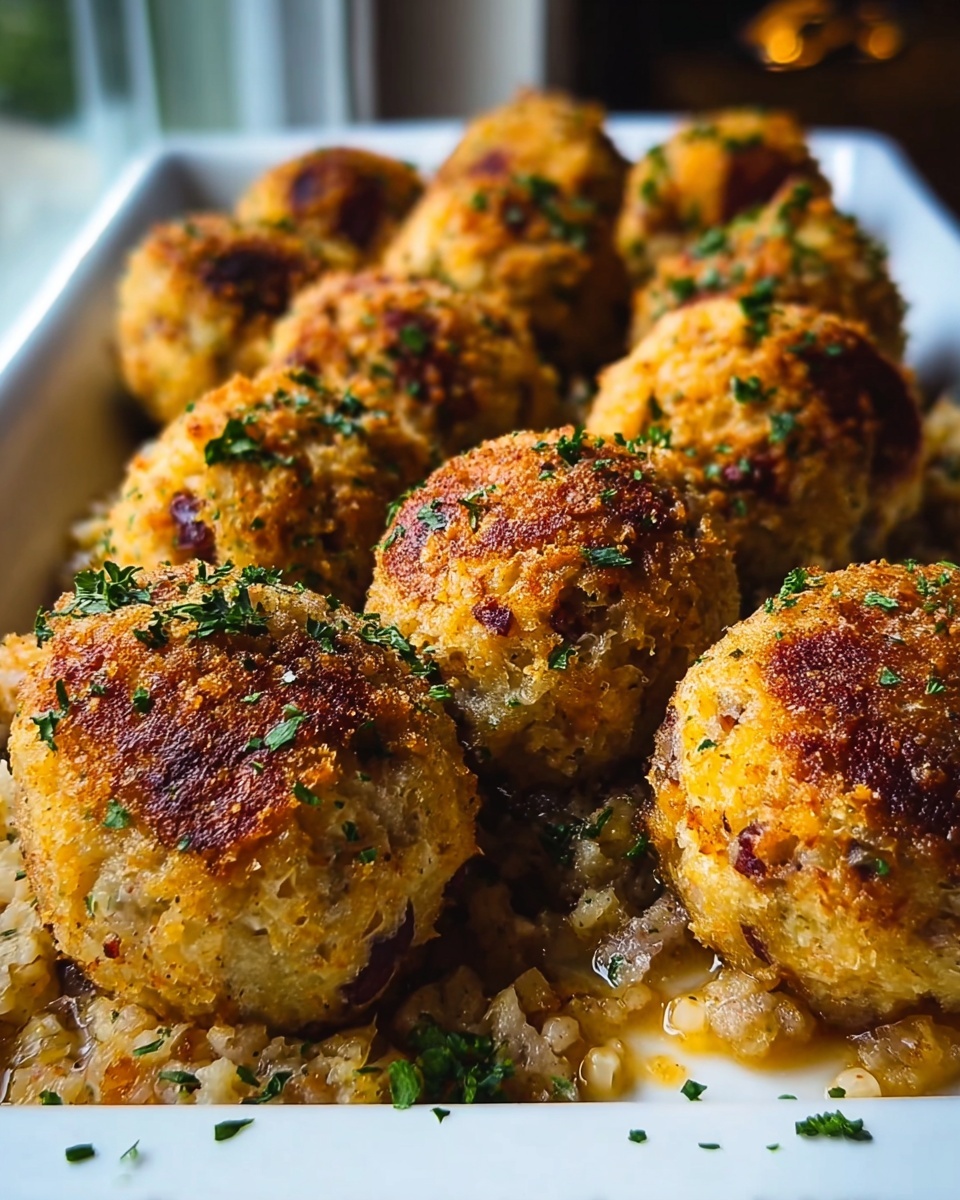
If you adore the cozy flavors of classic holiday stuffing but want to serve it in a fun, bite-sized way, this Stuffing Balls Recipe will become your new go-to. These golden, crispy little spheres pack all the savory herbs, tender veggies, and buttery richness of traditional stuffing but with a delightful twist that makes them perfect as appetizers or a side dish. Whether you’re planning a festive gathering or seeking a comforting snack, these stuffing balls bring warmth and irresistible taste in every single bite.
Ingredients You’ll Need
Gathering simple yet flavorful ingredients is the key to making your stuffing balls absolutely delicious. Each element plays an important role, from adding moisture to enhancing texture and layering in classic savory notes.
- 4 cups dry stuffing mix: Provides the base with those familiar herb and bread crumb flavors that everyone loves.
- 1 cup chicken broth: Moistens the stuffing mix to keep the balls tender and flavorful.
- 1/2 cup unsalted butter, melted: Adds richness and helps create that golden, crispy exterior during baking.
- 2 eggs, beaten: Bind the mixture together so the balls hold their shape perfectly.
- 1 small onion, finely chopped: Brings a subtle sweetness and savory depth to the stuffing.
- 1/2 cup celery, finely chopped: Adds crunch and a fresh, herbal undertone.
- 1 tsp poultry seasoning: A classic blend to elevate traditional stuffing flavors.
- Salt and pepper to taste: Essential seasonings to balance and enhance every bite.
- Fresh parsley, chopped for garnish: Brightens the dish with a pop of color and fresh herbal aroma.
How to Make Stuffing Balls Recipe
Step 1: Get Your Oven Ready
Start by preheating your oven to 350°F (175°C) and lining a baking sheet with parchment paper. This simple step ensures your stuffing balls won’t stick and makes cleanup a breeze, setting the stage for perfect baking.
Step 2: Mix Your Ingredients
In a large bowl, combine the dry stuffing mix with chicken broth and melted butter until everything is nicely moistened. Next, add the beaten eggs, chopped onion, celery, poultry seasoning, salt, and pepper. Stir everything together until it’s fully blended and you have a flavorful, cohesive mixture to shape into balls.
Step 3: Shape Into Balls
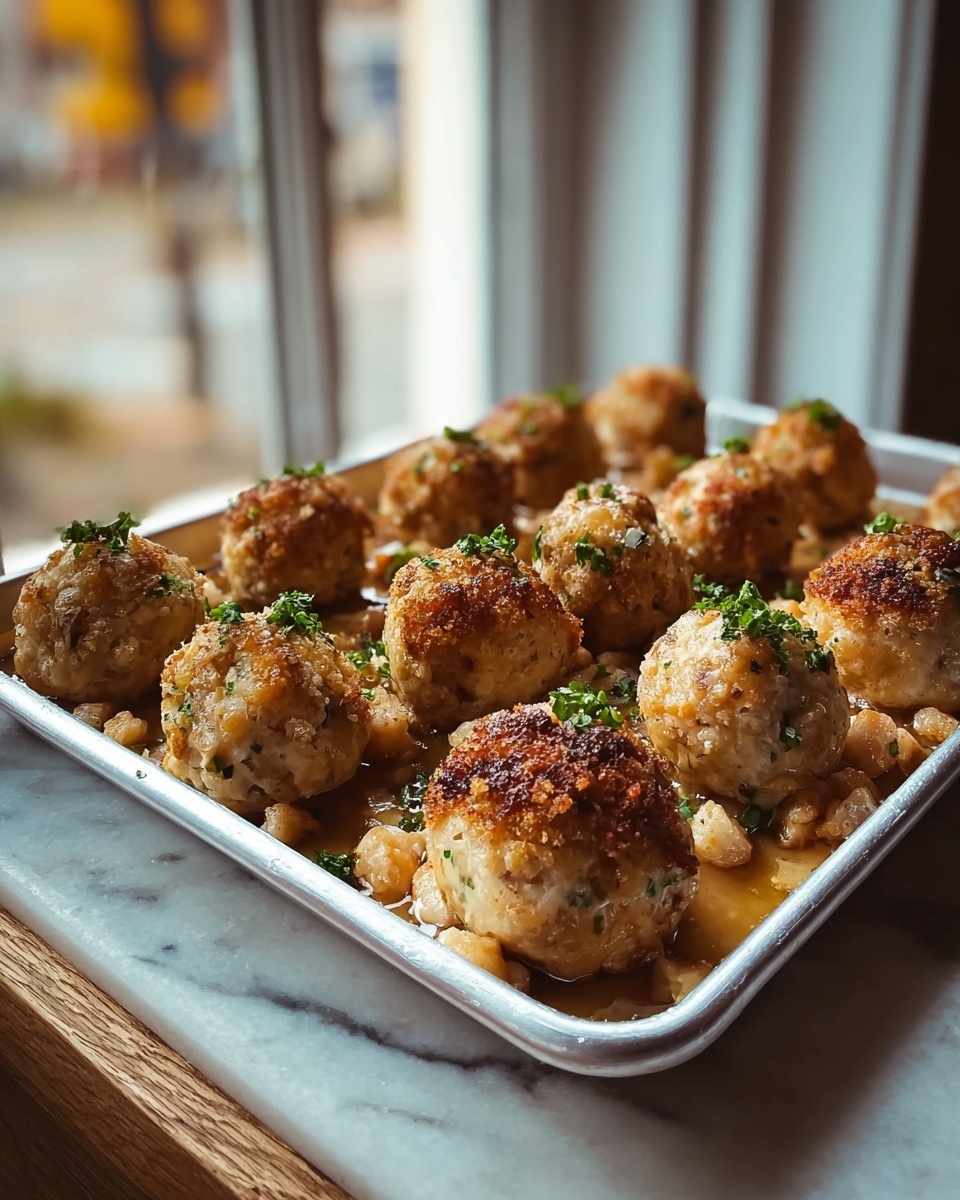
Take portions of the mixture and roll them into golf ball-sized rounds. Be sure to leave some space between each ball on your prepared baking sheet so they bake evenly without sticking together.
Step 4: Bake Until Golden
Slide the baking sheet into your preheated oven and let the stuffing balls bake for 20-25 minutes. They’ll develop a lovely golden-brown crust and become firm to the touch, signaling they are perfectly cooked and ready to enjoy.
Step 5: Garnish and Serve
Once baked, remove the stuffing balls from the oven and allow them to cool slightly. Before serving, sprinkle fresh chopped parsley over the top to add a bright, inviting touch that really livens up the presentation and flavor.
How to Serve Stuffing Balls Recipe
Garnishes
Fresh parsley is the classic choice to garnish stuffing balls, but feel free to get creative with chopped chives, a dusting of smoked paprika, or even a drizzle of homemade gravy to enhance both their look and taste.
Side Dishes
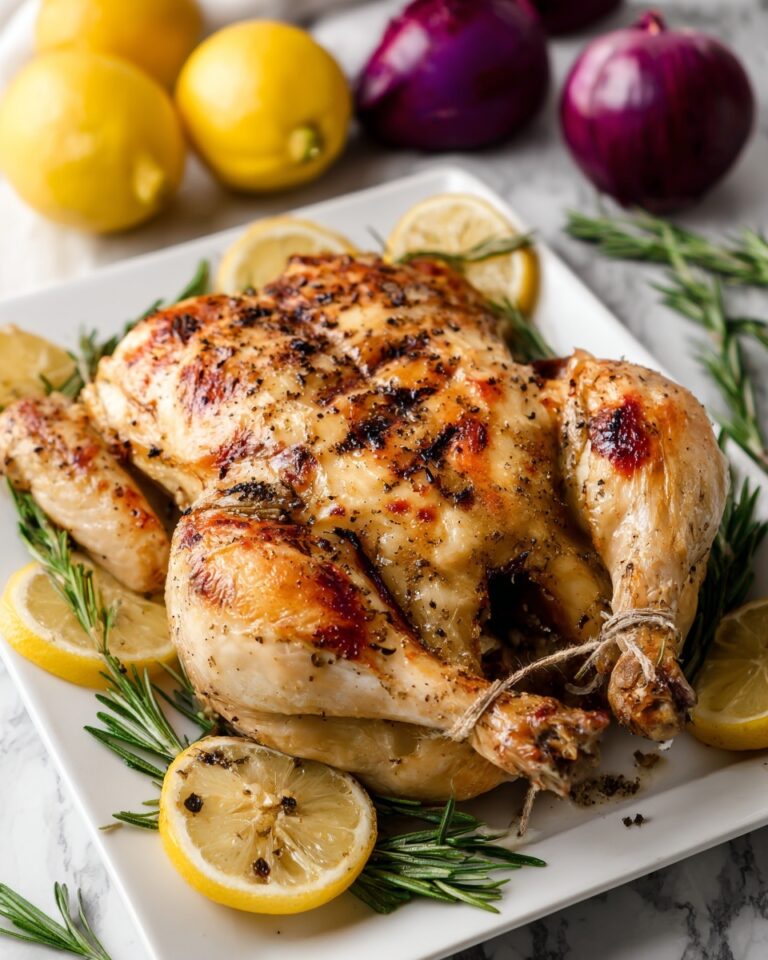
These stuffing balls pair beautifully with roasted turkey, baked ham, or a hearty vegetable casserole, making them a versatile side that adds warmth and comfort to any meal.
Creative Ways to Present
For a festive party, arrange your stuffing balls on a decorative platter with small bowls of cranberry sauce, mustard aioli, or a tangy ranch dip on the side. You can also skewer them with toothpicks for easy finger food that guests will love.
Make Ahead and Storage
Storing Leftovers
If you have any leftover stuffing balls, store them in an airtight container in the refrigerator. They’ll stay fresh for up to 3 days, making for an easy next-day snack or addition to your meal.
Freezing
You can freeze cooked stuffing balls by placing them on a baking sheet in a single layer and freezing until firm. Transfer to a freezer-safe bag or container, and freeze for up to 2 months. This is perfect for prepping ahead for holiday meals.
Reheating
To reheat, simply pop the stuffing balls in a preheated oven at 350°F (175°C) for about 10-15 minutes until warmed through and crispy again on the outside. Avoid microwaving for best texture.
FAQs
Can I make these stuffing balls vegetarian?
Absolutely! Use vegetable broth instead of chicken broth and make sure your dry stuffing mix does not contain any meat-based seasonings.
Can I use leftover stuffing to make stuffing balls?
Yes, leftover stuffing works great! Just make sure it’s not too wet, and add an extra egg if needed to help bind the mixture together.
How do I keep stuffing balls from falling apart?
Binding ingredients like eggs and butter are key. Make sure to mix the ingredients thoroughly and let the stuffing balls bake until they are firm to the touch.
Can I bake stuffing balls ahead of time and reheat later?
Yes, you can bake them a day ahead. Store in the fridge and reheat in the oven to retain their crispiness before serving.
What dipping sauces go well with stuffing balls?
Try cranberry sauce, honey mustard, ranch dressing, or a rich turkey gravy for delicious dips that complement the flavors beautifully.
Final Thoughts
I truly hope you give this Stuffing Balls Recipe a try because it’s such a joyful way to enjoy the comforting flavors of classic stuffing in a neat, handheld size. These golden bites are bound to become a favorite at your table, sparking smiles and second helpings all around. Happy cooking and even happier eating!
Print
Stuffing Balls Recipe
- Prep Time: 15 minutes
- Cook Time: 25 minutes
- Total Time: 40 minutes
- Yield: 24 stuffing balls
- Category: Appetizer
- Method: Baking
- Cuisine: American
Description
These delicious Stuffing Balls are a perfect appetizer or side dish for your holiday meals. Made with dry stuffing mix, flavorful vegetables, and a blend of seasonings, they are baked to golden perfection and garnished with fresh parsley for an appealing finish. Easy to prepare and packed with savory flavors, they make a crowd-pleasing treat for any occasion.
Ingredients
Main Ingredients
- 4 cups dry stuffing mix
- 1 cup chicken broth
- 1/2 cup unsalted butter, melted
- 2 eggs, beaten
- 1 small onion, finely chopped
- 1/2 cup celery, finely chopped
- 1 tsp poultry seasoning
- Salt and pepper to taste
For Garnish
- Fresh parsley, chopped
Instructions
- Preheat the oven: Preheat your oven to 350°F (175°C). Prepare a baking sheet by lining it with parchment paper to prevent the stuffing balls from sticking during baking.
- Mix the stuffing ingredients: In a large bowl, combine the dry stuffing mix with chicken broth and melted butter until the mixture is moistened evenly. Then add the beaten eggs, finely chopped onion and celery, poultry seasoning, salt, and pepper. Stir everything thoroughly until well combined to form a cohesive mixture.
- Shape the stuffing balls: Take portions of the stuffing mixture and shape them into golf ball-sized balls using your hands. Place each ball on the prepared baking sheet, ensuring there is space between each to allow even cooking.
- Bake to golden perfection: Place the baking sheet in the preheated oven and bake the stuffing balls for 20 to 25 minutes. Bake until they become golden brown and firm to the touch, indicating they are fully cooked and crispy on the outside.
- Serve and garnish: Remove the stuffing balls from the oven and allow them to cool slightly. Before serving, garnish each ball with freshly chopped parsley to add a touch of color and freshness. Enjoy warm.
Notes
- If you prefer a crispier exterior, turn the balls halfway through baking for even browning.
- You can substitute chicken broth with vegetable broth for a vegetarian version, but note that the original recipe includes chicken broth.
- Storing leftovers in an airtight container in the refrigerator will keep them fresh for up to 3 days.
- Reheat stuffing balls in the oven at 325°F (160°C) for 10 minutes to maintain their texture.
- Ensure the mixture is moist but not too wet to help the balls hold their shape when baking.
