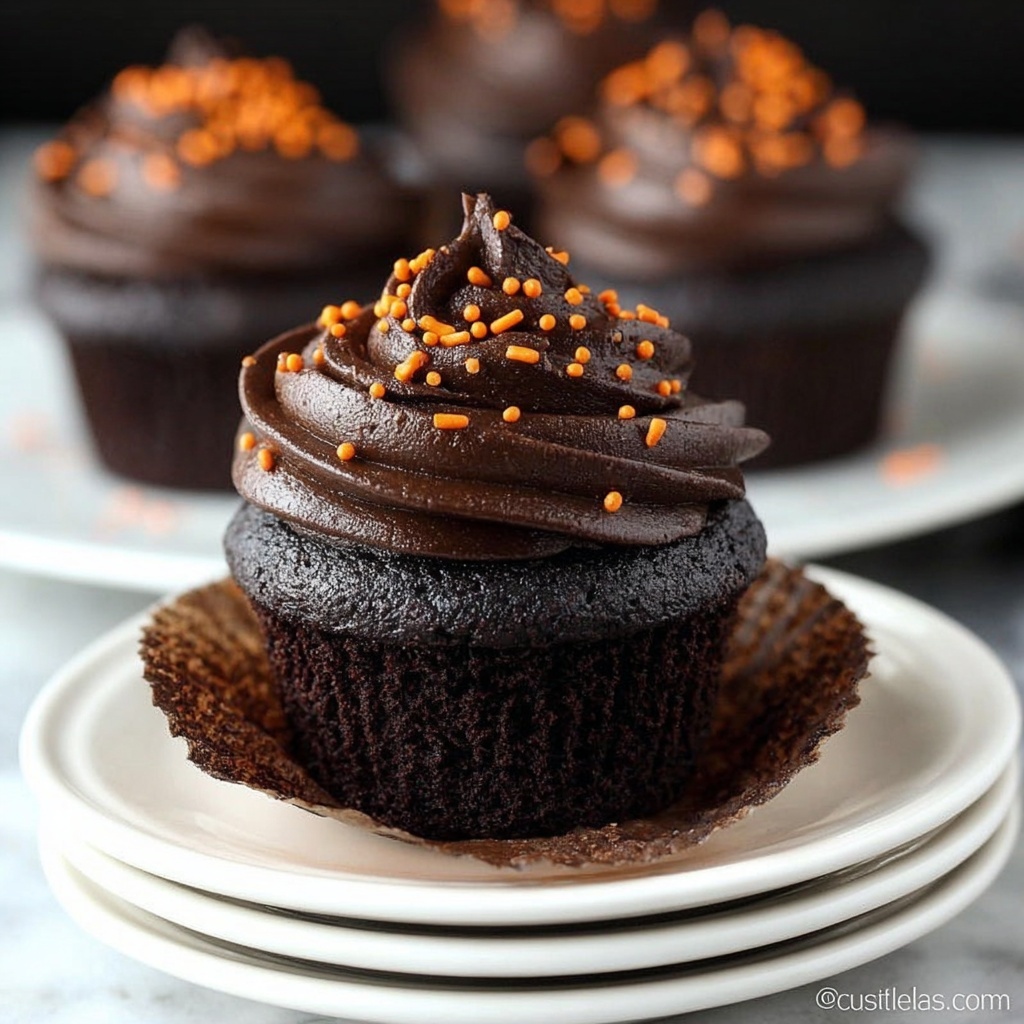
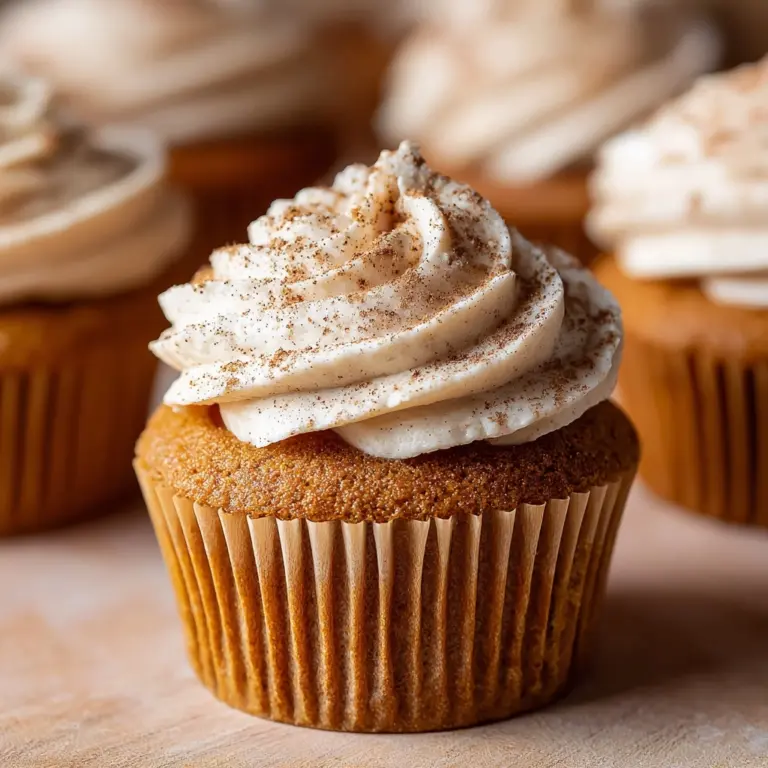
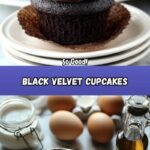
If you’re a fan of rich, moist, and irresistibly delicious treats, this Black Velvet Cupcakes Recipe is guaranteed to become a fast favorite in your baking repertoire. With its deep cocoa flavor and that signature velvety crumb, these cupcakes combine the best of decadent chocolate and a tender texture that melts in your mouth. Whether you’re baking for a special occasion or just to sweeten an ordinary day, these black velvet cupcakes promise a delightful experience every single time.
Ingredients You’ll Need
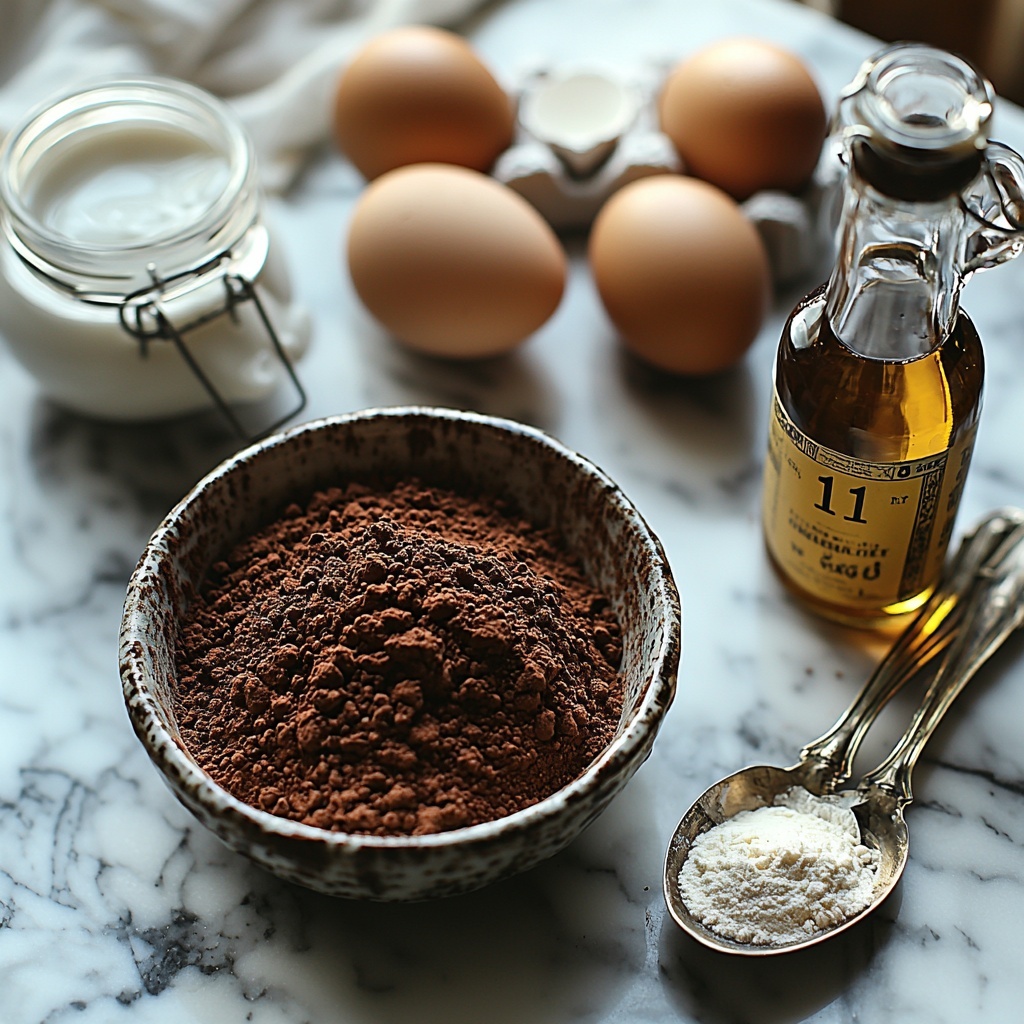
The magic of this Black Velvet Cupcakes Recipe lies in its simple but carefully chosen ingredients. Each one plays a critical role, from providing that lush chocolatey color and flavor to ensuring a tender, moist crumb that cupcakes dream of. Here’s what you’ll want to have on hand:
- 1 cup all-purpose flour: This is the base that gives structure to your cupcakes, balancing tenderness and rise perfectly.
- 1/2 cup Dutch-processed cocoa powder: Adds that rich chocolate taste and dark velvety hue unique to black velvet cupcakes.
- 3/4 cup granulated sugar: Sweetens the batter without overpowering, ensuring a perfectly balanced flavor.
- 1/2 cup buttermilk: Brings moisture and a slight tang that brightens the chocolate notes while keeping the texture tender.
- 1/2 cup vegetable oil: Helps keep cupcakes moist and gives a silky crumb with every bite.
- 2 large eggs: These bind everything together and provide lift for fluffy cupcakes.
- 1 teaspoon white vinegar: Reacts with baking soda to create lift and adds to the cupcake’s tender crumb.
- 1 teaspoon baking soda: Essential leavening agent to help your cupcakes rise beautifully.
- 1 teaspoon vanilla extract: Enhances the chocolate flavor with subtle warmth and depth.
- 1/4 teaspoon salt: Balances the sweetness and intensifies the chocolate notes.
How to Make Black Velvet Cupcakes Recipe
Step 1: Prepare Your Baking Equipment
Start by preheating your oven to 350°F (175°C). Line a 12-cup muffin pan with cupcake liners—this little prep step ensures your cupcakes bake evenly and come out easily without sticking.
Step 2: Combine Dry Ingredients
In a medium bowl, sift together the flour, Dutch-processed cocoa powder, baking soda, and salt. Sifting not only removes lumps but also aerates these ingredients, contributing to a lighter cupcake.
Step 3: Mix Wet Ingredients
In a large bowl, whisk the granulated sugar, vegetable oil, eggs, vanilla extract, and white vinegar until the mixture is smooth and well combined. The vinegar might sound unusual, but it’s the secret weapon that gives the cupcakes that tender crumb and slight tang.
Step 4: Add Buttermilk
Pour in the buttermilk and stir gently to combine. This step ensures your batter stays luscious and moist, key for that perfect black velvet texture.
Step 5: Combine Wet and Dry Mixtures
Gradually incorporate the sifted dry ingredients into the wet mixture. Stir just until combined—overmixing can toughen your cupcakes, so keep it gentle and effortless.
Step 6: Fill Cupcake Liners
Evenly divide the batter among the cupcake liners, filling each about two-thirds full to leave room for rising without spilling over.
Step 7: Bake Until Perfect
Bake for 18 to 20 minutes, or until a toothpick inserted in the center comes out clean. This timing yields moist cupcakes with just the right amount of crumb structure.
Step 8: Cool Your Cupcakes
Allow the cupcakes to cool in the pan for about 5 minutes to firm up, then transfer them to a wire rack and let them cool completely—this cooldown ensures your frosting won’t melt upon contact.
Step 9: Frost and Decorate
Finish your masterpiece by frosting with chocolate buttercream or classic cream cheese frosting. Feel free to decorate with sprinkles, edible glitter, or fresh berries to suit your mood and occasion.
How to Serve Black Velvet Cupcakes Recipe
Garnishes
To elevate your Black Velvet Cupcakes Recipe presentation, consider garnishing with a dusting of cocoa powder, a few chocolate shavings, or a fresh raspberry on top. These simple touches add color and texture while complementing the rich cupcake flavor.
Side Dishes
Pair these cupcakes with a scoop of vanilla ice cream or a dollop of whipped cream for an indulgent treat. A cup of freshly brewed coffee or milk also makes for an ideal companion, balancing sweetness and richness.
Creative Ways to Present
For parties or gifts, present your black velvet cupcakes in decorative cupcake wrappers or boxes tied with a ribbon. You can also try serving them in mini mason jars with layers of frosting and crumbs for a charming twist that’s sure to impress.
Make Ahead and Storage
Storing Leftovers
If you have any leftover black velvet cupcakes, keep them fresh by storing them in an airtight container at room temperature for up to 3 days. This preserves both moisture and flavor beautifully.
Freezing
To freeze, wrap cupcakes individually in plastic wrap then place them in a freezer-safe container or bag. They freeze well for up to 2 months and thaw quickly at room temperature when you’re ready to enjoy them.
Reheating
For a just-baked taste, warm cupcakes slightly by placing them in a microwave-safe dish and heating for about 10 seconds. Avoid overheating as it can dry them out. Enjoy warm or at room temperature for the best experience.
FAQs
Can I use regular cocoa powder instead of Dutch-processed?
You can, but Dutch-processed cocoa powder gives a smoother, less acidic flavor and a darker color that is signature to the Black Velvet Cupcakes Recipe.
What makes these cupcakes different from red velvet?
The Black Velvet Cupcakes Recipe uses Dutch-processed cocoa to create a deep brown-black hue and richer chocolate flavor, whereas red velvet uses less cocoa and red food coloring for its distinct color.
Is buttermilk necessary?
Yes, buttermilk adds acidity that reacts with baking soda to help these cupcakes rise and stay tender. You can substitute with milk plus a teaspoon of vinegar if needed.
Can I substitute vegetable oil with butter?
While butter adds flavor, oil keeps the cupcakes intensely moist and tender, which is crucial for the characteristic Black Velvet Cupcakes texture.
How long can I frost cupcakes after baking?
It’s best to wait until cupcakes are completely cooled before frosting to avoid melting and sliding. You can frost them the same day or store cupcakes unfrosted overnight and frost just before serving.
Final Thoughts
Now that you’ve got the scoop on this incredible Black Velvet Cupcakes Recipe, it’s time to roll up your sleeves and bring those rich, velvety delights to life right in your own kitchen. Once you taste these luscious cupcakes with their perfect crumb and deep chocolate notes, you’ll be reaching for this recipe again and again. Give it a try and watch how it becomes your go-to for celebrations or anytime you want a touch of sweetness and joy.
Print
Black Velvet Cupcakes Recipe
- Prep Time: 10 minutes
- Cook Time: 20 minutes
- Total Time: 30 minutes
- Yield: 12 cupcakes
- Category: Dessert
- Method: Baking
- Cuisine: American
Description
These Black Velvet Cupcakes are rich, moist, and beautifully dark with a deep cocoa flavor, perfect for chocolate lovers. Made with Dutch-processed cocoa and a hint of vinegar to enhance the chocolate notes, these cupcakes have a tender crumb and pair wonderfully with chocolate buttercream or cream cheese frosting. Easy to make and ideal for any celebration or sweet treat.
Ingredients
Dry Ingredients
- 1 cup all-purpose flour
- 1/2 cup Dutch-processed cocoa powder
- 1 teaspoon baking soda
- 1/4 teaspoon salt
Wet Ingredients
- 3/4 cup granulated sugar
- 1/2 cup buttermilk
- 1/2 cup vegetable oil
- 2 large eggs
- 1 teaspoon vanilla extract
- 1 teaspoon white vinegar
Instructions
- Preheat the oven and prepare pan: Preheat your oven to 350°F (175°C) and line a 12-cup muffin pan with cupcake liners to ensure easy removal and cleanup.
- Sift dry ingredients: In a medium bowl, sift together the all-purpose flour, Dutch-processed cocoa powder, baking soda, and salt to evenly distribute and remove any lumps.
- Combine wet ingredients: In a large bowl, whisk together the granulated sugar, vegetable oil, eggs, vanilla extract, and white vinegar until the mixture is smooth and homogenous.
- Add buttermilk: Stir the buttermilk into the wet mixture until just combined, which adds richness and tenderness to the cupcakes.
- Mix dry and wet ingredients: Gradually add the sifted dry ingredients to the wet ingredients, stirring gently just until incorporated; avoid overmixing to keep the cupcakes light and fluffy.
- Fill cupcake liners: Divide the batter evenly among the prepared cupcake liners, filling each about two-thirds full to allow room for rising.
- Bake cupcakes: Bake for 18-20 minutes or until a toothpick inserted into the center comes out clean, ensuring they are fully cooked but moist.
- Cool cupcakes: Allow the cupcakes to cool in the pan for 5 minutes to settle, then transfer them to a wire rack to cool completely, preventing sogginess from trapped steam.
- Frost and decorate: Once cooled, frost the cupcakes with your choice of chocolate buttercream or cream cheese frosting and decorate as desired for a beautiful and delicious finish.
Notes
- Use Dutch-processed cocoa powder for a smoother, richer chocolate flavor and darker color.
- Do not overmix the batter to avoid dense cupcakes.
- Allow cupcakes to cool completely before frosting to prevent melting.
- White vinegar reacts with baking soda to help the cupcakes rise and enhances tenderness.
- You can substitute all-purpose flour with gluten-free flour for gluten-free variation.
- Store cupcakes in an airtight container at room temperature for up to 3 days or refrigerate for longer freshness.