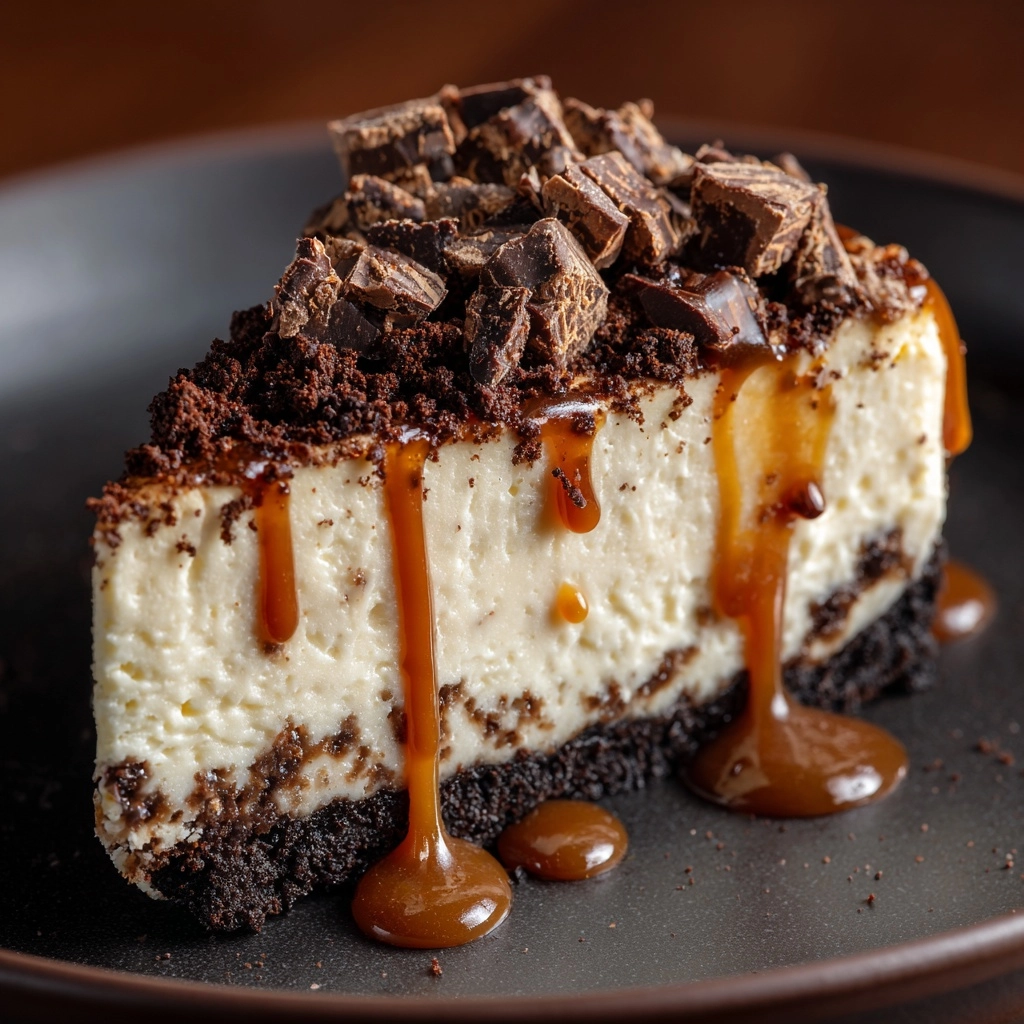
If you’re searching for the kind of showstopping dessert that thrills adults and kids alike, look no further than Butterfinger Cheesecake! This irresistible treat layers a rich, chocolatey cookie crust, velvety cream cheese filling swirled with bits of Butterfinger, and a glossy chocolate ganache studded with crunchy candy pieces. Every bite captures that perfect mix of creamy, crunchy, chocolatey, and peanut-buttery flavors, making it the ultimate celebration cake and a top contender for movie nights, birthdays, or anytime your sweet tooth wants something spectacular.
Ingredients You’ll Need
The magic of this Butterfinger Cheesecake lies in its straightforward, familiar ingredients. Each one brings something special, whether it’s rich creaminess, a pop of chocolate, or that signature Butterfinger crunch. Make sure to gather everything so you’re ready to bake a cheesecake that tastes like a celebration in every slice!
- Chocolate sandwich cookies: Crushed cookies form the dark, decadent base that’s the perfect stage for all that creamy goodness.
- Unsalted butter: Melted butter binds the cookie crumbs together for a crust that holds its shape and melts in your mouth.
- Cream cheese: The star of any cheesecake—make sure it’s well-softened for the smoothest, creamiest filling.
- Granulated sugar: Adds just the right amount of sweetness to balance the tangy cream cheese and bold Butterfinger flavor.
- Vanilla extract: Infuses the cheesecake with a warm, fragrant depth that enhances every other flavor.
- Large eggs: Eggs help set the cheesecake so it’s rich but sliceable, adding color and luxurious texture.
- Sour cream: Gives the filling an ultra-silky texture and a gentle tang that keeps it from being too sweet.
- Crushed Butterfinger candy bars: The key ingredient—gives the cheesecake its signature peanut butter crunch and flavor in every bite.
- Heavy cream: Creates a lusciously smooth chocolate ganache for the final flourish.
- Semi-sweet chocolate chips: Melts into silky ganache, balancing the sweetness of the cake with a deep chocolate finish.
How to Make Butterfinger Cheesecake
Step 1: Prep the Pan and Crust
Begin by preheating your oven to 325°F and prepping your 9-inch springform pan. Mix the crushed chocolate sandwich cookies with melted butter until evenly moistened. Press the mixture firmly into the base of the pan, going just a bit up the sides for an extra sturdy crust. Bake for 10 minutes so it firms up, then set aside to cool while you whip up the filling.
Step 2: Make the Creamy Filling
In a large bowl, beat the softened cream cheese until it’s completely smooth and lump-free. Add the granulated sugar and vanilla extract, and blend until silky. One by one, beat in the eggs on low speed, scraping down the bowl as needed for a perfectly uniform batter. Fold in the sour cream and 1 cup of those addictive crushed Butterfinger bars—this is where the cheesecake gets its theme-park flair!
Step 3: Assemble and Bake
Pour the rich filling over your cooled crust, spreading it so it’s nice and even. Tap the pan gently on the counter to pop any air bubbles. Bake for 55 to 65 minutes, or until the edges are set but the center still has a gentle wiggle. Turn off the oven, crack the oven door, and let the Butterfinger Cheesecake slowly cool inside (this helps prevent cracks!). After an hour, remove it and refrigerate for at least four hours or overnight for perfect slicing.
Step 4: Top with Ganache and More Butterfinger
Once the cheesecake is thoroughly chilled, it’s time to transform it into a true Butterfinger lover’s fantasy. Gently heat the heavy cream until it’s just steaming, pour it over the chocolate chips, and let it sit for a minute. Stir until glossy and smooth—your ganache is ready! Spread it over the top of the cheesecake, then sprinkle on the remaining crushed Butterfinger bars for color, crunch, and pure joy.
Step 5: Chill, Slice & Serve
Give the finished Butterfinger Cheesecake a little more time in the fridge to set that gorgeous ganache layer. When ready to serve, run a knife around the inside of the pan, unlatch the springform, and cut generous slices. You’ve just created a treat that’s impossible to resist!
How to Serve Butterfinger Cheesecake

Garnishes
For the perfect finishing touch, sprinkle extra crushed Butterfinger candy, mini chocolate chips, or even a swirl of whipped cream on each slice. A drizzle of caramel or chocolate sauce makes things even more over the top. Fresh berries add a lovely pop of color and a bit of tartness that contrasts beautifully with the creamy, sweet cake.
Side Dishes
While Butterfinger Cheesecake is a star all on its own, you can round out dessert with small sides like bowls of fresh strawberries or raspberries, or a scoop of vanilla or chocolate ice cream. A hot cup of coffee or an icy glass of milk will pair perfectly and balance the richness in every bite.
Creative Ways to Present
If you want to go all-out, try cutting the cheesecake into bite-size squares and serving on a platter for parties. Layer small cubes of cheesecake in parfait glasses with whipped cream and crumbled Butterfinger for a fun twist. Or, dress up each slice with a fan of sliced bananas for an extra bit of flair!
Make Ahead and Storage
Storing Leftovers
If you have leftovers (which is rare, trust me!), cover the cheesecake tightly with plastic wrap or place it in an airtight container. Stored in the fridge, it will stay delightfully creamy and fresh for up to five days.
Freezing
Butterfinger Cheesecake actually freezes beautifully. Slice the cheesecake or freeze it whole, wrapping tightly in both plastic wrap and foil. It keeps its texture and flavor for up to one month in the freezer. When ready to serve, simply thaw overnight in the fridge.
Reheating
Cheesecake is best enjoyed cold or at room temperature, so there’s no need to reheat. However, if you’d like a slightly softer texture, you can let slices sit at room temperature for 15 to 20 minutes before serving.
FAQs
Can I use a different type Dessert
Absolutely! While chocolate sandwich cookies give Butterfinger Cheesecake its classic base, you could swap in graham crackers, vanilla wafers, or even peanut butter cookies for a different twist. Just be sure to crush them finely and mix with enough butter for the crust to hold together.
Do I need a water bath for this cheesecake?
While not strictly required, a water bath can help ensure the smoothest, most crack-free Butterfinger Cheesecake. Set your springform pan inside a larger pan filled with about an inch of hot water, then bake as directed—your cheesecake will love you for it!
How can I tell when my cheesecake is done?
The trick is to look for edges that are set and a center that still jiggles just a little when gently shaken. It will continue to firm up as it cools, so resist the urge to overbake for the creamiest texture.
Can I make Butterfinger Cheesecake ahead of time?
Yes! In fact, making it a day in advance lets the flavors mellow and the texture turn even silkier. It’s a terrific option for holidays, parties, or whenever you want to streamline dessert prep.
What’s the best way to cut neat slices?
For those Instagram-worthy slices, dip your knife in hot water and wipe clean between cuts. This keeps each piece sharp and tidy, even with that luscious ganache and Butterfinger topping.
Final Thoughts
I truly can’t recommend this Butterfinger Cheesecake enough—it’s a little nostalgic, a lot of fun, and guaranteed to put a smile on everyone’s face. If you’re craving a decadent dessert with a peanut buttery twist, give it a try and watch it disappear!
Print
Butterfinger Cheesecake Recipe
- Prep Time: 25 minutes
- Cook Time: 1 hour
- Total Time: 6 hours
- Yield: 12 servings
- Category: Dessert
- Method: Baking
- Cuisine: American
- Diet: Vegetarian
Description
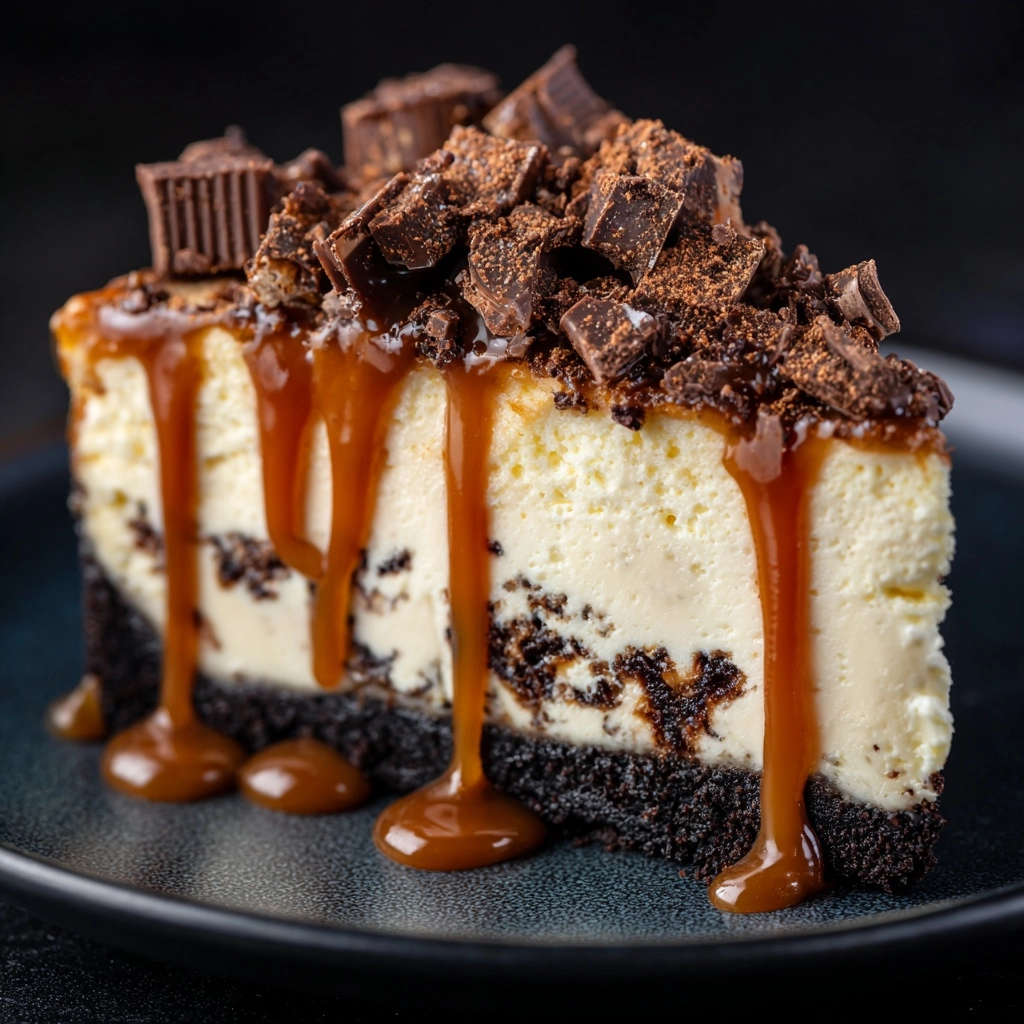
Indulge in the decadent delight of Butterfinger Cheesecake, a rich and creamy dessert that combines the lusciousness of cheesecake with the irresistible crunch of Butterfinger candy bars. Perfect for any occasion, this dessert is sure to impress your guests and satisfy your sweet tooth.
Ingredients
For the Crust:
- 20 chocolate sandwich cookies, crushed
- 4 tablespoons unsalted butter, melted
For the Filling:
- 3 (8-ounce) packages cream cheese, softened
- 1 cup granulated sugar
- 1 teaspoon vanilla extract
- 3 large eggs
- 1/2 cup sour cream
- 1 1/2 cups crushed Butterfinger candy bars (divided)
For the Topping:
- 1/4 cup heavy cream
- 1/2 cup semi-sweet chocolate chips
Instructions
- Prepare the Crust: Preheat the oven to 325°F. Mix crushed chocolate cookies with melted butter. Press into a springform pan and bake.
- Make the Filling: Beat cream cheese, sugar, and vanilla. Add eggs one at a time, then mix in sour cream and 1 cup of crushed Butterfinger bars. Pour over crust and bake.
- Chill and Add Topping: Chill the cheesecake, then top with a mixture of heavy cream and chocolate chips. Sprinkle with remaining Butterfinger. Refrigerate until set, then serve.
Notes
- Use a water bath for a smooth texture.
- Can be frozen for up to one month.
- Bring to room temperature before serving if frozen.
Nutrition
- Serving Size: 1 slice
- Calories: 540
- Sugar: 32g
- Sodium: 320mg
- Fat: 37g
- Saturated Fat: 20g
- Unsaturated Fat: 14g
- Trans Fat: 0g
- Carbohydrates: 44g
- Fiber: 1g
- Protein: 7g
- Cholesterol: 125mg

