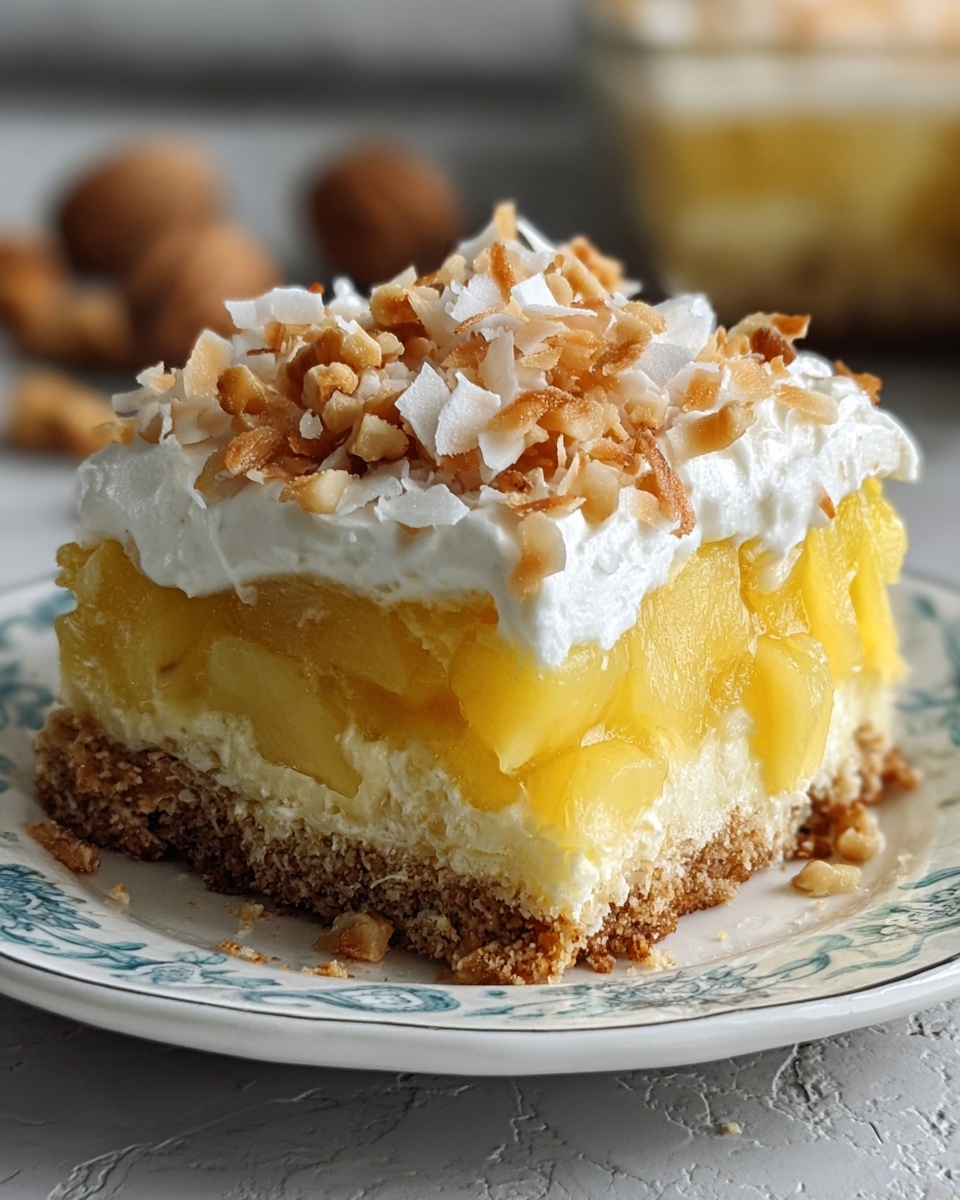
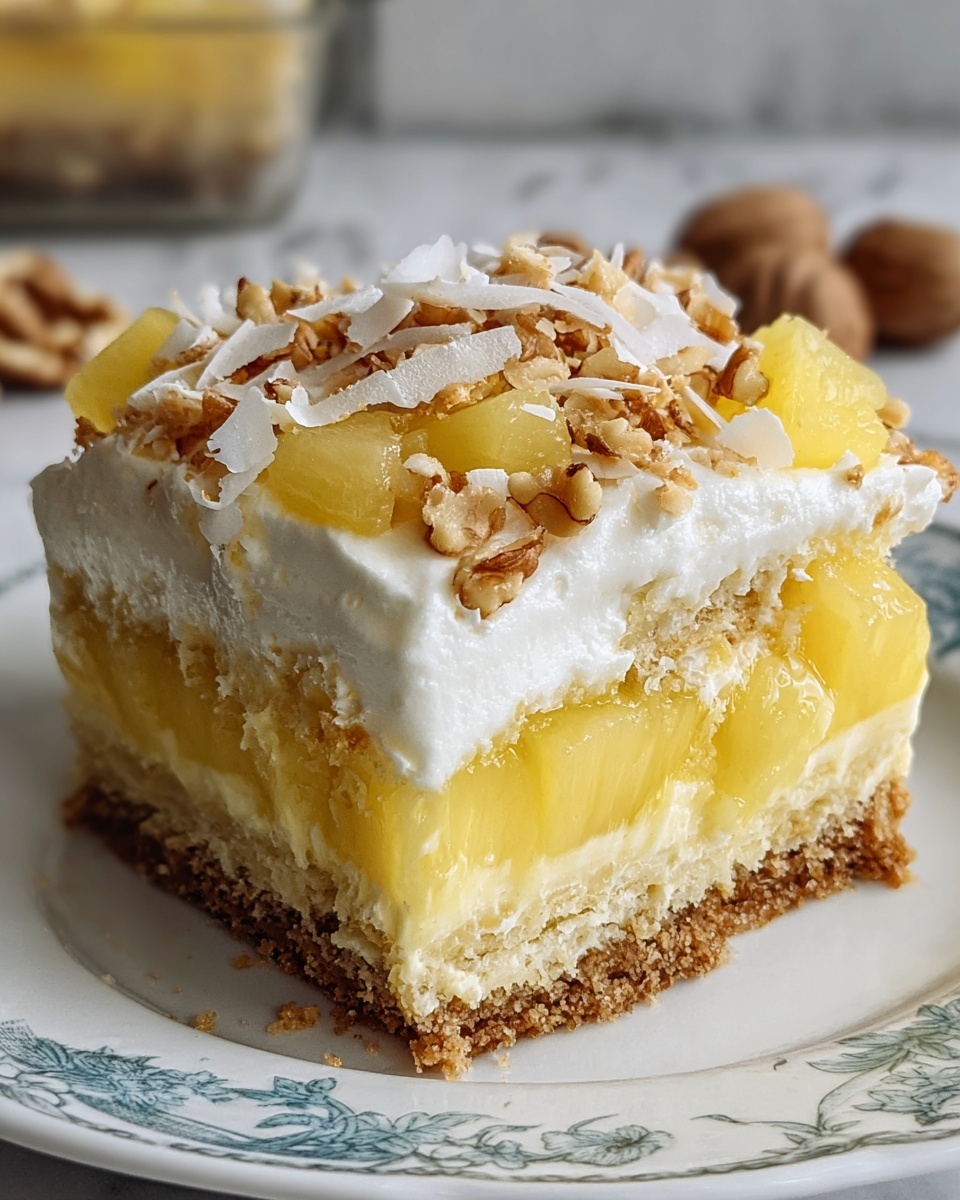
If you’re looking for a dessert that’s bursting with tropical flavor and creamy goodness, this Hawaiian Pineapple Cake Recipe is absolutely a must-try. Imagine moist, tender cake infused with juicy crushed pineapple, finished with a luscious cream cheese frosting that perfectly balances sweetness and tang. This delightful treat brings a little bit of island sunshine to any occasion, making it feel like a mini vacation every time you take a bite. Whether you’re baking for family, friends, or just treating yourself, this cake promises to be a crowd-pleaser that’s as fun to make as it is to eat.
Ingredients You’ll Need
Gathering simple, pantry-friendly ingredients is the first step to creating this tropical gem. Each component plays a unique role, contributing to the cake’s moist texture, rich flavor, and irresistible frosting that tops it all off beautifully.
- 2 cups all-purpose flour: The backbone of the cake, providing structure and a tender crumb.
- 2 cups sugar: Adds sweetness and helps keep the cake moist and flavorful.
- 2 large eggs: Bind everything together and add richness to the batter.
- 1 teaspoon baking soda: An essential leavening agent that ensures the cake rises perfectly.
- 1 teaspoon vanilla extract: Imparts warm, comforting notes that deepen the cake’s taste.
- Pinch of salt: Balances the sweetness and enhances all other flavors.
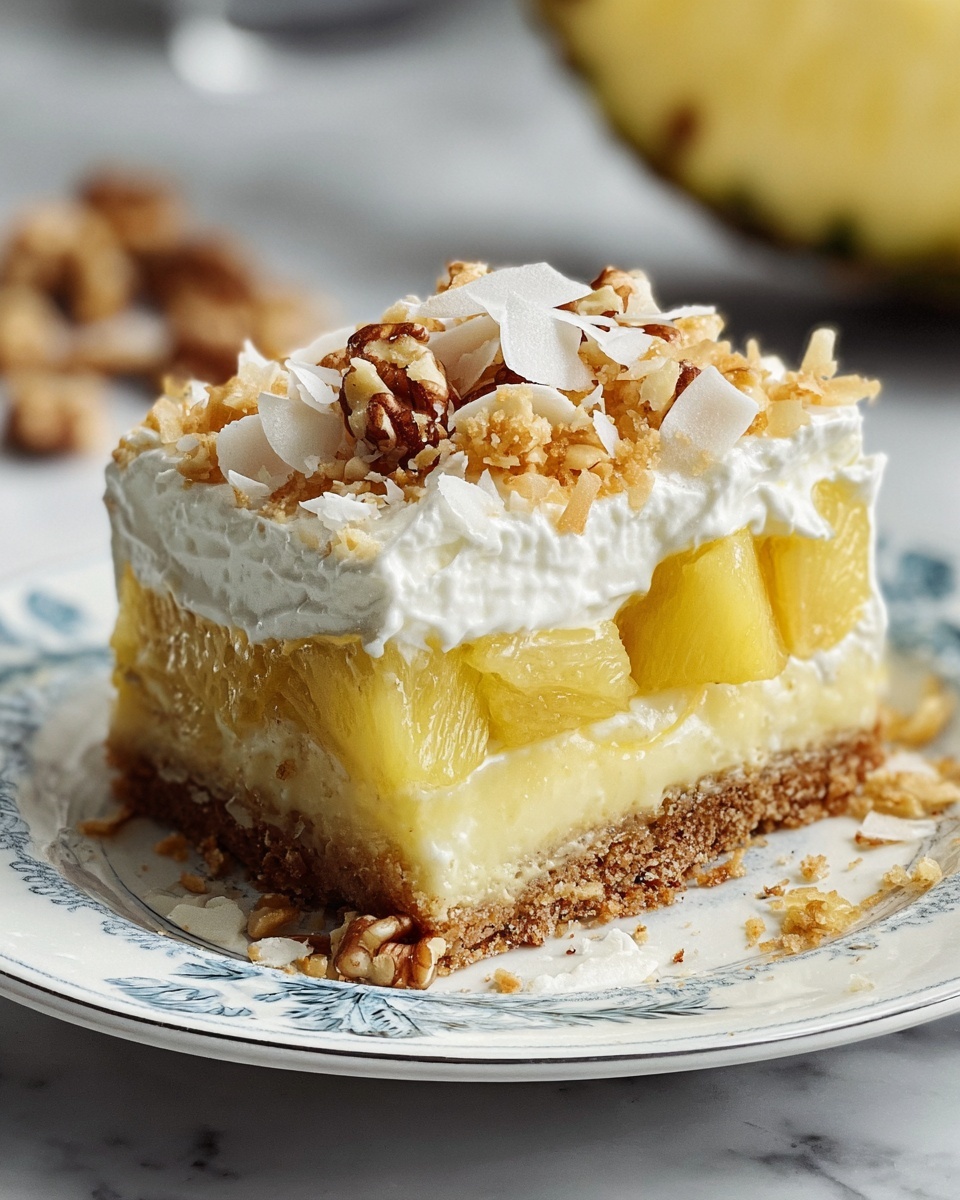
- 1 (20-ounce) can crushed pineapple in juice (undrained): The star ingredient that gives the cake its tropical zing and moist texture.
- 1 cup chopped nuts (optional): Adds a delightful crunch and extra dimension, but feel free to skip if you prefer.
- 1/2 cup unsalted butter, softened: For the frosting, brings creaminess and rich flavor.
- 1 (8-ounce) package cream cheese, softened: The key to a smooth and tangy frosting that pairs perfectly with pineapple.
- 1 teaspoon vanilla extract: Boosts the frosting’s flavor with a hint of sweetness.
- 1 1/2 cups confectioners’ sugar: Sweetens and thickens the frosting into a luxurious spread.
- Coconut or additional nuts for garnish (optional): A final touch to elevate presentation and texture.
How to Make Hawaiian Pineapple Cake Recipe
Step 1: Prepare Your Oven and Pan
Begin by preheating your oven to 350°F (175°C). This ensures your oven is at the perfect temperature for baking a moist cake. Grease a 9×13-inch baking pan to prevent sticking and make removing the cake a breeze later on.
Step 2: Mix the Dry and Wet Ingredients
In a large bowl, combine the flour, sugar, eggs, baking soda, vanilla extract, and a pinch of salt. Then add the crushed pineapple along with its juice. Mixing these ingredients well will create a batter that’s bursting with that authentic Hawaiian pineapple flavor, ensuring every bite is deliciously moist.
Step 3: Fold in the Nuts
If you’re a fan of a bit of crunch, now’s the time to gently fold in the chopped nuts. They add texture and a subtle earthy flavor that complements the sweetness of the pineapple beautifully. If nuts aren’t your thing, no worries—this step is completely optional.
Step 4: Bake the Cake
Pour your batter into the greased baking pan and spread it out evenly. Pop it in the oven for 35-40 minutes, or until a toothpick inserted in the center comes out clean. This baking time allows the cake to rise just right and develop a lovely golden color.
Step 5: Make the Cream Cheese Frosting
While the cake is baking, whip up that dreamy frosting. Beat your softened butter, cream cheese, and vanilla extract together until velvety smooth. Gradually add the confectioners’ sugar, mixing continuously to avoid lumps. The result should be a creamy frosting that’s perfectly sweet and tangy.
Step 6: Frost the Cake
Once your cake is out of the oven and still warm, spread the cream cheese frosting over the top. The warmth of the cake slightly melts the frosting, creating an irresistible glaze effect. For a final tropical touch, sprinkle with toasted coconut flakes or extra chopped nuts if you like.
Step 7: Cool and Serve
Allow the cake to cool completely before slicing to help the frosting set and make serving easier. This resting time also lets the flavors meld, making each slice a perfect balance of sweet, creamy, and fruity.
How to Serve Hawaiian Pineapple Cake Recipe
Garnishes
Look no further than shredded toasted coconut or a handful of chopped macadamia nuts to garnish your cake. Both add that iconic Hawaiian flair and provide delightful texture contrasts that elevate the whole experience.
Side Dishes
This cake pairs wonderfully with a simple scoop of vanilla ice cream or a dollop of freshly whipped cream. For a more tropical vibe, serve alongside fresh fruit like sliced mango or starfruit, which further enhance the island feel.
Creative Ways to Present
Consider cutting the cake into small squares and serving it on decorative bamboo plates for a festive touch. You could also layer it as a trifle with pineapple chunks and whipped cream for a stunning presentation that’s sure to wow your guests.
Make Ahead and Storage
Storing Leftovers
Once your Hawaiian Pineapple Cake Recipe is fully cooled and frosted, store leftovers in an airtight container in the refrigerator. This keeps the cake fresh and moist for up to 4 days, and the flavors will continue to deepen.
Freezing
If you want to save some for later, the cake freezes beautifully. Wrap individual slices tightly in plastic wrap and place them in a freezer-safe bag. Frozen cake can last up to 3 months and is perfect for quick, sweet cravings.
Reheating
When you’re ready to enjoy your frozen or refrigerated cake, let it thaw at room temperature or gently warm slices in the microwave for about 15 seconds. This refreshes the cake’s soft texture without melting the frosting completely.
FAQs
Can I use fresh pineapple instead of canned in this Hawaiian Pineapple Cake Recipe?
Absolutely! Fresh pineapple can work well, but make sure to finely crush or puree it to distribute the moisture evenly. Keep in mind, fresh pineapple may add extra moisture, so you might want to reduce any additional liquids slightly.
Is it necessary to use nuts in the cake?
No, nuts are optional. They add a nice crunch and flavor, but the cake tastes just as delicious without them—perfect for those with nut allergies or texture preferences.
Can I make this cake gluten-free?
Yes, you can substitute the all-purpose flour with a gluten-free flour blend suitable for baking. Just be sure your blend includes xanthan gum or another binder for best results.
What’s the best way to get the frosting nice and smooth?
Make sure your butter and cream cheese are fully softened before mixing. Beat them together until completely smooth and creamy before adding the confectioners’ sugar gradually to avoid lumps and ensure a fluffy consistency.
How long can I keep this cake before it goes bad?
Stored properly in the fridge, this Hawaiian Pineapple Cake stays fresh for about 4 days. After that, the quality may decline, so it’s best enjoyed sooner rather than later.
Final Thoughts
There’s something truly special about this Hawaiian Pineapple Cake Recipe that brings tropical joy to your kitchen and smiles to your table. It’s a dessert that’s simple to make, wonderfully flavorful, and endlessly versatile. Trust me, once you try it, you’ll keep coming back for another slice, sharing it with loved ones, and looking forward to the next time you get to whip it up. So go ahead—bake yourself a little island escape today!
Print
Hawaiian Pineapple Cake Recipe
- Prep Time: 10 minutes
- Cook Time: 35-40 minutes
- Total Time: 45-50 minutes
- Yield: 12 servings
- Category: Dessert
- Method: Baking
- Cuisine: American, Hawaiian-inspired
Description
A moist and tropical Hawaiian Pineapple Cake featuring crushed pineapple and a creamy cream cheese frosting, perfect for a sweet treat or festive dessert.
Ingredients
Cake
- 2 cups all-purpose flour
- 2 cups sugar
- 2 large eggs
- 1 teaspoon baking soda
- 1 teaspoon vanilla extract
- Pinch of salt
- 1 (20-ounce) can crushed pineapple in juice (undrained)
- 1 cup chopped nuts (optional)
Frosting
- 1/2 cup unsalted butter, softened
- 1 (8-ounce) package cream cheese, softened
- 1 teaspoon vanilla extract
- 1 1/2 cups confectioners’ sugar
Garnish
- Coconut or additional nuts for garnish (optional)
Instructions
- Preheat and Prepare Pan: Preheat your oven to 350°F (175°C) and grease a 9×13-inch baking pan to prevent sticking.
- Combine Cake Ingredients: In a large bowl, mix together the all-purpose flour, sugar, eggs, baking soda, vanilla extract, salt, and the undrained crushed pineapple until well combined for a moist batter.
- Add Nuts: Gently fold in the chopped nuts if you choose to use them; they add a nice crunch to the cake.
- Bake the Cake: Pour the batter into the prepared pan and bake for 35-40 minutes, or until a toothpick inserted in the center comes out clean, indicating the cake is fully baked.
- Make Frosting: While the cake bakes, beat together the softened butter, cream cheese, and vanilla extract until smooth and creamy. Gradually add the confectioners’ sugar, mixing well to create a luscious frosting.
- Frost the Cake: Spread the cream cheese frosting evenly over the warm cake. Garnish with coconut flakes or additional nuts if desired for added texture and flavor.
- Cool and Serve: Allow the cake to cool completely before slicing to ensure clean cuts and the best texture. Serve and enjoy your tropical treat!
Notes
- This cake is best stored covered in the refrigerator due to the cream cheese frosting and should be consumed within 3-4 days.
- For an extra tropical flair, add shredded coconut to the batter or substitute macadamia nuts for a Hawaiian twist.
- If you prefer a less sweet frosting, reduce the confectioners’ sugar by 1/4 cup.
- Bring eggs and dairy ingredients to room temperature for better mixing and texture.


