
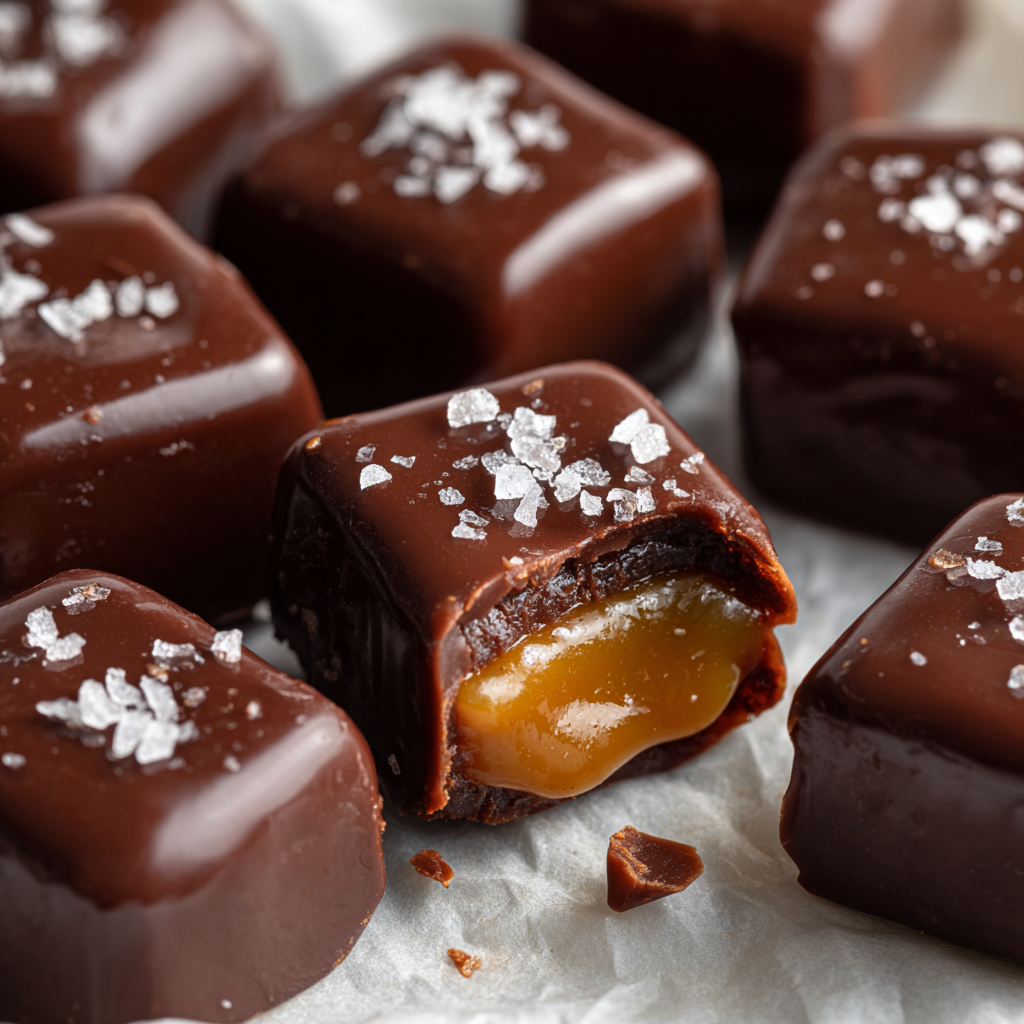
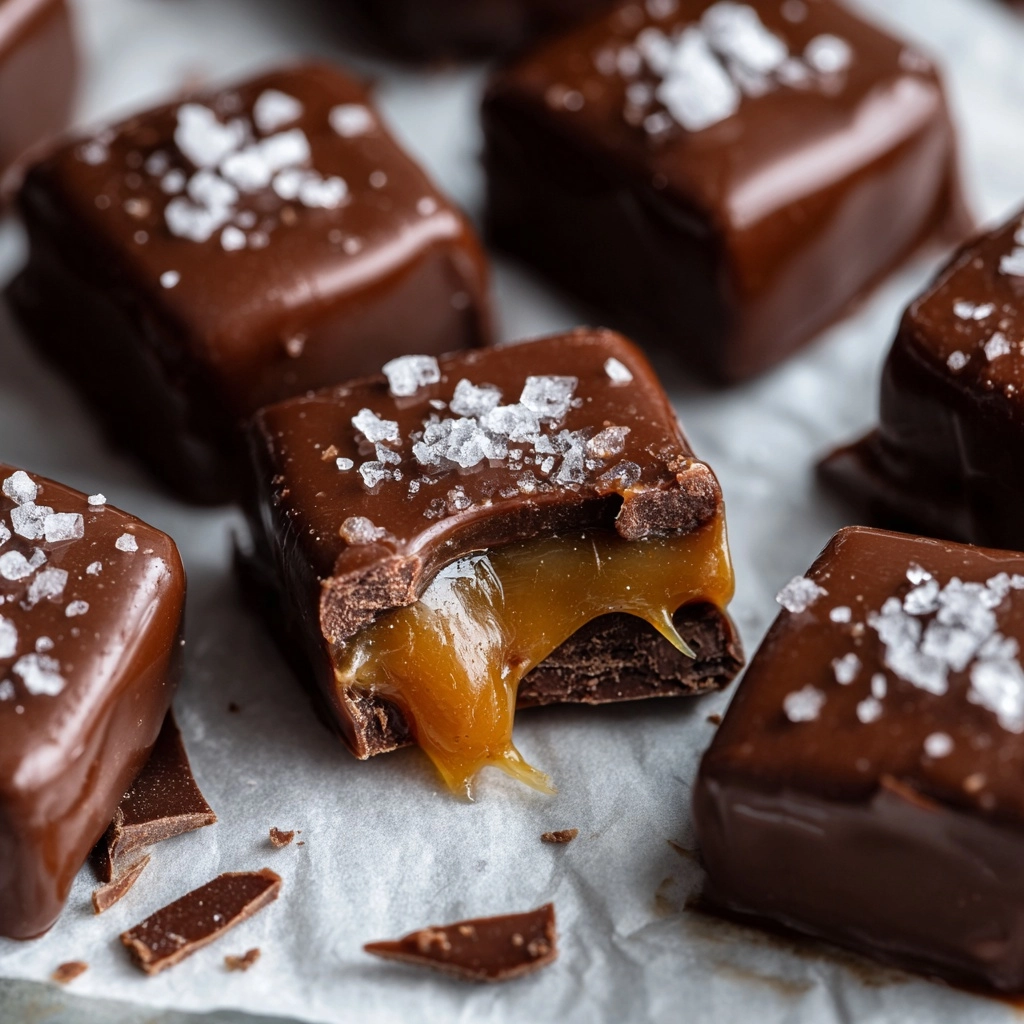
If you’re searching for a show-stopping treat that melts in your mouth, look no further than Homemade Chocolate Caramels. These decadent little squares bring together silky chocolate and chewy caramel in one swoon-worthy bite! Whether you love gifting sweets or simply want a special after-dinner candy, this recipe is a real gem—easy enough for candy-making beginners, but absolutely delicious and polished enough to impress even the toughest critics.
Ingredients You’ll Need
The beauty of Homemade Chocolate Caramels lies in its short ingredient list—every component brings something wonderful to the table! Each item plays a key role in creating that signature rich, chewy, chocolate-kissed bite you’ll crave again and again.
- Unsalted butter: Gives the caramels a creamy, luscious consistency and depth of flavor.
- Packed brown sugar: Adds sweetness and a deep, molasses-like richness to the caramel base.
- Light corn syrup: Ensures smooth, glossy caramels and prevents unwanted crystallization.
- Sweetened condensed milk: The secret to ultra-chewy texture and that uniquely caramelized flavor.
- Vanilla extract: Adds an inviting warmth that rounds out the flavor profile nicely.
- Salt: Enhances sweetness and perfectly balances the flavors—don’t skip this!
- Semi-sweet chocolate: Melts beautifully for a dreamy chocolate layer that pairs perfectly with caramel.
- Flaky sea salt (optional): For a finishing touch that makes every piece look and taste extra special.
How to Make Homemade Chocolate Caramels
Step 1: Prepare Your Pan
To start, line an 8×8-inch baking dish with parchment paper, making sure to leave some overhang on all sides. This little trick is magical—it lets you lift your whole slab of caramels out after cooling, so cutting and serving them is a total breeze.
Step 2: Cook the Caramel Base
Set a heavy-bottomed saucepan over medium heat and add the pieces of butter. Once the butter melts down, stir in your packed brown sugar, corn syrup, and sweetened condensed milk. Keep stirring as everything melts together—this is where the magic (and that show-stopping caramel flavor) starts to happen. The mixture will slowly come up to a gentle boil, so just be patient and keep things moving so nothing sticks or scorches.
Step 3: Reach the Perfect Caramel Temperature
This step is crucial! Attach a candy thermometer to your pan and continue stirring constantly. Watch carefully as the mixture climbs to 245°F (that’s the magical “firm ball” stage that gives you chewy, sliceable caramels). This usually takes about 12–15 minutes, but trust your thermometer for best results. If you prefer a softer caramel, you can stop at 240°F. When you hit your target, immediately remove the pan from the heat.
Step 4: Add Vanilla and Salt
Off the heat, stir in the vanilla extract and salt. This is where the aroma will absolutely fill your kitchen, and you’ll want to lean in and inhale every toasty, buttery note.
Step 5: Pour and Cool
Quickly pour the hot caramel mixture into your prepared baking dish. Use a spatula to smooth out the top, and then let it cool at room temperature for about 2–3 hours. The hardest part here is waiting—it’s worth it, I promise!
Step 6: Melt and Spread the Chocolate
While the caramel cools, chop your semi-sweet chocolate and melt it gently, either in a heatproof bowl set over simmering water or with short bursts in the microwave (stirring in between!). Once fully melted, pour and spread the chocolate evenly over the cooled caramel. If you love that salty-sweet combo, this is the perfect moment to sprinkle a pinch of flaky sea salt over the top.
Step 7: Set, Slice, and Enjoy
Let the chocolate layer set until firm. You can pop the whole tray in the fridge to speed things up, but don’t keep it there too long or the caramels may become too hard. Use the parchment overhang to lift the entire slab from the pan, then grab a sharp knife and slice into gorgeous little squares. Savor that first bite—you’ve earned it!
How to Serve Homemade Chocolate Caramels
Garnishes
A light sprinkle of flaky sea salt on top is absolutely dreamy, giving each caramel an elegant look and enhancing their sweet-and-salty flavor. If you’re feeling fancy, try adding a drizzle of extra melted chocolate or a dusting of cocoa powder for that bakery-style flair.
Side Dishes
Pair your Homemade Chocolate Caramels with a bold cup of coffee or hot cocoa for an indulgent treat, or serve alongside a cheese board with fresh fruit and nuts for a sweet-savory finale to any gathering.
Creative Ways to Present
These caramels look so impressive when wrapped individually in wax paper—perfect for gifting! Layer them in a pretty box or glass jar, tie with a ribbon, and you’ve created a thoughtful homemade gift. For parties, pile them high on a platter or nestle into mini cupcake liners for a polished dessert table centerpiece.
Make Ahead and Storage
Storing Leftovers
Once cut, Homemade Chocolate Caramels keep beautifully at room temperature! Just store them in an airtight container with parchment between layers to prevent sticking. They’ll stay fresh for about two weeks—if they last that long.
Freezing
Surprisingly, these caramels freeze well! Simply wrap each piece tightly in wax paper or plastic wrap, then store in a freezer-safe bag or container. Thaw at room temperature before serving and they’ll taste just as delicious as the day you made them.
Reheating
Homemade Chocolate Caramels are best enjoyed at room temperature, but if you like them a tad softer, pop one in the microwave for just five seconds. It turns impossibly gooey and warm—the ultimate treat!
FAQs
Can I use dark chocolate instead of semi-sweet for Homemade Chocolate Caramels?
Absolutely! Dark chocolate adds a more intense chocolatey edge and pairs beautifully with the rich, buttery caramel. Just chop and melt as directed in the recipe.
How can I stop the caramel from sticking to the knife when slicing?
For clean, neat squares, lightly grease your knife or run it under hot water and wipe dry between cuts. This little step makes slicing a breeze!
Do I need a candy thermometer to make Homemade Chocolate Caramels?
It’s strongly recommended for perfect consistency, but if you don’t have one, you can drop a small spoonful of the caramel into a cup of cold water. If it forms a firm ball, it’s ready—just be careful and patient.
Why did my caramels turn out grainy?
Graininess happens if the sugar crystallizes during cooking, often from unincorporated sugar on the sides of the pan. Stir constantly and make sure all the sugar is dissolved before the caramel comes to a boil.
Can I double the batch?
For sure! Just use a larger (9×13 inch) pan, and be sure your saucepan is big enough to prevent bubbling over. Cooking time may be a bit longer since there’s more volume to heat through.
Final Thoughts
There’s something incredibly rewarding about crafting your own Homemade Chocolate Caramels. The taste, the texture, the chocolatey finish—they’re pure magic! If you’re ready for a treat that’s as fun to share as it is to eat, this recipe is one you’ll reach for again and again. Give it a try and watch smiles appear with every gooey, chocolate-topped square.
Print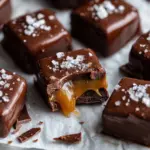
Homemade Chocolate Caramels Recipe
- Prep Time: 10 minutes
- Cook Time: 15 minutes
- Total Time: 25 minutes plus cooling
- Yield: 36 pieces
- Category: Dessert, Candy
- Method: Stovetop
- Cuisine: American
- Diet: Vegetarian, Gluten-Free
Description
Indulge in the rich, buttery sweetness of these homemade chocolate caramels. With a perfect balance of flavors and textures, these chewy treats are sure to become a favorite for any occasion.
Ingredients
Caramel:
- 1 cup unsalted butter, cut into pieces
- 2 1/4 cups packed brown sugar
- 1 cup light corn syrup
- 1 can (14 ounces) sweetened condensed milk
- 1 teaspoon vanilla extract
- 1/2 teaspoon salt
Chocolate Topping:
- 8 ounces semi-sweet chocolate, chopped
- Flaky sea salt for sprinkling (optional)
Instructions
- Prepare Caramel: Line an 8×8-inch baking dish with parchment paper. Melt butter in a saucepan, add brown sugar, corn syrup, and condensed milk. Boil while stirring until 245°F, then stir in vanilla and salt. Pour into dish and let cool.
- Add Chocolate Topping: Melt chocolate, spread over caramel. Sprinkle with sea salt. Allow to set, then cut into squares.
Notes
- For softer caramels, cook to 240°F.
- Wrap caramels individually for storage or gifting.
- Dark chocolate can be used for a richer flavor.
Nutrition
- Serving Size: 1 piece
- Calories: 120
- Sugar: 15 g
- Sodium: 55 mg
- Fat: 6 g
- Saturated Fat: 4 g
- Unsaturated Fat: 2 g
- Trans Fat: 0 g
- Carbohydrates: 18 g
- Fiber: 0 g
- Protein: 1 g
- Cholesterol: 15 mg

