
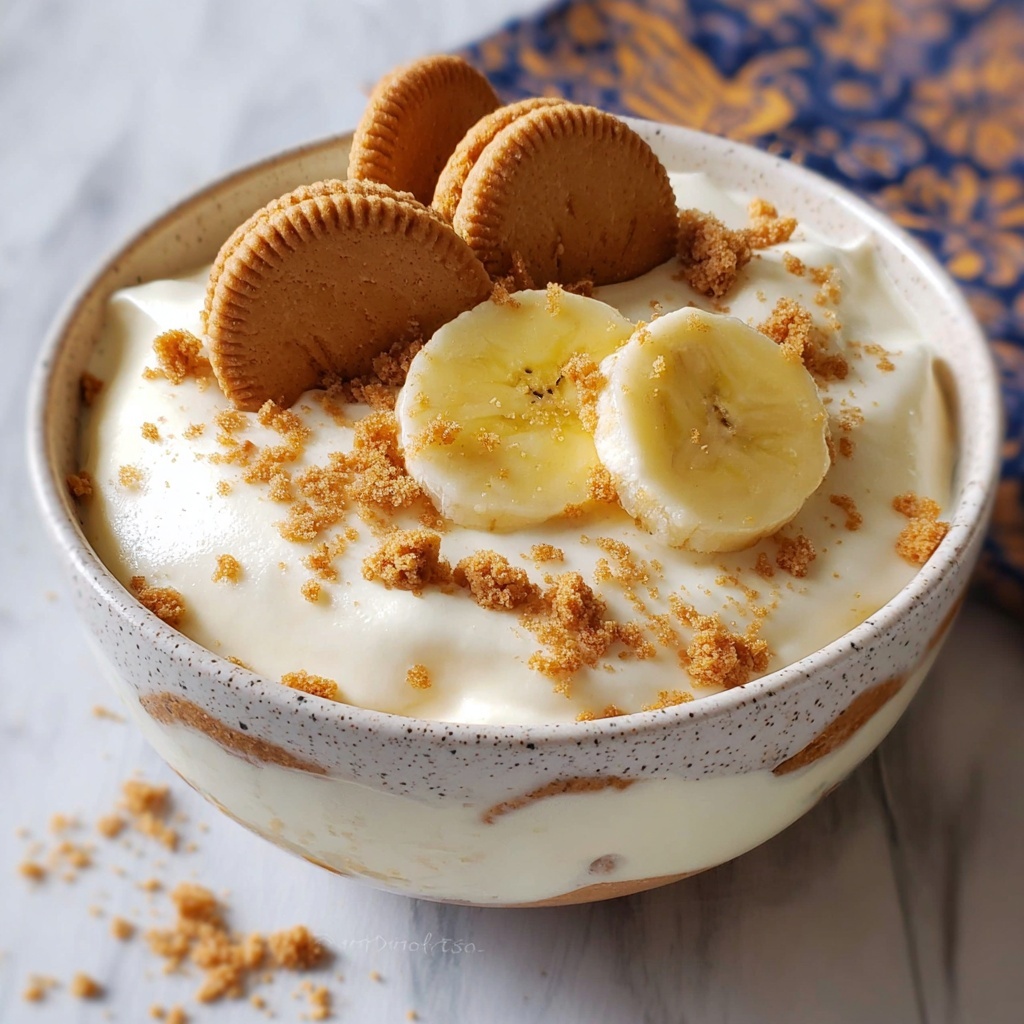
If you have a soft spot for creamy, nostalgic desserts that capture the cozy spirit of homemade treats, you are going to fall head over heels for Magnolia Bakery’s Famous Banana Pudding Recipe. This delightful classic is all about luscious layers of silky vanilla pudding, fresh sliced bananas, crispy Nilla wafers, and fluffy whipped cream, coming together to create a symphony of textures and flavors that sing “home sweet home” in every bite. Whether you’re after a crowd-pleaser for a gathering or simply craving the perfect comfort dessert, this recipe delivers that signature Magnolia Bakery magic right in your own kitchen.
Ingredients You’ll Need
Magnolia Bakery’s Famous Banana Pudding Recipe depends on a handful of straightforward yet carefully chosen ingredients that each play a vital role in building its irresistible charm. From the rich sweetness of condensed milk to the airy lift of whipped cream, every component contributes to the pudding’s perfect balance of creamy, crunchy, and fruity elements.
- Sweetened condensed milk: Adds rich sweetness and creamy texture without needing extra sugar.
- Ice cold water: Essential for properly activating the instant pudding mix to achieve the right silky consistency.
- Instant vanilla pudding mix: Provides that classic vanilla flavor and smooth, luscious mouthfeel.
- Heavy cream: Whipped to stiff peaks, it lends lightness and a cloud-like texture to the pudding layers.
- Barely ripe bananas: Their firm texture and sweet flavor keep the dessert fresh and vibrant without turning mushy.
- Nilla Wafers: Offer a buttery, crispy counterpoint that softens just enough as it soaks up the pudding flavors.
How to Make Magnolia Bakery’s Famous Banana Pudding Recipe
Step 1: Prepare the Pudding Base
Start by whisking together the sweetened condensed milk and ice cold water in a large bowl until fully combined, which takes about a minute. Then, sprinkle in the instant vanilla pudding mix and beat the mixture for another two minutes until smooth. This step is key because allowing the pudding to chill and set in the fridge for at least 3-4 hours or overnight will help it thicken properly, avoiding that watery texture that can ruin the dessert’s magic.
Step 2: Whip the Cream
While the pudding is chilling, whip the heavy cream until stiff peaks form. This whipped cream is the secret to the pudding’s airy and light layers. Gently fold it into the chilled pudding base until no streaks remain, maintaining all those fluffy folds that will later melt beautifully on your palate.
Step 3: Choose Your Serving Dish
You can assemble the banana pudding in a large glass bowl with a capacity of 4 to 5 quarts or use a classic 9×13-inch baking dish. Alternatively, feel free to create individual portions in small glasses or bowls for a charming presentation that guests will love.
Step 4: Layer the Pudding
Begin by spreading a third of the Nilla wafers to cover the bottom of your dish, overlapping as necessary to ensure full coverage. Next, add a layer of a third of the sliced bananas, followed by a third of the pudding mixture. Repeat this layering process two more times, finishing with a topping of additional wafers or crushed crumbs for a pretty, textured finish. Cover the assembled pudding tightly and refrigerate for at least 4 hours to allow the flavors to meld — but don’t let it sit longer than 8 hours, as the bananas will start to brown. For tips on keeping bananas fresh, check the notes section below.
How to Serve Magnolia Bakery’s Famous Banana Pudding Recipe
Garnishes
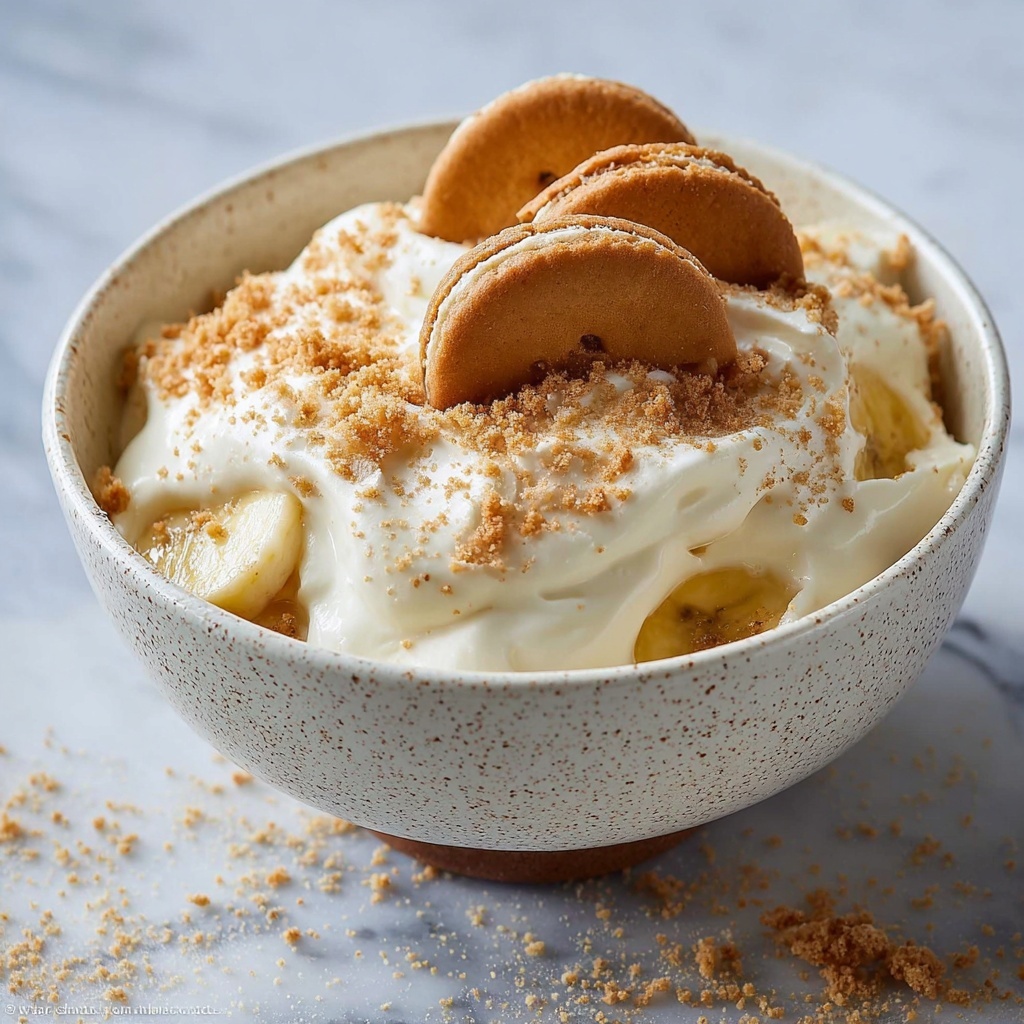
To elevate your banana pudding and add that final personal touch, consider garnishing with a sprinkle of crushed Nilla wafers or even a dusting of cinnamon for a hint of warmth. Fresh banana slices or small dollops of whipped cream can also add visual appeal and a burst of freshness that invites you to dive in immediately.
Side Dishes
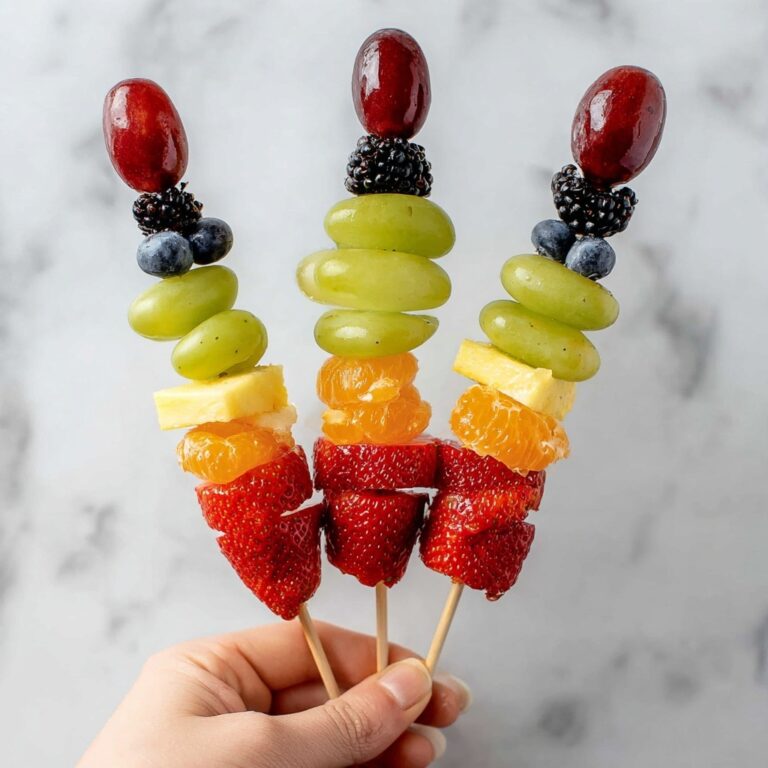
This banana pudding stands wonderfully on its own but pairs beautifully with light, complementary accompaniments. Fresh berries, a scoop of vanilla ice cream, or even a simple cup of hot coffee can round out your dessert experience, providing contrasting flavors and temperatures that make each bite more memorable.
Creative Ways to Present
Want to impress your guests with a clever twist? Try layering your pudding in clear parfait glasses to showcase the colorful layers of pudding, bananas, and wafers. Alternatively, create individual mason jar servings, perfect for picnics or potlucks, or assemble a banana pudding trifle with additional layers of cake or cookie crumbs for an indulgent crowd-pleaser.
Make Ahead and Storage
Storing Leftovers
Leftover Magnolia Bakery’s Famous Banana Pudding Recipe should be kept covered in the refrigerator. It’s best enjoyed within 2 to 3 days for maximum freshness. After that, the bananas may start to brown and the wafers can become overly soggy, so try to savor it sooner rather than later.
Freezing
While freezing banana pudding is generally not recommended due to the texture changes in bananas and pudding after thawing, you can freeze the pudding layers before assembly if needed. Just be sure to thaw it completely and assemble fresh when ready to serve, to maintain that perfect balance of textures.
Reheating
This dessert is best served chilled and does not require reheating. If you prefer it slightly less cold, simply remove it from the refrigerator 15 to 20 minutes before serving to allow the pudding to soften gently to room temperature.
FAQs
Can I use fresh homemade pudding instead of instant mix?
Absolutely! While this recipe relies on instant vanilla pudding for convenience and classic flavor, homemade pudding can add a rich, artisanal touch. Just be sure to prepare it thick enough to maintain the right consistency in layers.
How do I prevent the bananas from browning?
Choosing barely ripe bananas helps slow browning. You can also toss banana slices in a little lemon juice before layering, or assemble the dessert as close to serving time as possible for the freshest look.
Is it possible to make this recipe vegan?
Yes, with a few adjustments! You’ll need to substitute the sweetened condensed milk, heavy cream, and pudding mix with vegan alternatives. Coconut cream and plant-based pudding mixes work well to replicate the creamy texture.
Can I use a different type of cookie instead of Nilla Wafers?
Definitely! While Nilla Wafers give that signature buttery crunch, cookies like vanilla shortbread or even graham crackers can be delightful substitutes, adding their own unique flavor and texture.
How long can I prepare this in advance?
You can prepare and assemble Magnolia Bakery’s Famous Banana Pudding Recipe up to 8 hours in advance. Keep it refrigerated and covered tightly to maintain freshness and prevent the bananas from browning too much.
Final Thoughts
There is something truly magical about settling in with a bowl of Magnolia Bakery’s Famous Banana Pudding Recipe — the way the layers come together in perfect harmony, the balance of creamy, crunchy, and fruity bites that never gets old. I encourage you to give this recipe a try and enjoy the comfort and joy it brings to your table. Once you do, it might just become your new favorite dessert to share with family and friends.
Print
Magnolia Bakery’s Famous Banana Pudding Recipe
- Prep Time: 15 minutes
- Cook Time: 0 minutes
- Total Time: 4 hours 15 minutes (including chilling time)
- Yield: 15 servings
- Category: Dessert
- Method: No-Cook
- Cuisine: American
Description
Magnolia Bakery’s Famous Banana Pudding is a creamy, layered dessert featuring a luscious vanilla pudding made from instant mix and sweetened condensed milk, whipped heavy cream, fresh sliced bananas, and classic Nilla Wafers. This no-bake, refrigerator-set treat is perfect for gatherings and offers a delightful combination of smooth pudding, crunchy wafers, and fresh bananas.
Ingredients
Pudding Mixture
- 1 (14 oz) can sweetened condensed milk
- 1 ½ cups ice cold water
- 1 (3.4 oz) box instant vanilla pudding mix
Whipped Cream
- 3 cups heavy cream
Assembly
- 4 cups sliced barely ripe bananas
- 1 (12 oz) box Nilla Wafers
Instructions
- Make the pudding base: In a large bowl, beat together the sweetened condensed milk and ice cold water for about 1 minute until fully combined. Add the instant vanilla pudding mix and continue beating for about 2 minutes until the mixture starts to thicken. Cover the bowl and refrigerate for 3-4 hours or overnight to allow the pudding to properly set and avoid a watery consistency.
- Whip the cream: In a separate large bowl, whip the heavy cream until stiff peaks form. This will add lightness and volume to the pudding mixture.
- Combine pudding and whipped cream: Gently fold the whipped cream into the chilled pudding mixture until fully blended and no streaks remain, creating a smooth and airy mixture.
- Prepare serving dish: You can assemble this dessert in individual portions or in a large glass bowl with a 4-5 quart capacity, such as a 9×13 baking dish.
- Layer the dessert: Start by arranging one-third of the Nilla Wafers to cover the bottom, overlapping as needed. Next, add one-third of the sliced bananas evenly over the wafers, then spread one-third of the pudding mixture on top. Repeat these layers two more times, finishing with wafers or wafer crumbs on the top.
- Chill to set: Cover the assembled dessert tightly and refrigerate for at least 4 hours, up to 8 hours. Avoid chilling longer to prevent the bananas from browning. For best freshness, consider tips on preventing banana browning such as lightly tossing them with lemon juice before layering.
Notes
- Use barely ripe bananas; overly ripe bananas will turn brown and soften too much during chilling.
- To prevent banana slices from browning, gently toss them with a small amount of lemon juice before layering.
- This dessert is best enjoyed within 8 hours of assembling for optimal texture and appearance.
- You can prepare the pudding base a day ahead to save time on assembly day.
- The Nilla Wafers provide a classic crunch; however, for a twist, you can substitute with vanilla cookies if desired.

