
If you’re looking for a festive and utterly delicious treat to celebrate this year’s green-themed holiday, look no further than the St. Patrick’s Day Pistachio Brownies Recipe. These brownies strike the perfect balance between rich chocolatey goodness and the delightful crunch of salted pistachios, adding a unique nutty twist and a subtle earthy color burst that makes them stand out on any holiday table. Whether you’re baking for friends, family, or just indulging yourself, this recipe brings warmth and charm to your St. Patrick’s Day celebrations.
Ingredients You’ll Need
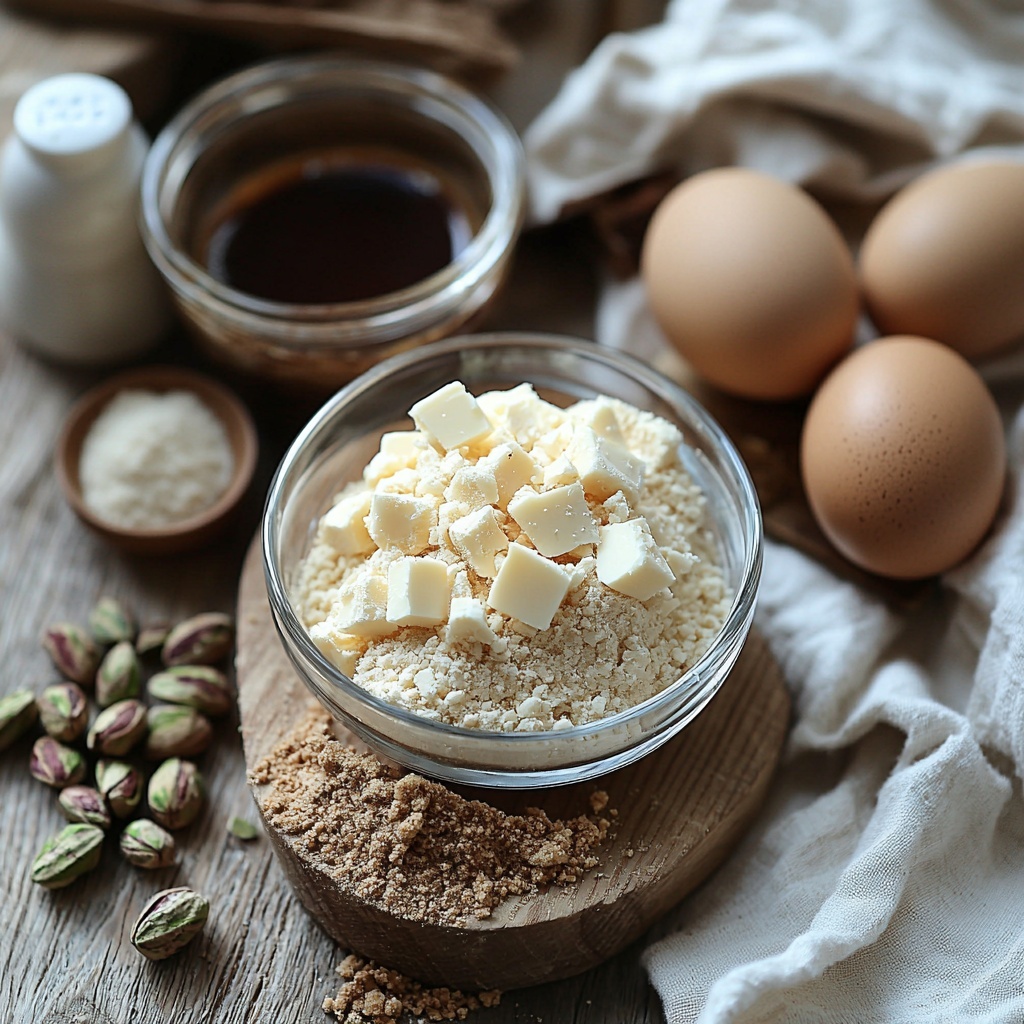
These ingredients might be simple, but each one plays a vital role in crafting the perfect St. Patrick’s Day Pistachio Brownies Recipe. From the silky melted butter that creates a tender crumb to the salty pistachios that add texture and festive flair, every element works together for a harmonious bite.
- ½ cup unsalted butter: Melts beautifully to give the brownies a rich, buttery base that’s essential for moistness.
- 1 cup granulated sugar: Brings classic sweetness and helps create a shiny, crackly top.
- ½ cup brown sugar: Adds a subtle molasses depth for extra chewiness and flavor complexity.
- 2 large eggs: Bind everything together while adding moisture and richness.
- 1 tsp vanilla extract: Enhances the chocolate and pistachio flavors with a warm aromatic touch.
- ¾ cup all-purpose flour: Provides structure so the brownies hold their shape but stay soft.
- ⅓ cup cocoa powder (unsweetened): Delivers the intense chocolate flavor that’s the star of this recipe.
- 1 cup shelled salted pistachios: Adds a vibrant green color, satisfying crunch, and a hint of salt that perfectly balances the sweetness.
How to Make St. Patrick’s Day Pistachio Brownies Recipe
Step 1: Prepare Your Oven and Pan
Start by preheating your oven to 350°F (175°C) and greasing an 8×8-inch baking dish. This ensures a draft-free, evenly baked brownie base that won’t stick, making those perfectly squared bites easy to serve.
Step 2: Melt Butter and Combine Sugars
In a saucepan over low heat, melt the unsalted butter. Once liquid, stir in both the granulated and brown sugars until the mixture turns glossy and smooth. This step doesn’t just sweeten your batter; it starts building that fudgy texture fundamental to indulgent brownies.
Step 3: Add Eggs and Vanilla Extract
Remove the pan from heat and whisk in the eggs, one at a time. This gradual addition helps create a smooth, even batter. Stir in the vanilla extract right after for that fragrant boost that ties the brownies’ flavors together.
Step 4: Combine Dry Ingredients
In a separate bowl, sift together the flour and unsweetened cocoa powder. This step prevents lumps and ensures your brownies will be tender rather than tough. Gently fold these dry ingredients into the wet mixture until just combined — be careful not to overmix, so your brownies stay soft and cakey.
Step 5: Fold in the Pistachios
Now for the magic touch: gently stir in the chopped salted pistachios until they’re evenly distributed throughout the batter. Those green gems add not just texture but also the perfect salty contrast to the rich chocolate.
Step 6: Bake to Perfection
Pour your batter into the prepared baking dish and slide it into the oven. Bake for 25 to 30 minutes. You’ll know it’s ready when a toothpick inserted near the center comes out mostly clean with just a few moist crumbs attached — that perfect balance of fudgy and cakey.
Step 7: Cool and Cut
Once out of the oven, allow the brownies to cool completely in the pan. This resting time helps them set, making cutting into neat squares a breeze. Trust me, the wait is worth it!
How to Serve St. Patrick’s Day Pistachio Brownies Recipe
Garnishes
To elevate your St. Patrick’s Day Pistachio Brownies Recipe, sprinkle a few whole pistachios or some finely chopped green pistachio pieces on top before serving. A light dusting of powdered sugar or a drizzle of white chocolate can add an elegant contrast and a hint of extra sweetness.
Side Dishes
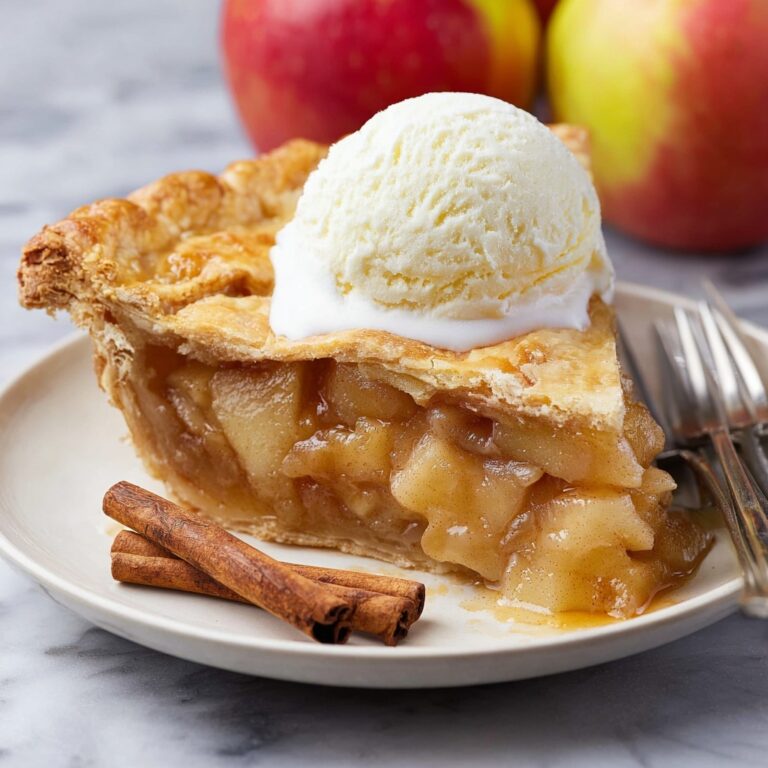
Pair these rich brownies with something refreshing like a scoop of mint or vanilla ice cream. The cool creaminess perfectly complements the dense chocolate and crunchy pistachios, making each bite an exciting mix of temperatures and textures.
Creative Ways to Present
For a festive dessert table, cut brownies into bite-sized squares and arrange them on a platter lined with fresh mint leaves for a vibrant green touch. Alternatively, skewering small brownie cubes with colorful toothpicks alongside some fresh berries creates a fun, shareable treat perfect for parties.
Make Ahead and Storage
Storing Leftovers
Leftover brownies can be stored in an airtight container at room temperature for up to 3 days. This keeps them tender and moist without drying out. Storing at room temperature actually preserves the fantastic pistachio crunch better than refrigeration.
Freezing
If you want to keep these brownies longer, simply wrap individual squares tightly in plastic wrap and place them in a freezer-safe bag or container. Freeze for up to 2 months. When you’re ready to enjoy, thaw at room temperature for a couple of hours and you’ll hardly know they were frozen!
Reheating
For a warm treat, microwave a brownie square on medium power for about 15-20 seconds, or until just heated through. This awakens the flavors and softens the brownies slightly, making them perfect for pairing with a cold glass of milk or hot tea.
FAQs
Can I use unsalted pistachios instead of salted?
Absolutely! Using unsalted pistachios will reduce the salty contrast in your brownies, so you might want to add a pinch of salt to the batter to keep the balance. The salted pistachios are recommended for that perfect sweet and salty flavor combination.
What if I don’t have cocoa powder? Can I use melted chocolate instead?
You can substitute unsweetened cocoa powder with melted chocolate, but keep in mind you’ll need to reduce the butter slightly since chocolate contains fat. Be sure to use good quality bittersweet or semisweet chocolate for the best flavor.
Can I make these brownies gluten-free?
Yes! Swap the all-purpose flour with a 1-to-1 gluten-free baking flour blend. This will allow you to enjoy this St. Patrick’s Day Pistachio Brownies Recipe without compromising texture or taste.
How festive do these brownies look for St. Patrick’s Day? Should I add food coloring?
The natural green from pistachios adds a subtle festive hue, making these brownies feel special and holiday-appropriate without artificial coloring. If you want a more vivid green color, you can add a few drops of green food coloring, but it’s totally optional.
Can I use roasted pistachios or do they need to be raw?
Either works well, but salted and roasted pistachios add an extra layer of flavor and crunch. Just make sure they’re roughly chopped so they distribute evenly without overpowering the texture.
Final Thoughts
There’s something truly heartwarming about a homemade dessert that’s both simple and special. The St. Patrick’s Day Pistachio Brownies Recipe captures the festive spirit in every bite, combining luscious chocolate with the vivid crunch of pistachios in a way that invites smiles and second helpings. I encourage you to try this recipe and share these irresistible brownies with everyone you love—because good food is all about coming together and celebrating flavor and tradition alike.
Print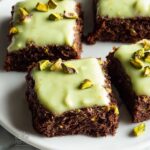
St. Patrick’s Day Pistachio Brownies Recipe
- Prep Time: 15 minutes
- Cook Time: 30 minutes
- Total Time: 45 minutes
- Yield: 12 servings
- Category: Dessert
- Method: Baking
- Cuisine: American
Description
Celebrate St. Patrick’s Day with these rich and fudgy pistachio brownies, combining the classic chocolate flavor with crunchy salted pistachios for a festive twist. These brownies are perfect for sharing and bring a delightful nutty crunch to the traditional brownie treat.
Ingredients
Brownie Batter
- ½ cup unsalted butter
- 1 cup granulated sugar
- ½ cup brown sugar
- 2 large eggs
- 1 tsp vanilla extract
- ¾ cup all-purpose flour
- ⅓ cup unsweetened cocoa powder
Add-ins
- 1 cup shelled salted pistachios, chopped
Instructions
- Preheat Oven and Prepare Pan: Preheat your oven to 350°F (175°C). Grease an 8×8-inch baking dish thoroughly so the brownies won’t stick after baking.
- Melt Butter and Mix Sugars: In a saucepan over low heat, melt the unsalted butter. Once melted, stir in granulated sugar and brown sugar until the mixture becomes glossy and well combined.
- Add Eggs and Vanilla: Remove the saucepan from heat. Whisk in the eggs one at a time to ensure they are fully incorporated, then mix in the vanilla extract for flavor.
- Sift and Combine Dry Ingredients: In a separate bowl, sift together the all-purpose flour and unsweetened cocoa powder to remove lumps. Gently fold this dry mixture into the wet ingredients until just combined, avoiding overmixing to keep brownies tender.
- Add Pistachios: Carefully fold in the chopped salted pistachios, distributing them evenly throughout the batter to provide crunch and flavor in every bite.
- Bake the Brownies: Pour the batter into the prepared baking dish, smoothing the top if needed. Bake in the preheated oven for 25 to 30 minutes. Check doneness by inserting a toothpick in the center; it should come out mostly clean with a few moist crumbs.
- Cool and Serve: Remove the brownies from the oven and allow them to cool completely in the pan before cutting into 12 squares to serve.
Notes
- For extra fudgy brownies, slightly underbake them and remove when the toothpick still has moist crumbs.
- You can substitute salted pistachios with unsalted and add a pinch of salt to the batter if preferred.
- Store leftovers in an airtight container at room temperature for up to 3 days or refrigerate for up to a week.
- Allowing the brownies to cool fully ensures they cut cleanly without crumbling.


