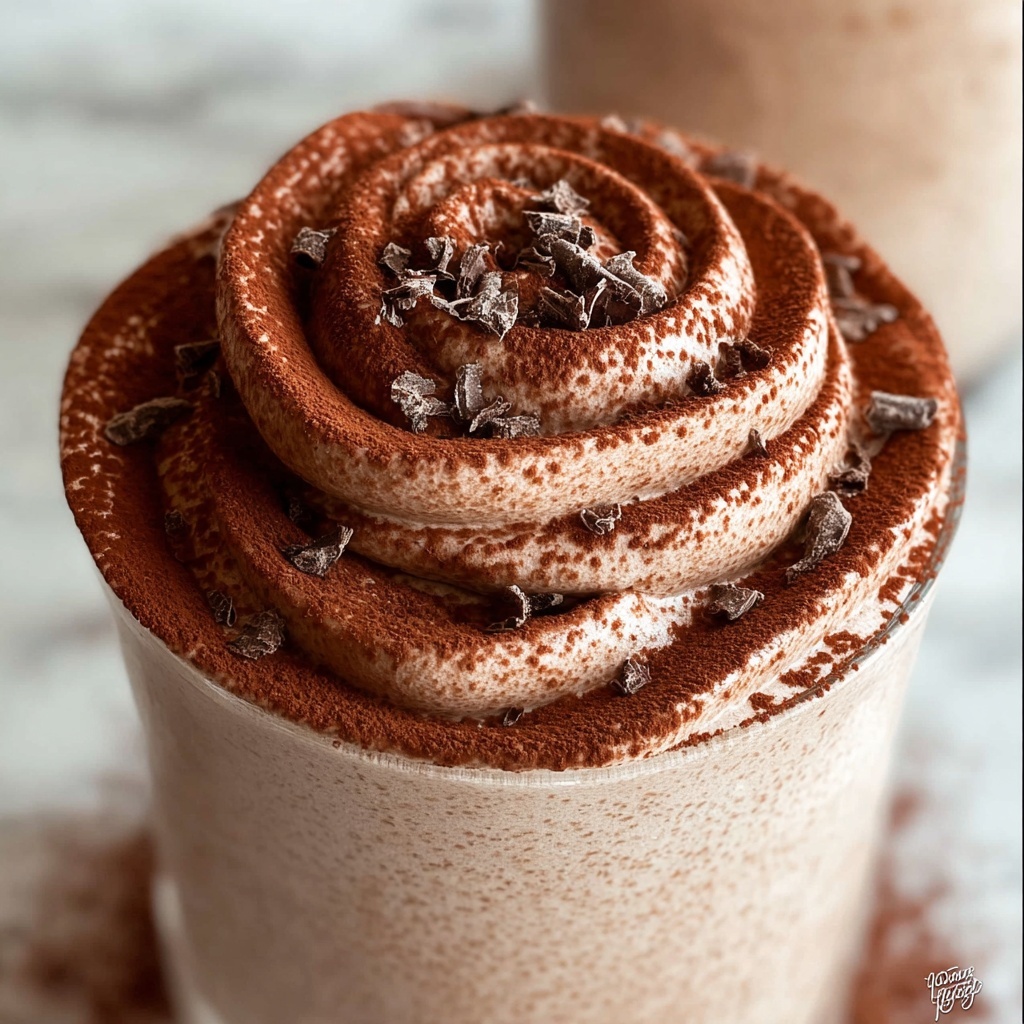
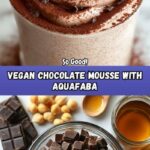
If you’ve been on the lookout for a dessert that feels indulgent yet aligns perfectly with a plant-based lifestyle, then I’m thrilled to introduce you to the Vegan Chocolate Mousse with Aquafaba Recipe. This dreamy, airy, and delightfully rich mousse uses aquafaba—the magical liquid from chickpeas—to achieve that luscious, creamy texture traditionally achieved with eggs and cream. It’s the perfect balance of silky chocolate and lightness, making it a delicious vegan treat that will impress friends and family alike, whether you’re hosting a dinner or simply craving a heavenly chocolate fix.
Ingredients You’ll Need
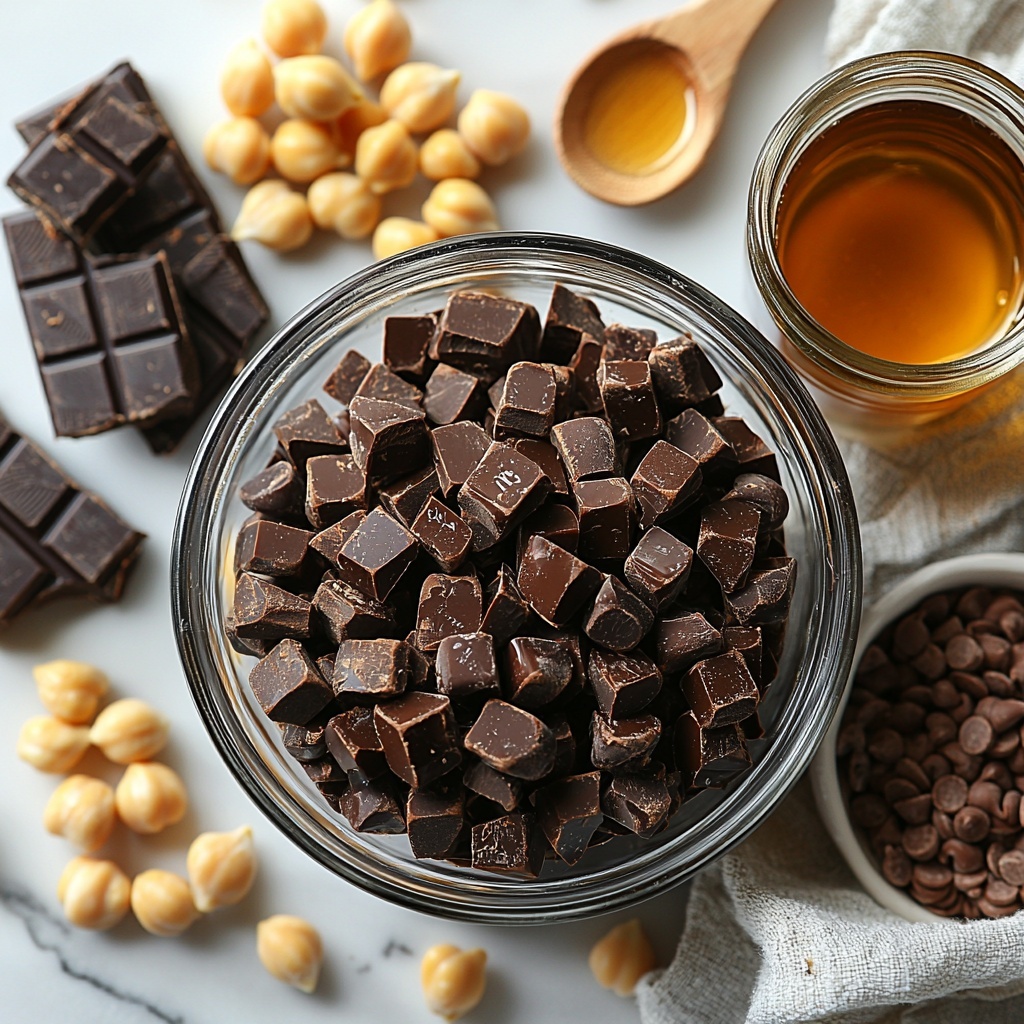
With just a handful of straightforward ingredients, this recipe comes together quickly and beautifully. Each element plays a crucial role; the aquafaba creates volume and fluffiness, the dark chocolate delivers deep cocoa richness, while maple syrup adds just the right touch of natural sweetness.
- 1 cup aquafaba: The secret star providing airy structure and creaminess without any dairy or eggs.
- 7 oz dark chocolate chips (54% cocoa): Choose a good quality chocolate for the richest flavor and smoothest texture.
- 1 tbsp lemon juice: Adds a slight brightness that helps stabilize the aquafaba when whipped.
- 2 tbsp maple syrup: A gentle, natural sweetness that complements the bitterness of the dark chocolate perfectly.
How to Make Vegan Chocolate Mousse with Aquafaba Recipe
Step 1: Prep the Aquafaba Mixture
Begin by draining the aquafaba from a can of chickpeas and placing it in a clean mixing bowl. Add the lemon juice and maple syrup at this stage. These additions aren’t just for flavor—they help the aquafaba whip up into fluffy, stable peaks that form the foundation of your mousse.
Step 2: Whip the Aquafaba to Stiff Peaks
Using a stand mixer (or a hand mixer if necessary), whip the aquafaba mixture vigorously for about 10 minutes. You’ll see it transform from a thin liquid into a cloud-like foam with stiff, glossy peaks. It’s important to get this step right, as it provides the mousse’s signature light and airy texture.
Step 3: Melt the Dark Chocolate
While the aquafaba whips, melt the dark chocolate chips gently using a double boiler setup. Stir continuously until the chocolate is silky smooth and completely melted, ensuring it cools slightly before the next step—this prevents the mousse from losing its lightness.
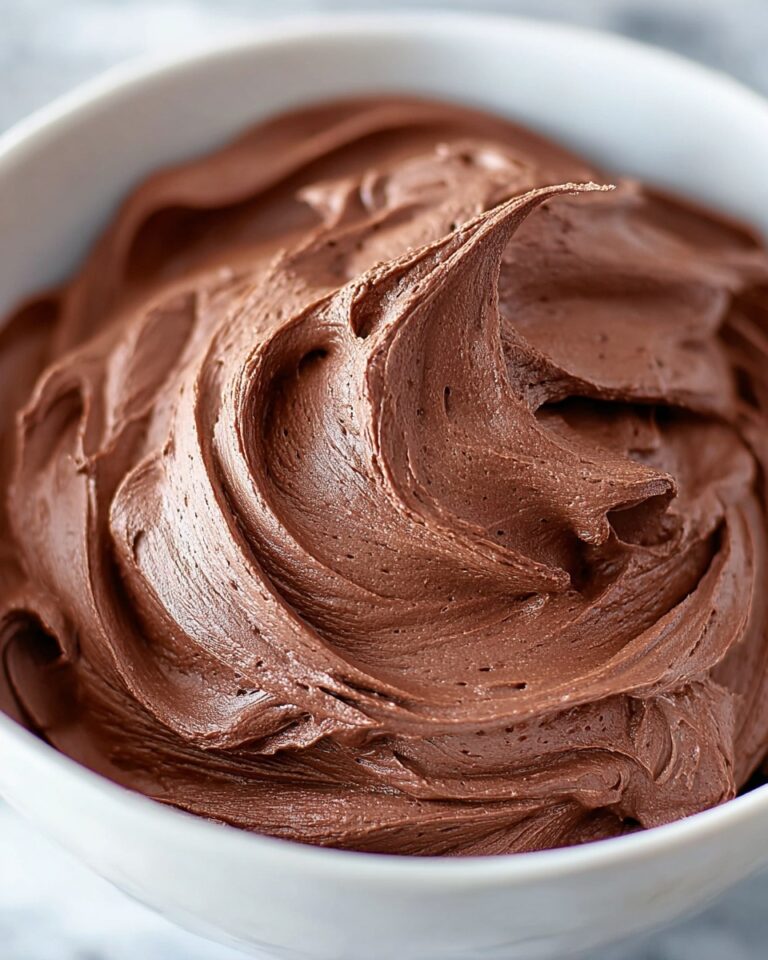
Step 4: Fold Chocolate Into Aquafaba
Gently fold the cooled melted chocolate into the whipped aquafaba in batches. Use a spatula and take your time with this step to maintain that billowy, mousse-like consistency. The idea is to combine them without deflating the airy whipped aquafaba for a decadent yet fluffy dessert.
Step 5: Chill Before Serving
Once your chocolate and aquafaba mixture is well combined, spoon it into serving bowls or ramekins. Pop them into the refrigerator for at least 3 hours to set and develop its flavors. The mousse will firm up just enough while staying delectably light, ready to impress.
How to Serve Vegan Chocolate Mousse with Aquafaba Recipe
Garnishes
Elevate your mousse by topping it with fresh berries, a sprinkle of toasted coconut flakes, or a dusting of cocoa powder. These touches add texture, bursts of flavor, and visual appeal that turn a simple dish into something truly special.
Side Dishes
This mousse pairs beautifully with a crisp fruit salad or even a small portion of vegan shortbread cookies. Together, they create a lovely contrast of textures and flavors—ideal for ending a dinner on a sweet, light note.
Creative Ways to Present
For a bit of whimsy, try layering the mousse with crushed vegan cookies in clear glasses, creating a parfait. Or pipe it into chocolate cups for individual servings that look just as good as they taste. Presentation can make your Vegan Chocolate Mousse with Aquafaba Recipe an unforgettable experience.
Make Ahead and Storage
Storing Leftovers
Store any leftover mousse covered in the refrigerator for up to 3 days. Keep it tightly sealed to avoid picking up any other fridge odors and maintain its delicate texture.
Freezing
You can freeze the mousse in airtight containers for up to a month. When you’re ready to enjoy, thaw it overnight in the fridge. Note that freezing may slightly alter the texture, but it will still be delicious.
Reheating
This dessert is best served chilled, so reheating is not recommended. Instead, plan ahead and allow it time to chill adequately after thawing or preparation.
FAQs
What exactly is aquafaba?
Aquafaba is the viscous water leftover from cooking chickpeas or other legumes. It whips like egg whites and is an excellent vegan substitute in recipes like meringues and mousses.
Can I use chocolate with a higher cocoa percentage?
Absolutely! Just keep in mind that higher cocoa percentages will make the mousse more bitter. Adjust your maple syrup slightly if you want a sweeter dessert.
Is this mousse gluten-free?
Yes, the Vegan Chocolate Mousse with Aquafaba Recipe is naturally gluten-free, making it perfect for those with gluten sensitivities or celiac disease.
How long does it take to make this mousse?
The active prep time is about 15 minutes, but be sure to allow at least 3 hours for chilling to get the best texture and flavor.
Can I use homemade aquafaba?
Yes! If you cook your own chickpeas, simply reserve the cooking water and use that as your aquafaba. Just be sure it’s cooled and not too thick or too thin.
Final Thoughts
Making the Vegan Chocolate Mousse with Aquafaba Recipe is like discovering a little magic in your kitchen. The way simple ingredients come together to create something so luscious and satisfying is truly special. Whether you’re a longtime vegan or just someone who loves a great chocolate dessert, this recipe is sure to become a cherished favorite. Give it a try, and prepare to wow yourself and everyone you share it with!
Print
Vegan Chocolate Mousse with Aquafaba Recipe
- Prep Time: 15 minutes
- Cook Time: 0 minutes
- Total Time: 3 hours 15 minutes
- Yield: 4 servings
- Category: Dessert
- Method: No-Cook
- Cuisine: Vegan
- Diet: Vegan
Description
This Vegan Chocolate Mousse with Aquafaba is a light, airy, and creamy dessert made by whipping chickpea liquid into stiff peaks and folding in rich dark chocolate. It’s a perfect dairy-free, egg-free treat that satisfies your chocolate cravings while remaining vegan and gluten-free.
Ingredients
Ingredients
- 1 cup aquafaba (liquid from 1 can of chickpeas)
- 7 oz dark chocolate chips (54% cocoa)
- 1 tbsp lemon juice
- 2 tbsp maple syrup
Instructions
- Prepare Aquafaba Mixture: Drain the aquafaba from the chickpeas and combine it in a large mixing bowl with lemon juice and maple syrup. This mixture will provide the base for whipping.
- Whip Aquafaba: Using a stand mixer, whip the aquafaba mixture on high speed until stiff peaks form. This typically takes about 10 minutes and creates a light, fluffy texture similar to egg whites.
- Melt Chocolate: Melt the dark chocolate chips in a double boiler over simmering water, stirring until smooth and fully melted to avoid burning.
- Combine Chocolate and Aquafaba: Gently fold the melted chocolate into the whipped aquafaba in small batches, carefully blending to maintain the airy structure without deflating the mousse.
- Chill Mousse: Spoon the mousse evenly into serving bowls or ramekins and refrigerate for at least 3 hours to allow it to set and develop its creamy consistency before serving.
Notes
- Use aquafaba from chickpeas canned without added salt for best results.
- Ensure the melted chocolate is slightly cooled before folding into aquafaba to avoid deflating the whipped mixture.
- The mousse can be refrigerated up to 2 days; for best texture, serve chilled.
- Use gluten-free chocolate chips to keep the dessert gluten-free.
- Optional: Garnish with fresh berries or vegan whipped cream before serving.