“`html
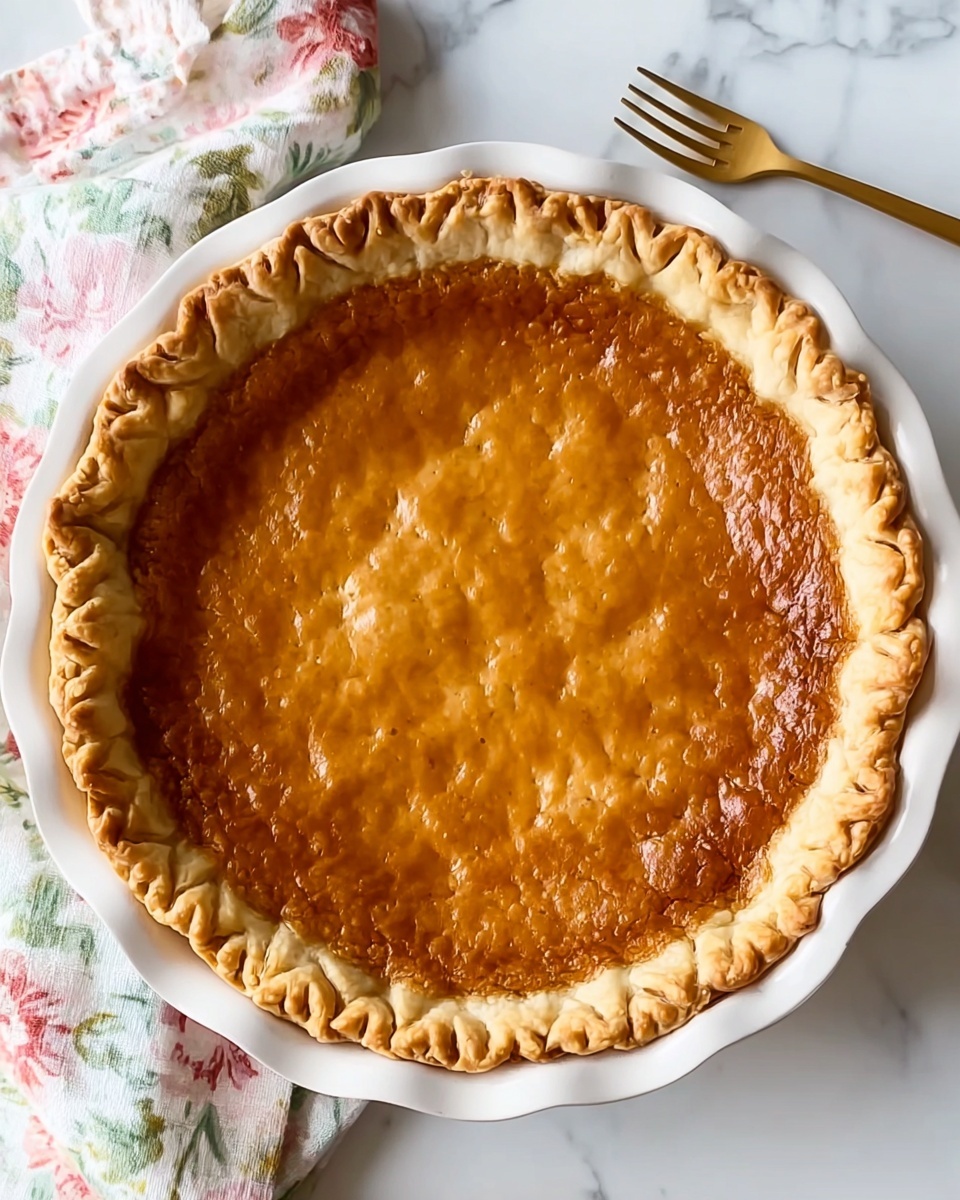
If you’re on the hunt for a dessert that feels like a cozy little secret from grandma’s recipe box, this Water Pie Recipe is just the ticket. It’s wonderfully simple yet surprisingly magical in how it transforms a handful of everyday ingredients into a silky, custard-like pie that sets up perfectly once cooled. The buttery pie crust cradles a delicate, sweet filling with a hint of vanilla that feels nostalgic and comforting with every bite. Whether you’re a seasoned baker looking for a charming twist or a newbie ready to impress, this Water Pie Recipe offers all the warmth and satisfaction without any fuss.
Ingredients You’ll Need
Preparing your Water Pie Recipe is delightfully straightforward because the ingredients are humble but each plays a vital role, lending to the pie’s creamy texture and classic flavor. From the flaky crust to the subtle pockets of butter, here’s what you’ll gather before baking away.
- 1 9-inch deep-dish pie crust, unbaked: Provides a flaky, buttery foundation that bakes up golden and crisp.
- 1 1/2 cups water: The star ingredient that, combined with flour and sugar, creates the unique custard-like filling.
- 4 tablespoons all-purpose flour: Acts as a thickening agent to help the pie set beautifully once baked.
- 1 cup sugar: Sweetens the filling evenly, balancing the simplicity of water and flour with a gentle sweetness.
- 2 teaspoons vanilla extract: Adds a warm, aromatic note that elevates the pie’s flavor profile.
- 5 tablespoons butter, cut into 5 pieces: Melts into little pockets of richness throughout the filling as it bakes.
How to Make Water Pie Recipe
Step 1: Prepare Your Oven and Crust
First things first, preheat your oven to 400°F so it’s nice and hot when you’re ready to bake. Place your unbaked pie crust on a baking sheet—this not only makes transferring it easier but also catches any potential drips, keeping your oven clean.
Step 2: Add the Water
Gently pour the 1 1/2 cups of water right into the pie crust. It might look unusual at first since pie fillings aren’t typically this liquid, but this is exactly what makes the Water Pie Recipe so unique.
Step 3: Mix and Sprinkle
In a small bowl, combine the flour and sugar thoroughly. Then, sprinkle this dry mixture evenly over the surface of the water in the pie crust—you don’t stir it in. This layering technique helps the filling thicken up as it bakes.
Step 4: Add Vanilla and Butter
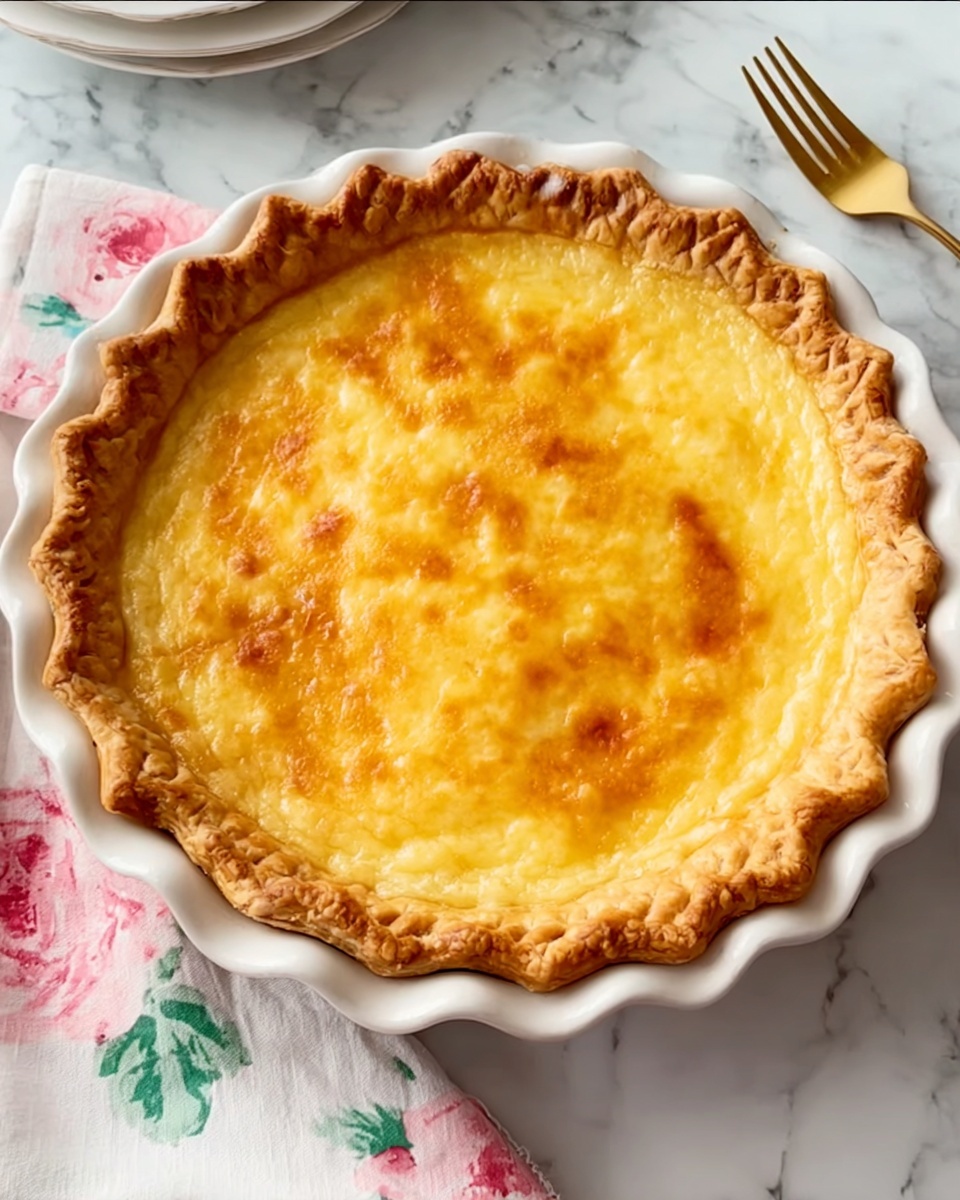
Drizzle the vanilla extract over the pie next, adding that fragrant hug of flavor. Scatter the five pieces of butter evenly on top; as the pie bakes, these little morsels melt and create luscious, creamy pockets of richness that contrast beautifully with the smooth custard base.
Step 5: Bake the Pie
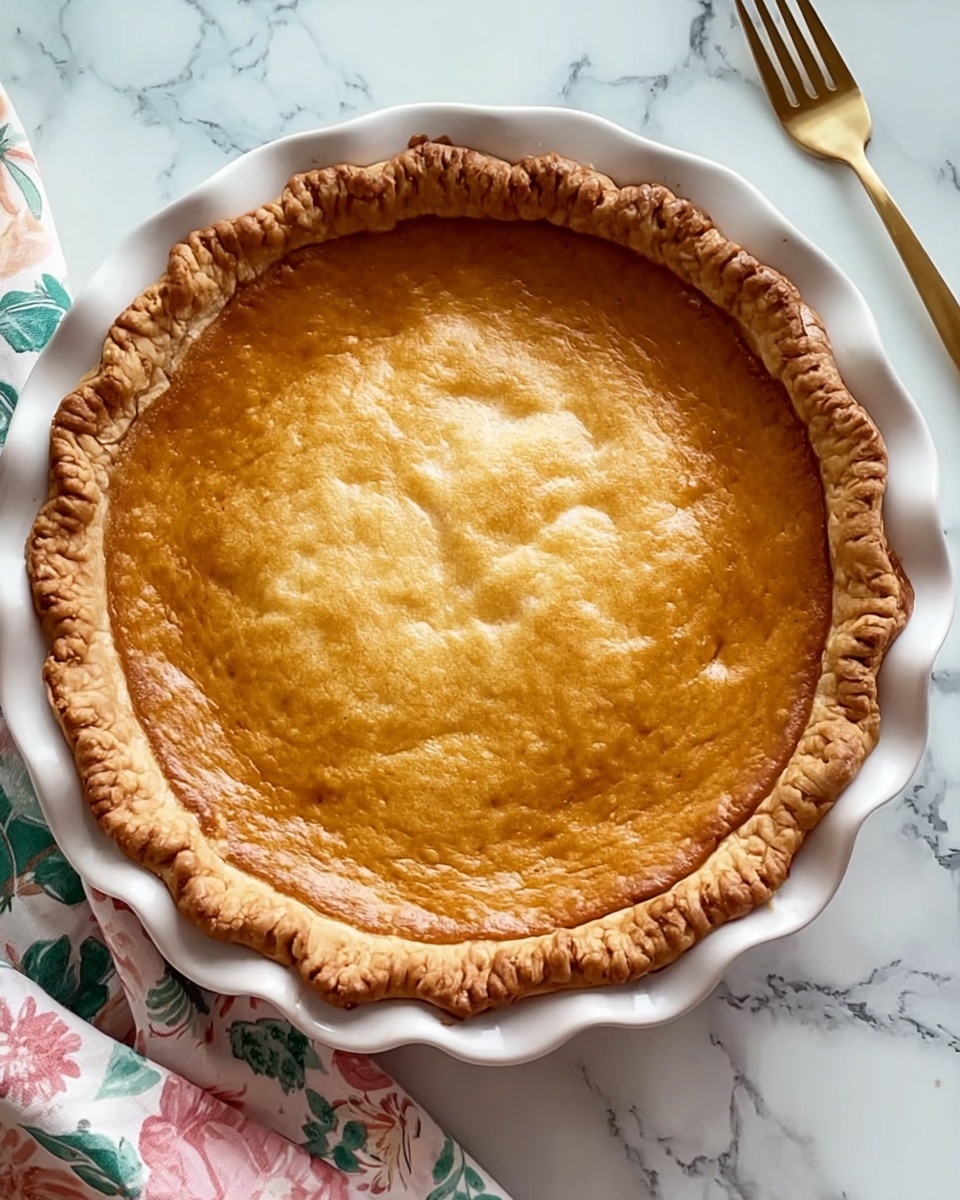
Bake at 400°F for 30 minutes to kickstart the setting process. Then reduce the heat to 375°F. At this point, keep an eye on the crust edges—if they start to brown too fast, lightly cover them with foil or a pie shield. Continue baking for another 30 minutes until the pie looks set but still slightly wobbly in the center.
Step 6: Cool and Chill
The magic of this Water Pie Recipe is that it seems watery when hot but firms up beautifully as it cools. Allow it to cool completely at room temperature, then cover and refrigerate until thoroughly chilled before slicing into those perfect, custardy wedges.
How to Serve Water Pie Recipe
Garnishes
A sprinkle of powdered sugar or a light dusting of cinnamon can add a charming finishing touch without overpowering the pie’s delicate flavor. For a fresh pop, add a few fresh berries or a dollop of whipped cream that melts just a bit into the cool custard.
Side Dishes
This Water Pie Recipe pairs wonderfully with a hot cup of black coffee or fragrant herbal tea, making it an ideal afternoon treat or a light finish after dinner. You could also serve it alongside simple roasted fruits for a more substantial pairing.
Creative Ways to Present
For a unique twist, try serving mini versions of this Water Pie Recipe in ramekins for individual portions at parties. Another fun idea is to drizzle a bit of caramel sauce over each slice for added decadence that contrasts the pie’s subtle sweetness.
Make Ahead and Storage
Storing Leftovers
Once baked and chilled, cover your leftover Water Pie tightly with plastic wrap or use an airtight container to keep it fresh in the refrigerator. It will stay delicious for up to 3 days, giving you plenty of opportunities to enjoy that gentle custard again.
Freezing
While water pie is best enjoyed fresh, you can freeze individual slices wrapped well in plastic wrap and foil. Thaw in the fridge overnight and know that while the texture might soften a bit, the flavor remains delightful.
Reheating
Because of its delicate custard filling, this Water Pie Recipe is best eaten cold or at room temperature. However, if you prefer it warm, gently reheat slices in a low oven (around 300°F) for just a few minutes, being careful not to overcook or dry out the crust.
FAQs
Why is it called Water Pie?
The pie is named for its surprisingly simple main ingredient—water—which, when combined with flour and sugar and baked, creates a unique custard-like filling that seems almost magical given its simplicity.
Can I use a store-bought pie crust?
Absolutely! Using a store-bought pie crust is perfectly fine and makes this recipe even quicker to pull together, while still yielding delicious results.
Is this pie gluten-free?
This traditional Water Pie Recipe uses all-purpose flour and a standard pie crust, so it’s not gluten-free. However, you can experiment with gluten-free flour blends and gluten-free pie crusts to adapt it to your needs.
What does the butter do in the recipe?
The butter melts into little pockets within the filling as the pie bakes, adding richness and depth that balance the simple flavor of the water, flour, and sugar mixture.
Can I add other flavors or spices?
Definitely! Some people love a pinch of cinnamon or nutmeg for warmth, or even a squeeze of lemon juice to add brightness. Feel free to personalize the Water Pie Recipe to fit your taste.
Final Thoughts
This Water Pie Recipe is a testament to the beauty of simple ingredients coming together to create something truly special. It’s a comforting, charming dessert that’s easy to make yet always impresses with its delicate texture and subtle sweetness. Give it a try—you might just find your new favorite go-to pie for when you want something sweet, nostalgic, and effortlessly delicious.
“`
Print
Water Pie Recipe
- Prep Time: 15 minutes
- Cook Time: 1 hour
- Total Time: 1 hour 15 minutes
- Yield: 4 to 4.4 servings
- Category: Dessert
- Method: Baking
- Cuisine: American
Description
Water Pie is a classic vintage dessert featuring a simple, custard-like filling made from basic pantry ingredients like water, flour, sugar, and butter baked inside a flaky pie crust. This budget-friendly pie sets into a sweet, silky, and slightly creamy filling with hints of vanilla, providing a nostalgic treat perfect for those who love old-fashioned, minimalist desserts.
Ingredients
Crust
- 1 9-inch deep-dish pie crust, unbaked
Filling
- 1 1/2 cups water
- 4 tablespoons all-purpose flour
- 1 cup sugar
- 2 teaspoons vanilla extract
- 5 tablespoons butter, cut into 5 pieces
Instructions
- Preheat and Prepare – Preheat your oven to 400°F (204°C). Place the unbaked 9-inch deep-dish pie crust on a baking sheet to catch any spills during baking.
- Add Water – Pour 1 1/2 cups of water directly into the pie crust, ensuring it spreads evenly without spilling over.
- Mix and Sprinkle Dry Ingredients – In a small bowl, whisk together 4 tablespoons of all-purpose flour and 1 cup of sugar. Sprinkle this flour-sugar mixture evenly over the water in the crust. Do not stir.
- Add Vanilla and Butter – Drizzle 2 teaspoons of vanilla extract over the surface of the water and scatter 5 tablespoons of butter, cut into pieces, on top of the pie.
- Bake in Two Stages – Bake the pie at 400°F for 30 minutes to start setting the filling. Then reduce the oven temperature to 375°F (190°C). To prevent burning, cover the edges of the crust with foil if needed. Continue baking for an additional 30 minutes until the pie is set and the crust is golden.
- Cool and Chill – The pie will look watery while hot but will firm up as it cools. Let it cool completely at room temperature, then cover and refrigerate until chilled before slicing and serving.
Notes
- It is important not to stir the flour and sugar mixture into the water; it sets better when layered on top.
- Cover the pie crust edges with foil during the second half of baking to prevent burning.
- The filling appears liquid when hot but firms completely once cooled and chilled.
- Use a deep-dish pie crust to hold the filling well.
- Serve chilled for best texture and flavor.


